Multiple Azure Cloud Environments
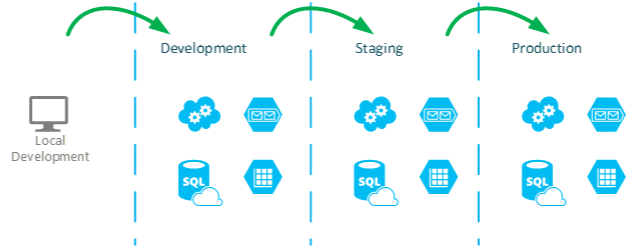
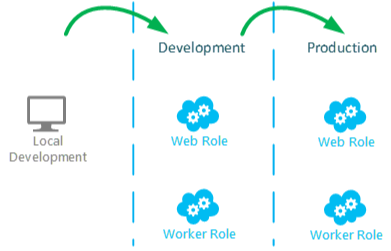
Most real world Azure deployments will require more than one environment. A typical topology is represented below:
There are many resources covering this concept so it will not be repeated here. Instead this post will explain how to set this up in Azure.
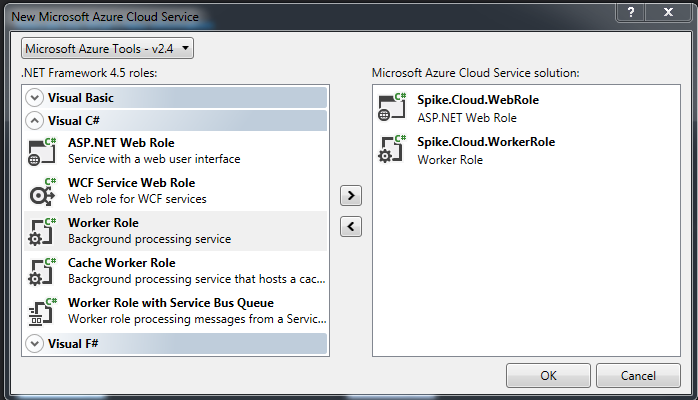
Our scenario includes two cloud services: a web role and a worker role. The creation of the two roles is illustrated below:
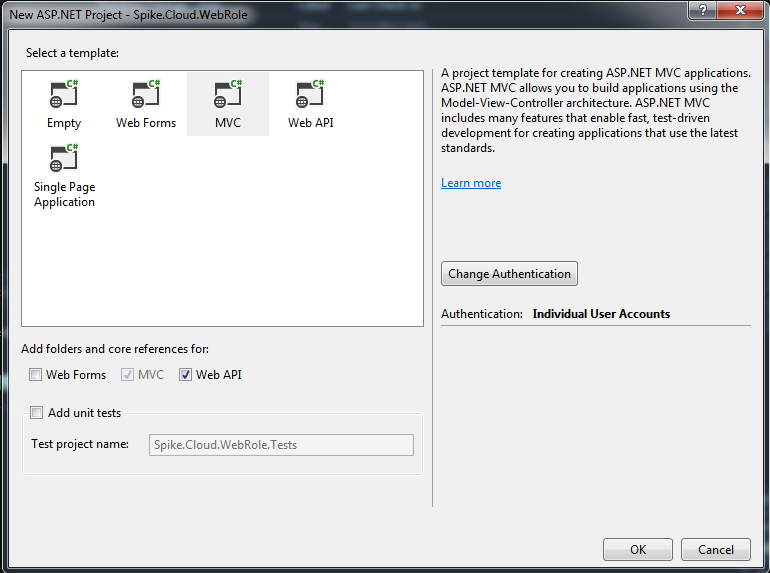
As the content of the roles is not significant to the post, I just created a basic MVC web app:
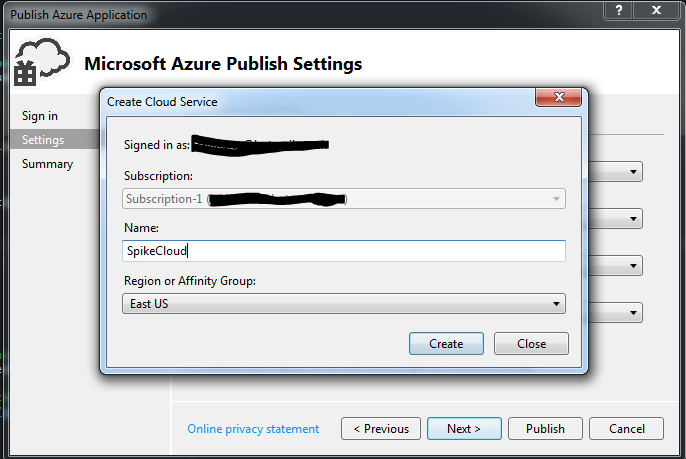
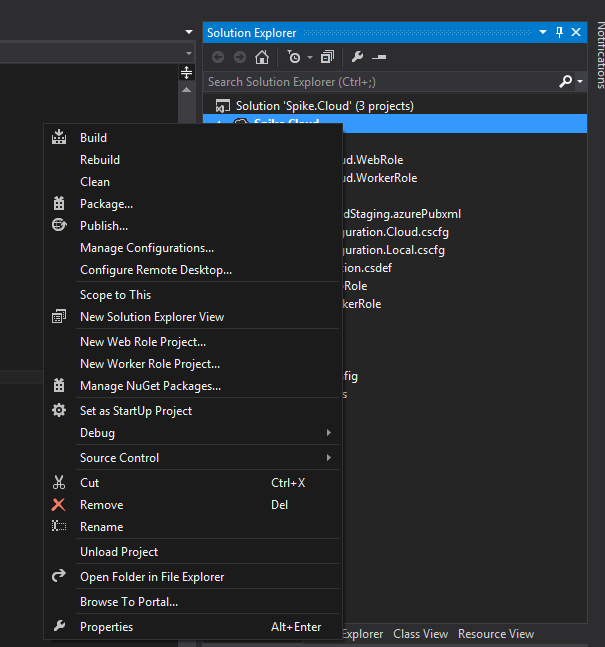
My first step in setting up publishing to multiple environments is to create the basic publishing profile. First, select publish on the created cloud project and select the option to create a cloud service. This is shown below:
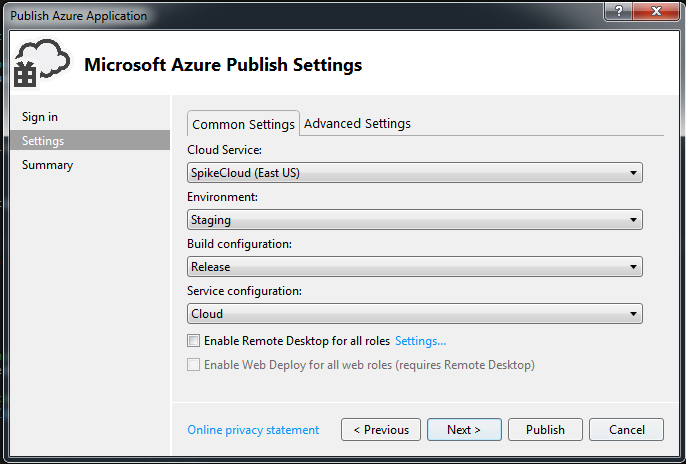
After the basic settings have been selected the publishing settings are shown below:
And once the cloud service has been successfully published:
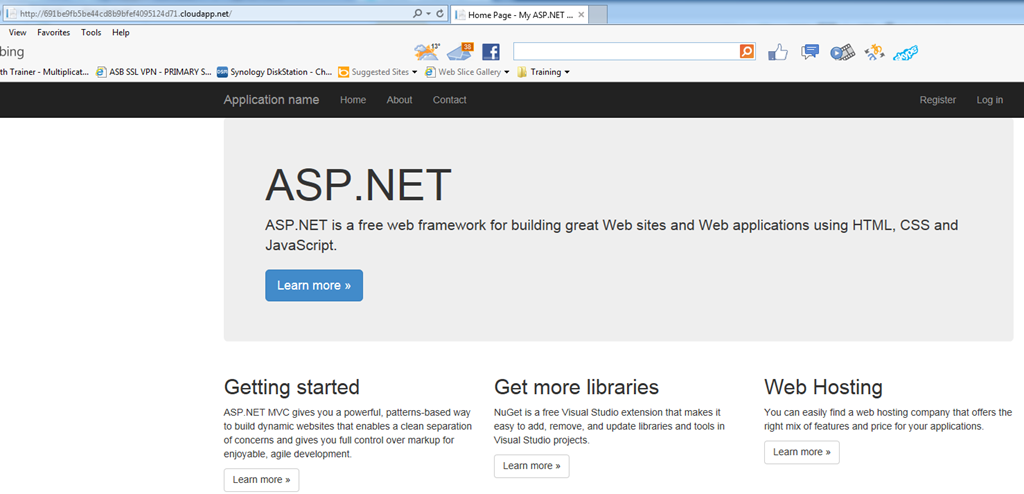
I can then browse my deployed service:
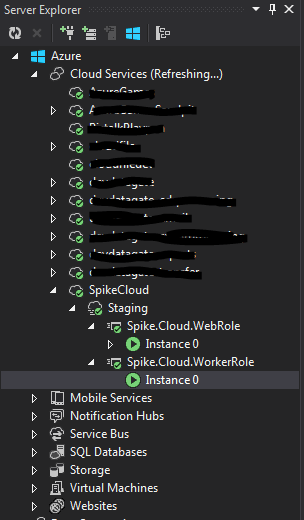
And in the server explorer, I can see the newly published service running.
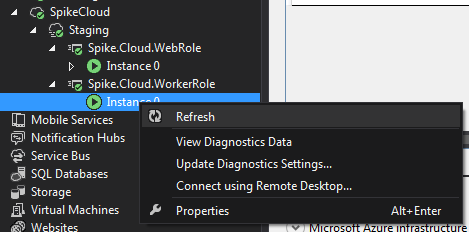
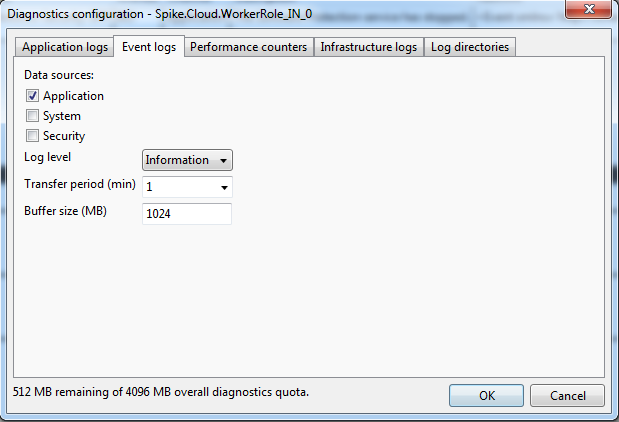
And just to illustrate the worker role is running, I will update the diagnostic settings.
And set the Event log’s log level to information:
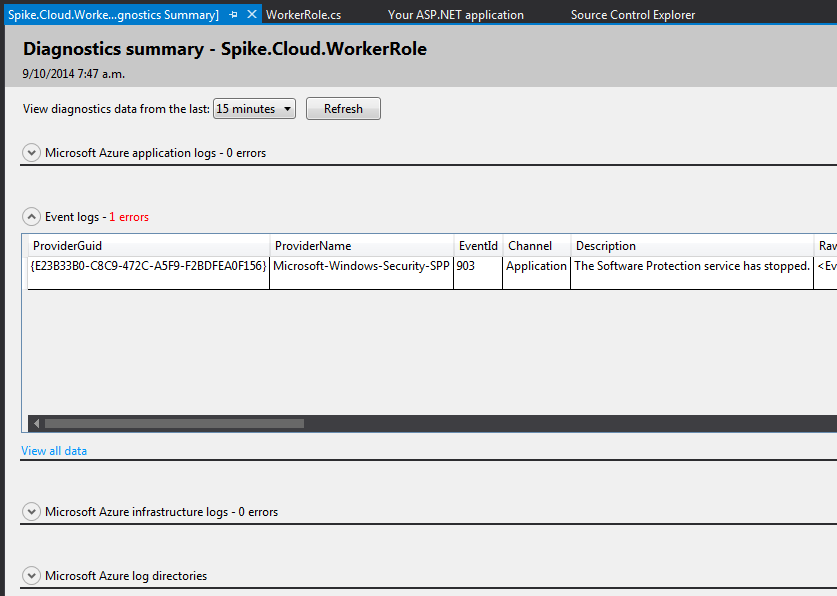
After a couple of minutes I can see an error was written. Interesting error but should not affect the demo!
Multiple Environment Configurations
Now that we have a basic service established it is time to set up our different environments. In my scenario I want to create a Development and a Production environment.
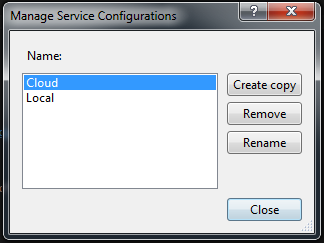
The first step is to create two configurations: one for the development environment and one for the production environment. On the cloud service project, the Manage Configuration option is selected.
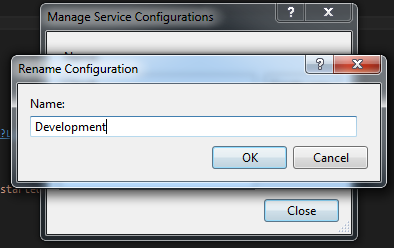
The first step is to rename the Cloud configuration to Development using the Rename button:
And changing the name to Development.
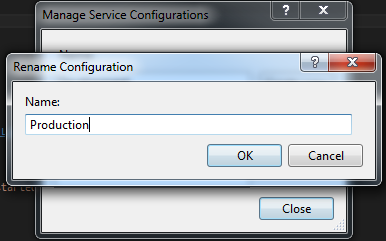
Next, the Development configuration is copied and the copy renamed to Production.
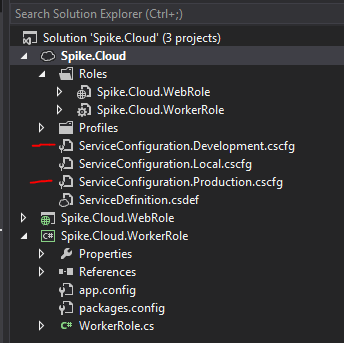
Below shows the Development and Production configuration files:
To illustrate the different configuration settings, let’s update the production configuration to be different than the development configuration. To customise the configuration settings for a particular cloud service configuration, double-click the role in the Roles folder.
In our example, the WebRole was selected.
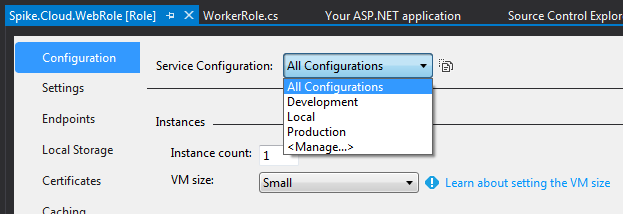
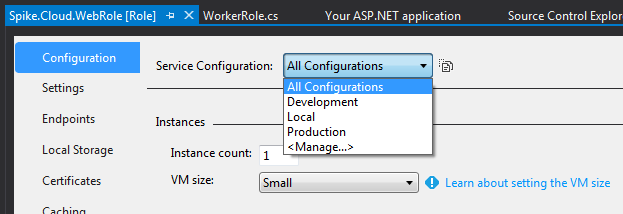
There are several sections that allow you to customise the settings of the cloud role. In this example the instance count will be updated to 2 VMs in production. First the Production configuration is selected.
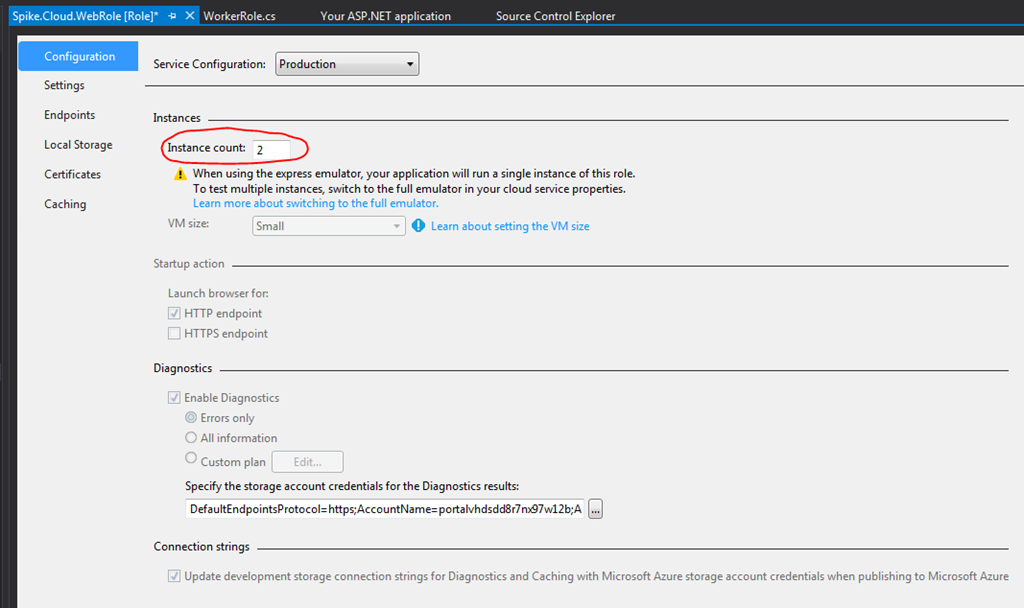
And then the instance count is set to 2.
Multiple Publishing Profiles
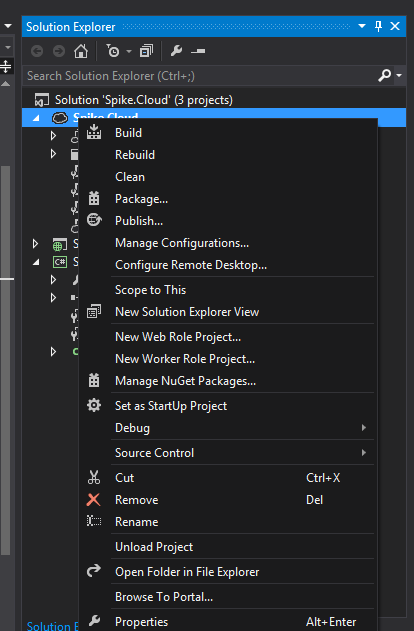
Because we now have both development and production environments to publish to we will need multiple publishing profiles. To create a development and a production environment, first select the Publish option of the cloud project context menu:
In the Target profile drop down, select the manage option:
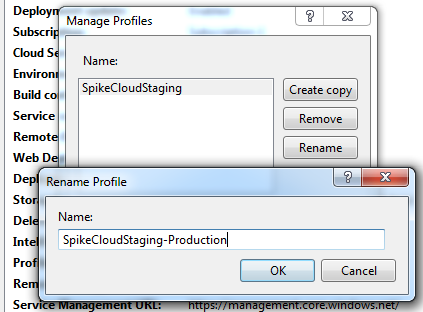
We will create a copy and rename the profiles by adding a suffix to identify the different environments:
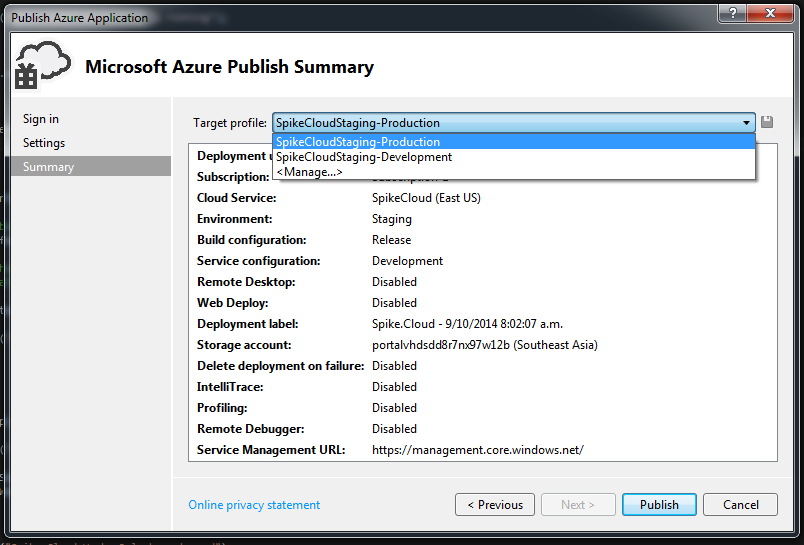
Now there are two profiles available in the Target profile drop down:
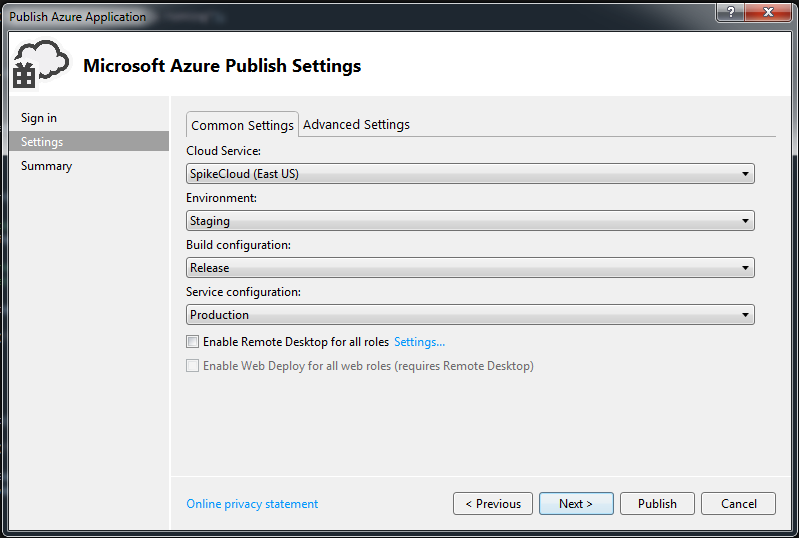
Using the previous button we will go back to settings to update our production setting to use the Production service configuration:
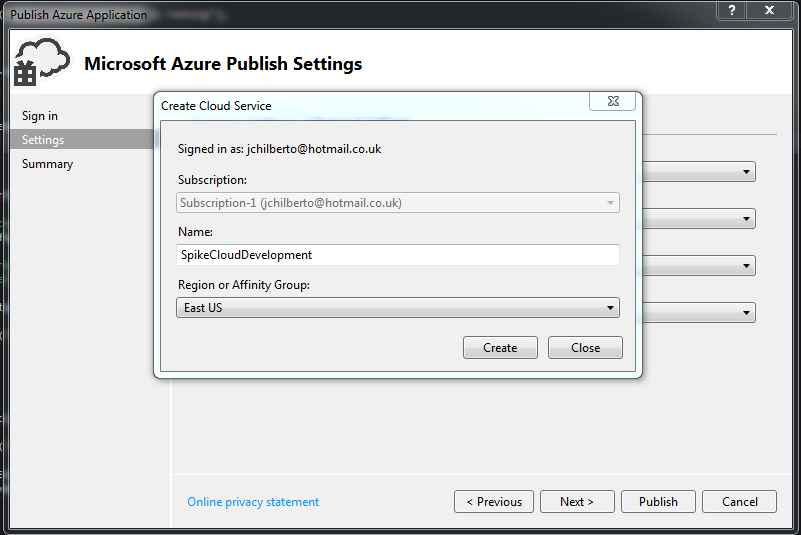
Because we want separate development cloud roles, we will need to create a new service for the development role:
When making changes to multiple publishing profiles, do not forget to click save:
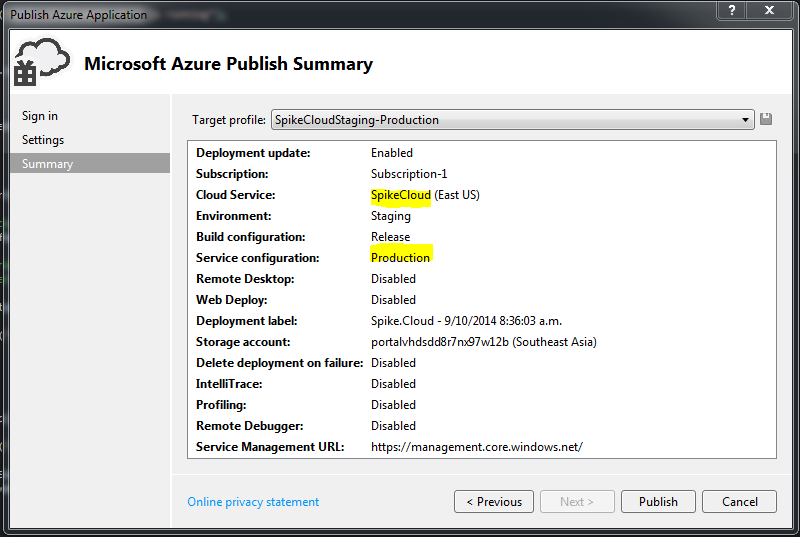
Below shows the final settings for production:
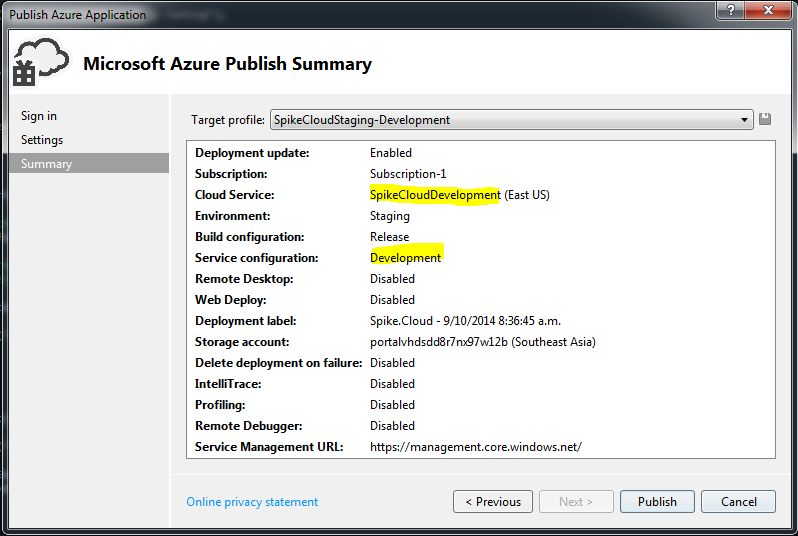
Below shows the final settings for development:
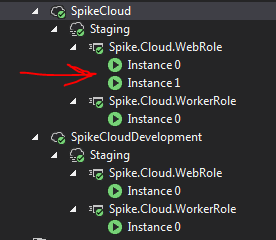
After deploying both profiles the effect of setting the instance count to 2 for the production web role is evident:
Conclusion
The above scenario is simple and does not include the complexity of other components. In particular storage and database resources. When dealing with the multiple environments managing the connection strings may become tricky as a combination of service configuration and application or web configuration (app.config/web.config) may be required.
