How to activate Negotiate(Kerberos) authentication in SharePoint 2013
Selecting Negotiate(Kerberos) for SP Authentication is not as simple as changing the authentication type in SP Central Admin. You should follow some steps before. you need an Active Directory Administrator help.
in order to enable Kerberos authentication on Application Server (in which IIS is running), these steps must be followed:
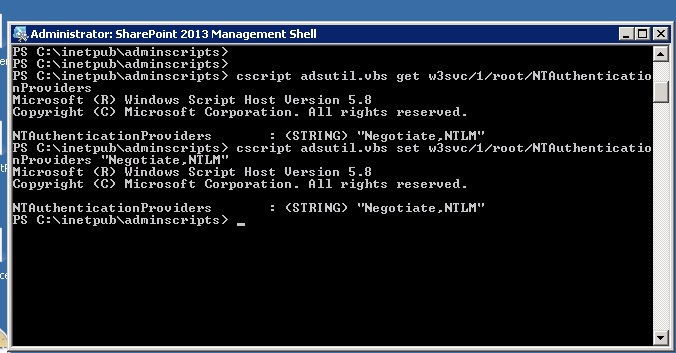
1- run SharePoint Powershell as administrative.
2- Go to the path "windows drive:\inetpub\adminscripts"
3- Type the following command and press ENTER:
cscript adsutil.vbs set w3svc/1/root/NTAuthenticationProviders "Negotiate,NTLM"
"1" is the virtual server ID Number which is "1" by default.
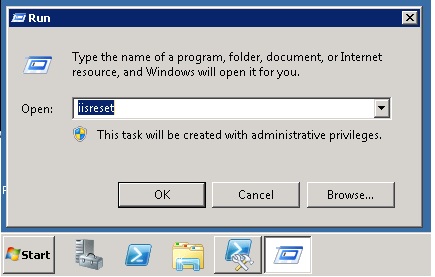
4- IISReset
5- if in IIS, the application pool is running by one of system account such as network account, you don't need to do this step but if the application pool identity is configured to use a domain user account you have to define a SPN for that. So,Download and install the Setspn.exe command-line tool. then use the setspn command tool and Type the following command in SP Powershell and press ENTER
**Setspn -A HTTP/FQDNServerName Domain\UserName
Example : Setspn –a http/tochal34.tamco.eng tamco.eng\spfarm
6- Type the follwing command and press ENTER again:
**Setspn -A HTTP/NETBIOSServerNameDomain\UserName
Example : Setspn –a http/tochal34 tamco.eng\spfarm
Important: for running command #5 and #6, the domain user who has a remote connection to the application server must be AD admin.
7- Now, the application (IIS) server must be trusted for delegation in active directory. in order to do that, the active directory administrator should do the following steps:
7-1- Open Active Directory users and computers.
7-2- Search for the application server name in Computers.
7-3- Right click the server name and go to it's properties.
7-4- In General Tab, click to select the Trust computer for delegation check box, and then click OK.
8-Also if the application pool identity is configured to use a domain user account, that user should be trusted for delegation too. SO, do the step #8 for that domain user too.
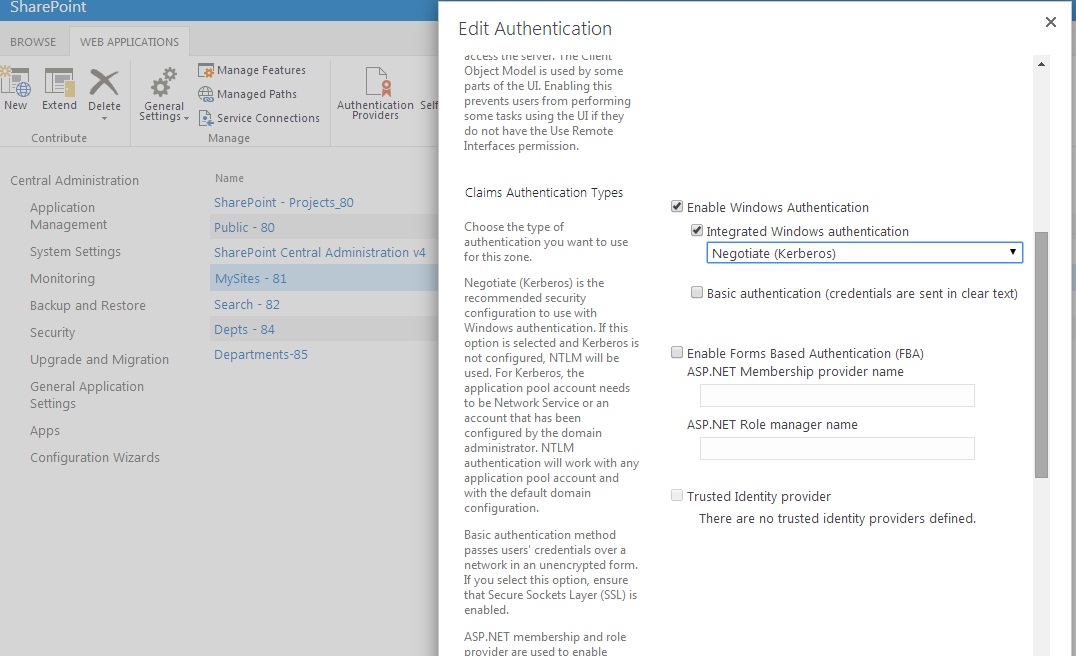
9- Go to SP Central Administration.
10- Click Manage Web applications
11- Choose the application you desire.
12- Go to Authentication Providers.
13- Click Default.
14- Change the claim Authentication type to Negotiate.
15- Use the following command if you want to have only NTLM Authentication:
cscript adsutil.vbs set w3svc/1/root/NTAuthenticationProviders "NTLM"


