Using MVC with Kendo UI, EF, Unity and Bootstrap Part-2
Please See part-1 at http://social.technet.microsoft.com/wiki/contents/articles/26270.using-mvc-with-kendo-ui-ef-unity-and-bootstrap-part-1.aspx Now Since We configured Kendo now let’s use Boot Strap in our Application.
MVC4 has introduced display mode feature for mobile and desktop applications.
You can check my article on this
Since the Response UI appeared and their rising popularity we can opt them against display mode feature in MVC.
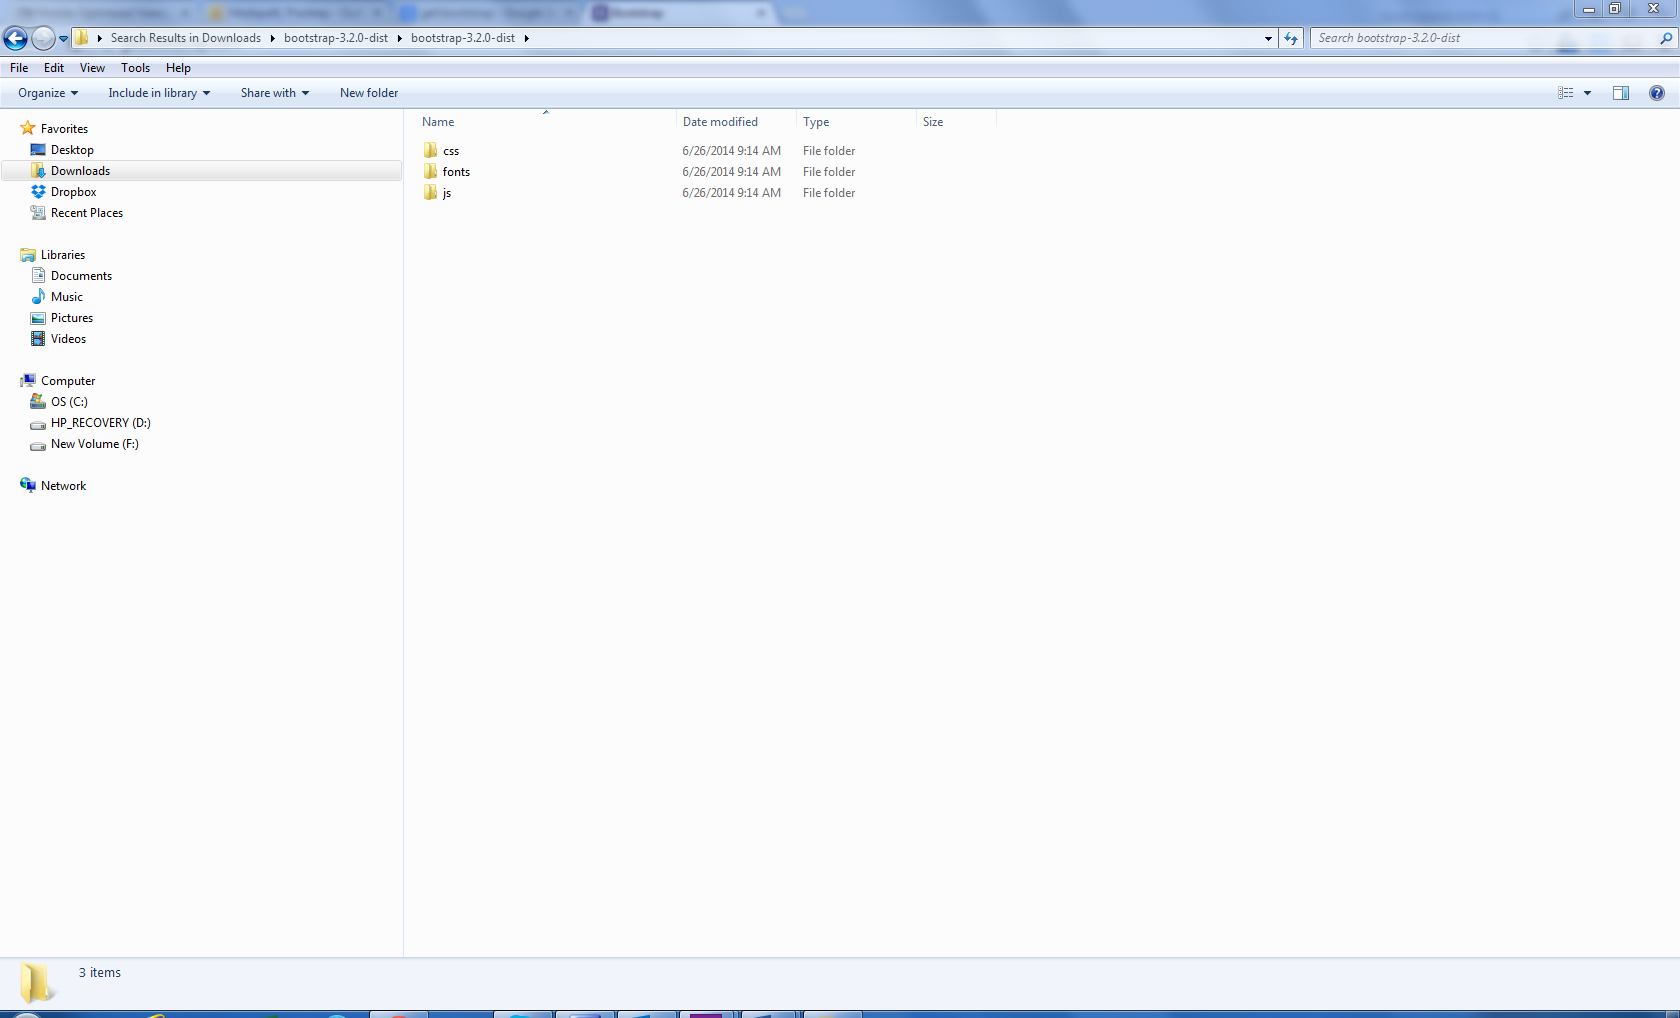
First We need to Download Boot Strap from
Copy the CSS in Content Folder and Js in Scripts folder
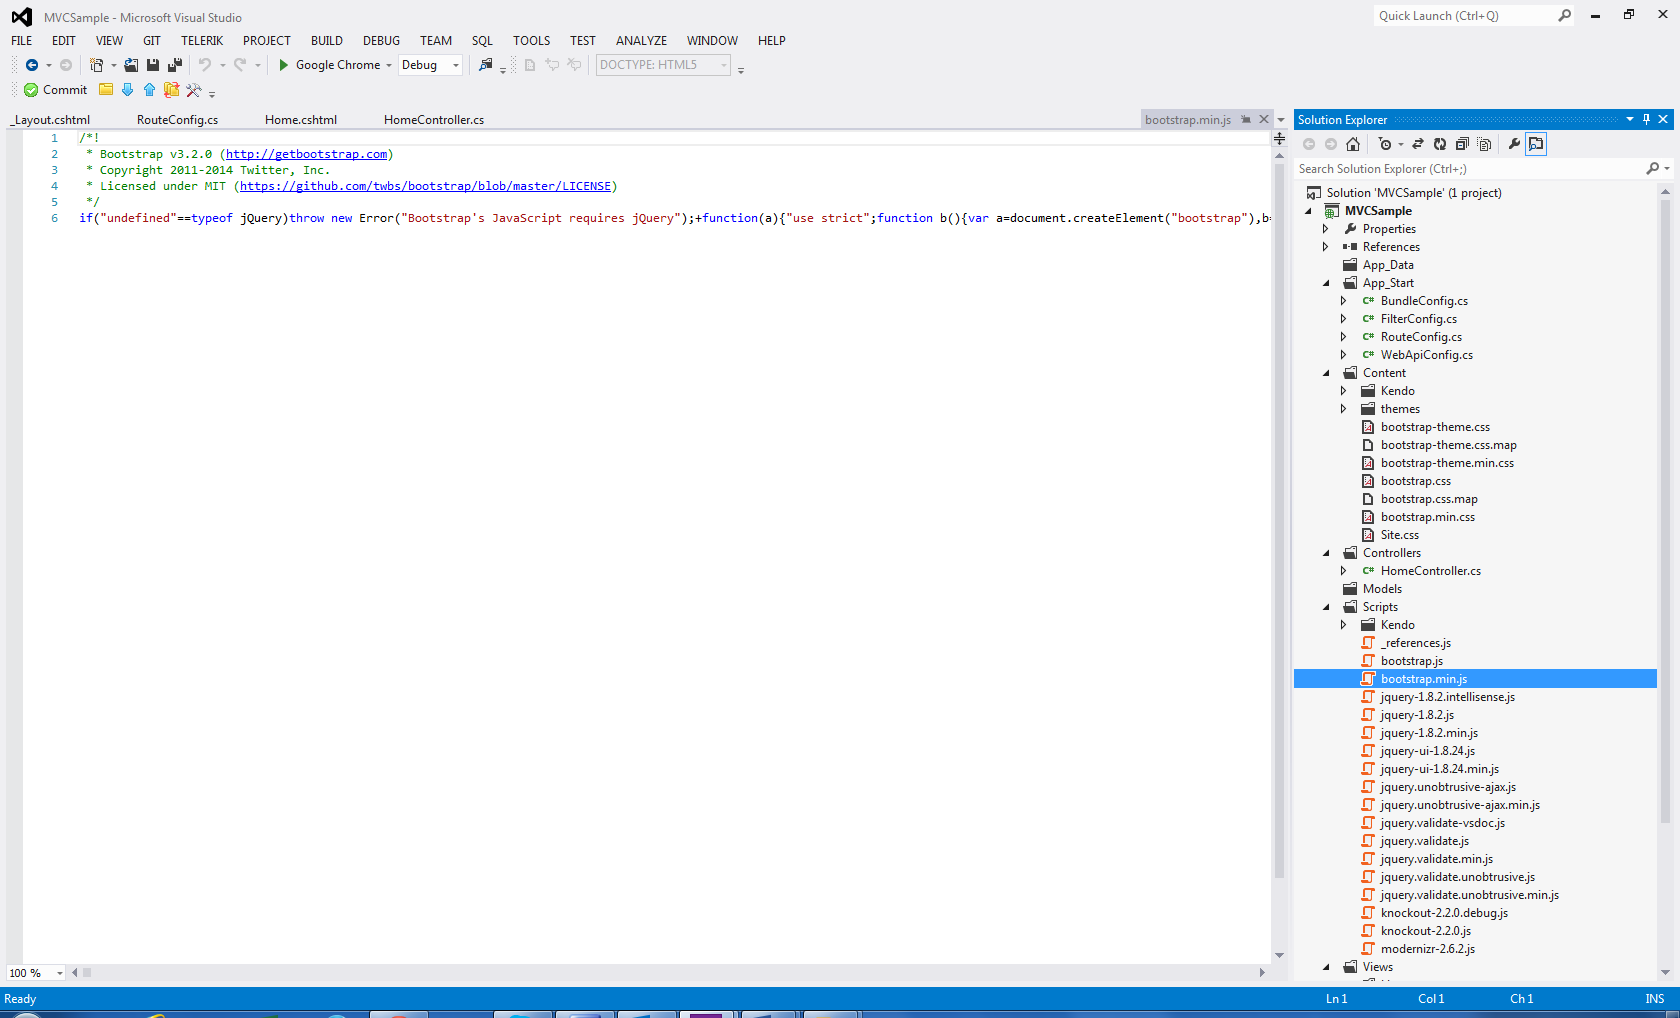
Now We Need To Include CSS and Scripts in Layout to use them.
<!DOCTYPE html>
<html>
<head>
<meta charset="utf-8" />
<meta name="viewport" content="width=device-width" />
<title>@ViewBag.Title</title>
<link href="~/Content/bootstrap.min.css" rel="stylesheet" />
@Styles.Render("~/Content/css")
@Scripts.Render("~/bundles/modernizr")
@Styles.Render("~/Content/kendo/css")
@Scripts.Render("~/bundles/jquery")
@Scripts.Render("~/bundles/kendo")
<script src="~/Scripts/bootstrap.min.js"></script>
</head>
<body>
@RenderBody()
@RenderSection("scripts", required: false)
</body>
</html>
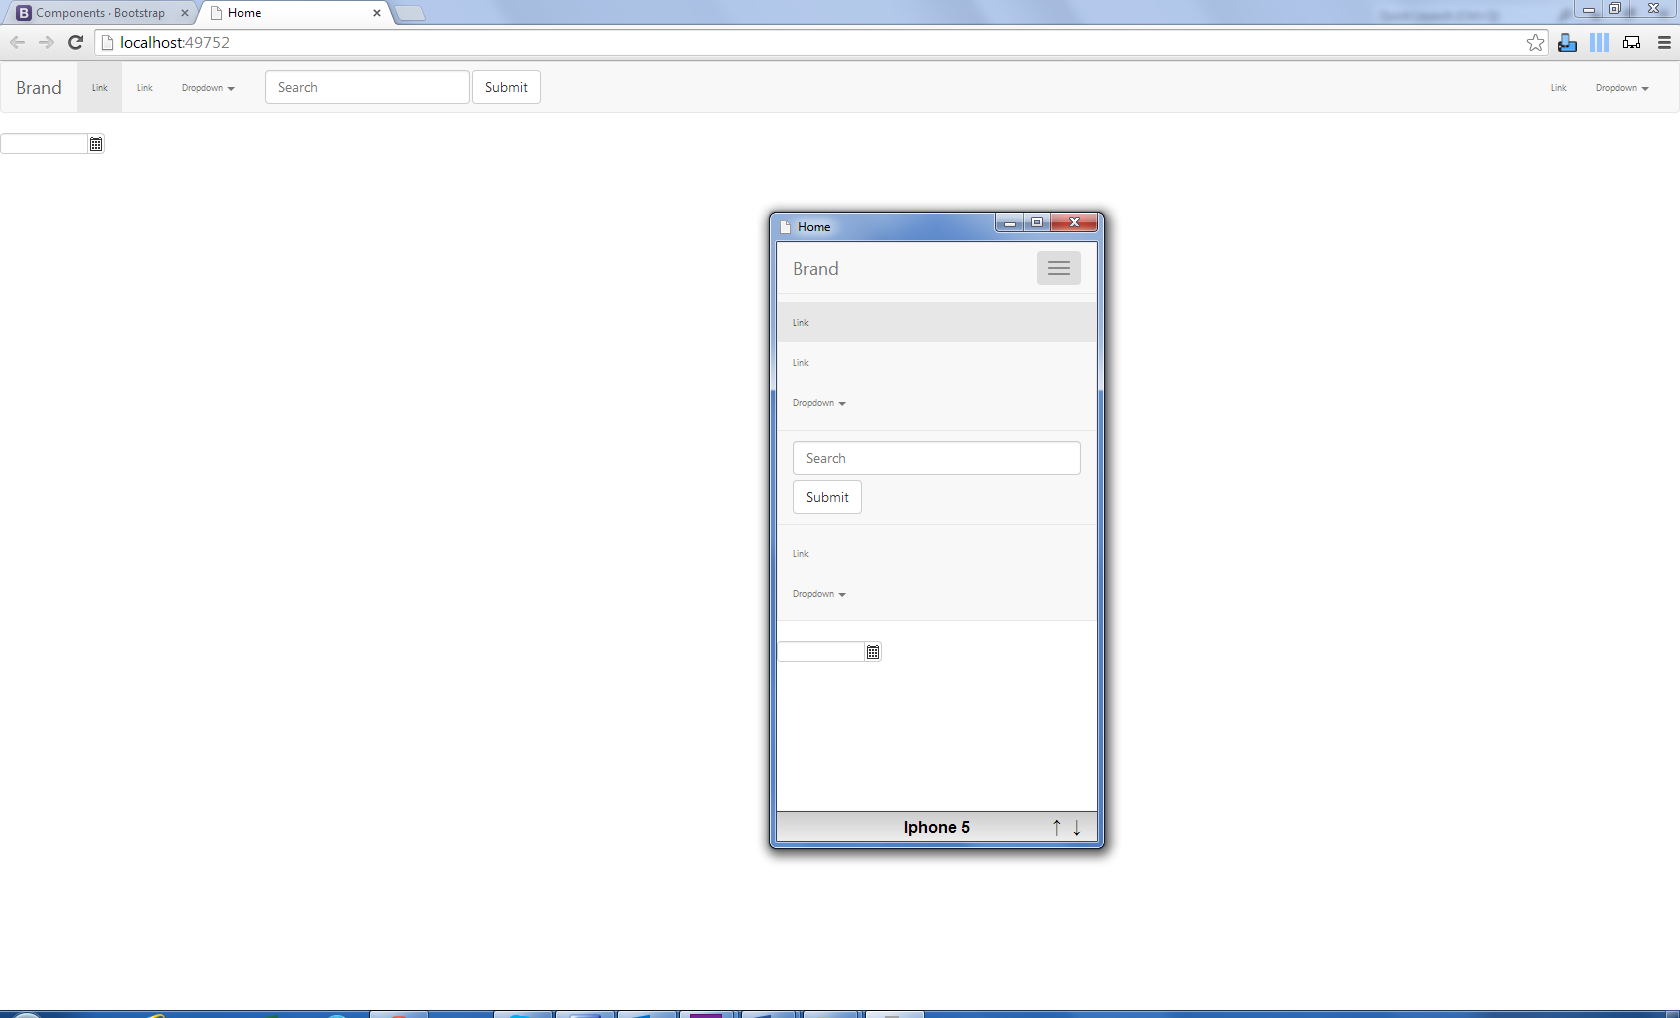
Now Lets Test BootStrap Whether its working or not Lets just Copy A navbar sample from bootstrap site on home view.
Home.shtml
@{
ViewBag.Title = "Home";
}
<nav class="navbar navbar-default" role="navigation">
<div class="container-fluid">
<!-- Brand and toggle get grouped for better mobile display -->
<div class="navbar-header">
<button type="button" class="navbar-toggle" data-toggle="collapse" data-target="#bs-example-navbar-collapse-1">
<span class="sr-only">Toggle navigation</span>
<span class="icon-bar"></span>
<span class="icon-bar"></span>
<span class="icon-bar"></span>
</button>
<a class="navbar-brand" href="#">Brand</a>
</div>
<!-- Collect the nav links, forms, and other content for toggling -->
<div class="collapse navbar-collapse" id="bs-example-navbar-collapse-1">
<ul class="nav navbar-nav">
<li class="active"><a href="#">Link</a></li>
<li><a href="#">Link</a></li>
<li class="dropdown">
<a href="#" class="dropdown-toggle" data-toggle="dropdown">Dropdown <span class="caret"></span></a>
<ul class="dropdown-menu" role="menu">
<li><a href="#">Action</a></li>
<li><a href="#">Another action</a></li>
<li><a href="#">Something else here</a></li>
<li class="divider"></li>
<li><a href="#">Separated link</a></li>
<li class="divider"></li>
<li><a href="#">One more separated link</a></li>
</ul>
</li>
</ul>
<form class="navbar-form navbar-left" role="search">
<div class="form-group">
<input type="text" class="form-control" placeholder="Search">
</div>
<button type="submit" class="btn btn-default">Submit</button>
</form>
<ul class="nav navbar-nav navbar-right">
<li><a href="#">Link</a></li>
<li class="dropdown">
<a href="#" class="dropdown-toggle" data-toggle="dropdown">Dropdown <span class="caret"></span></a>
<ul class="dropdown-menu" role="menu">
<li><a href="#">Action</a></li>
<li><a href="#">Another action</a></li>
<li><a href="#">Something else here</a></li>
<li class="divider"></li>
<li><a href="#">Separated link</a></li>
</ul>
</li>
</ul>
</div><!-- /.navbar-collapse -->
</div><!-- /.container-fluid -->
</nav>
@(Html.Kendo().DatePicker()
.Name("DateSelect")
)
So as we can see Bootstrap is now configured and can be used.
Now Let’s Implement Dependency Injection for Loose Coupling
For That Let’s Add Class Library Project called Contracts where we will be having all our Interfaces.
So, Add A Class Library Project and Reference it to our WebApp.
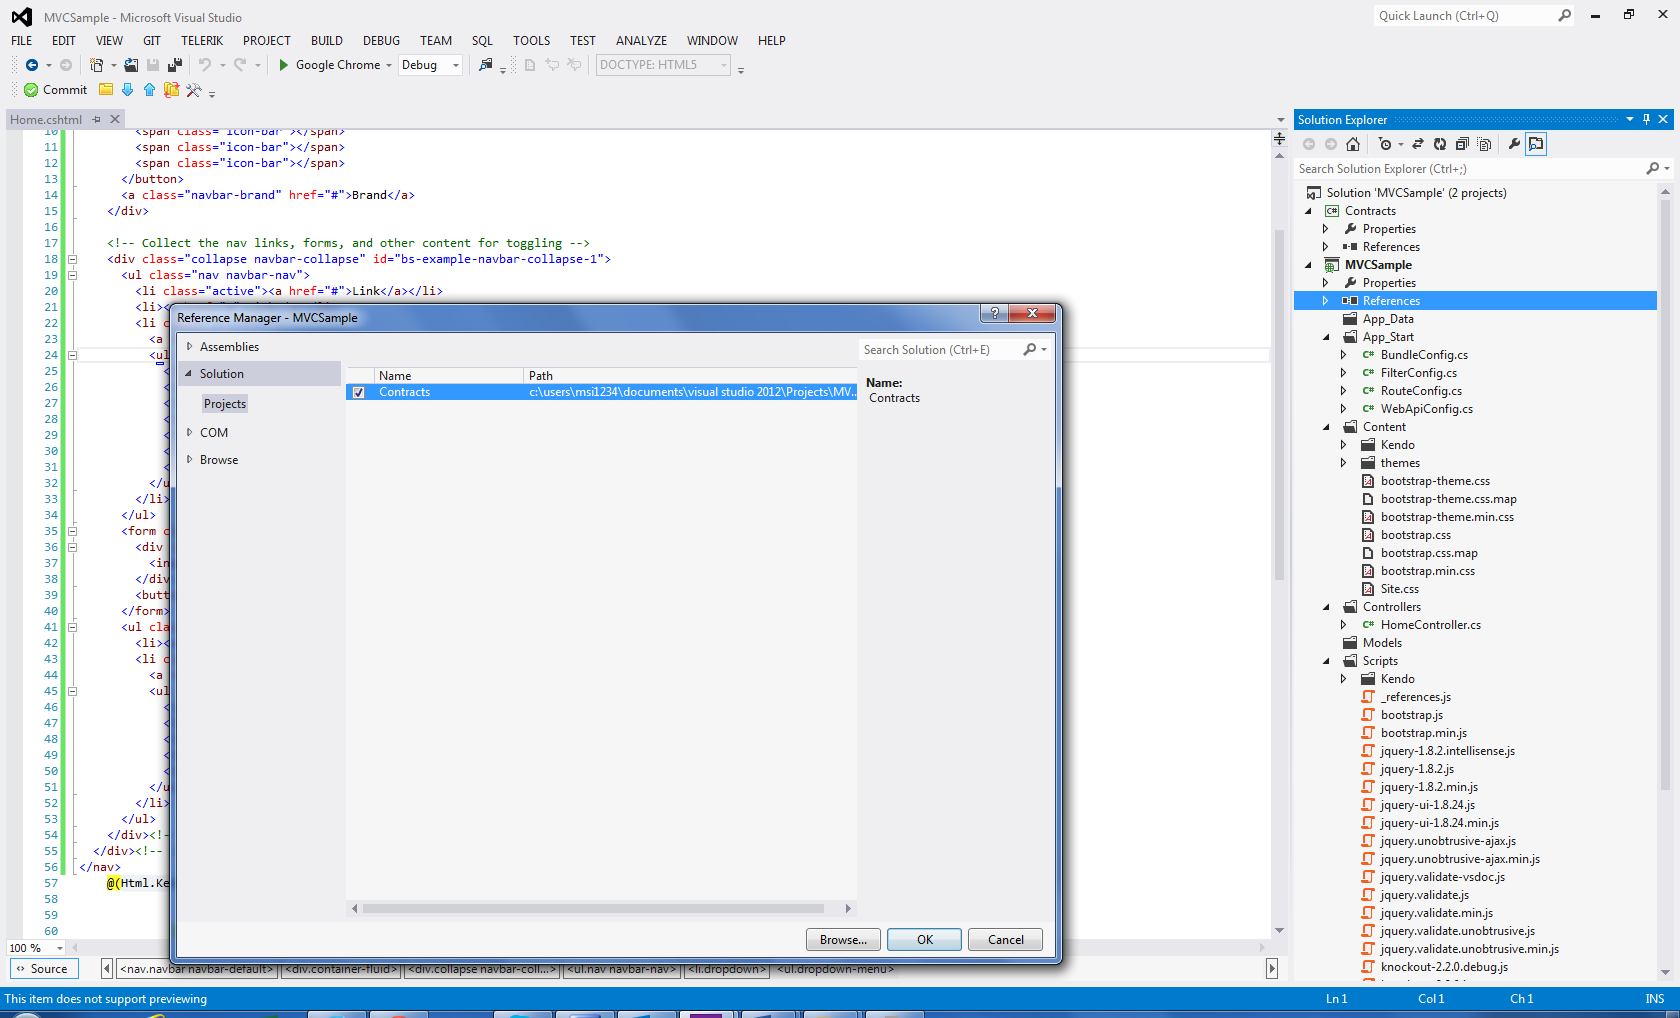
Now Let’s Create A Interface in Services and Implement it.
Let’s use this app to create CRUD for Person. So let’s create IPerson Interface.
using System;
using System.Collections.Generic;
using System.Linq;
using System.Text;
using System.Threading.Tasks;
namespace Contracts
{
public interface IPerson
{
string getPerson(string id);
}
}
Now Let’s Implement DI in HomeController.cs
using Contracts;
using System;
using System.Collections.Generic;
using System.Linq;
using System.Web;
using System.Web.Mvc;
namespace MVCSample.Controllers
{
public class HomeController : Controller
{
//
// GET: /Home/
private readonly IPerson obj;
public HomeController(IPerson _obj)
{
obj = _obj;
}
public ActionResult Home()
{
ViewBag.Message = obj.getPerson("7");
return View();
}
}
}
Now Let’s Create Business Layer where all Business Logic will be Implemented.
Add Contracts References to BAL and BAL References to WebApp.
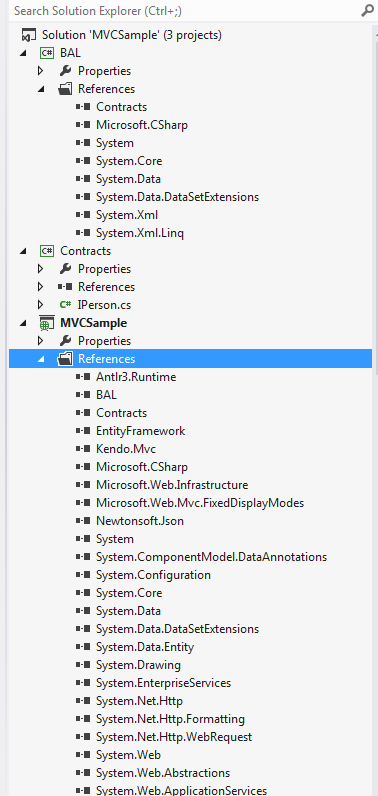
Now add Bussiness Class Person and Implement Method in interface.
using Contracts;
using System;
using System.Collections.Generic;
using System.Linq;
using System.Text;
using System.Threading.Tasks;
namespace BAL
{
public class Person : IPerson
{
public string getPerson(string id)
{
return "Pradeep Varma" + id;
}
}
}
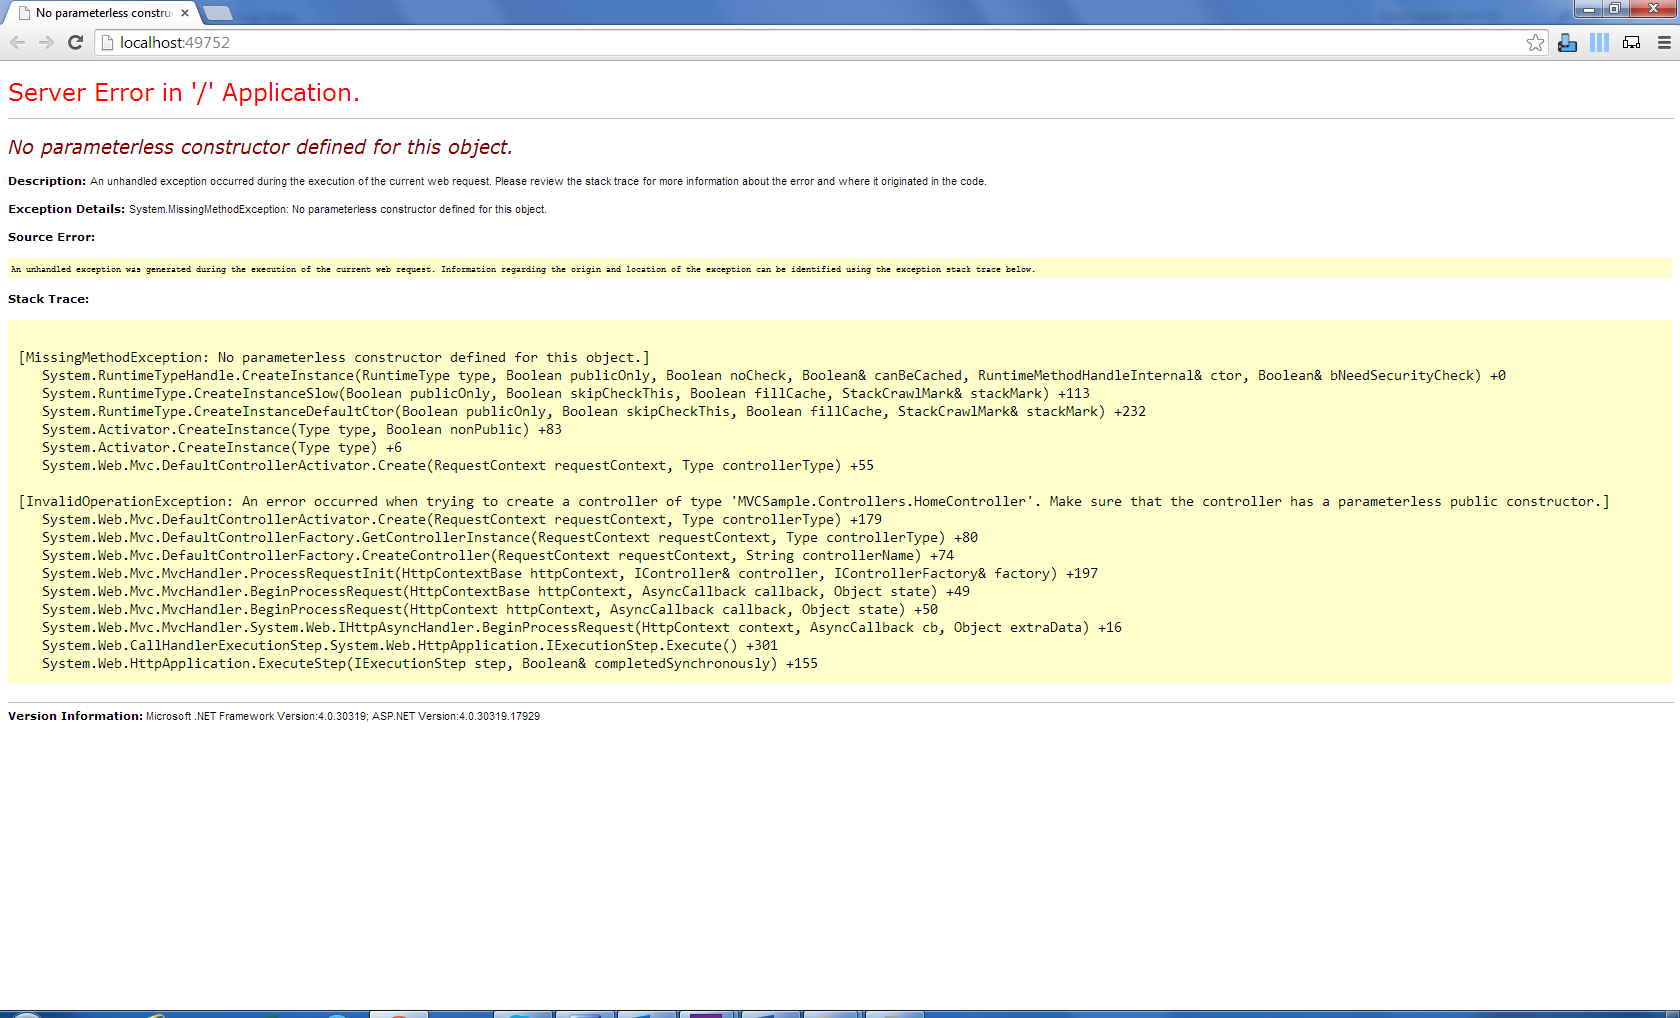
Run the App to Test it
We get Following Error so we can use Unity a lightweight, extensible dependency injection container.
It provides all the common features found in dependency injection mechanisms including: object creation, abstraction of requirements by specifying dependencies at runtime and flexibility, by deferring the component configuration to the container.
You can Install Unity By Adding it in NugetPackage.
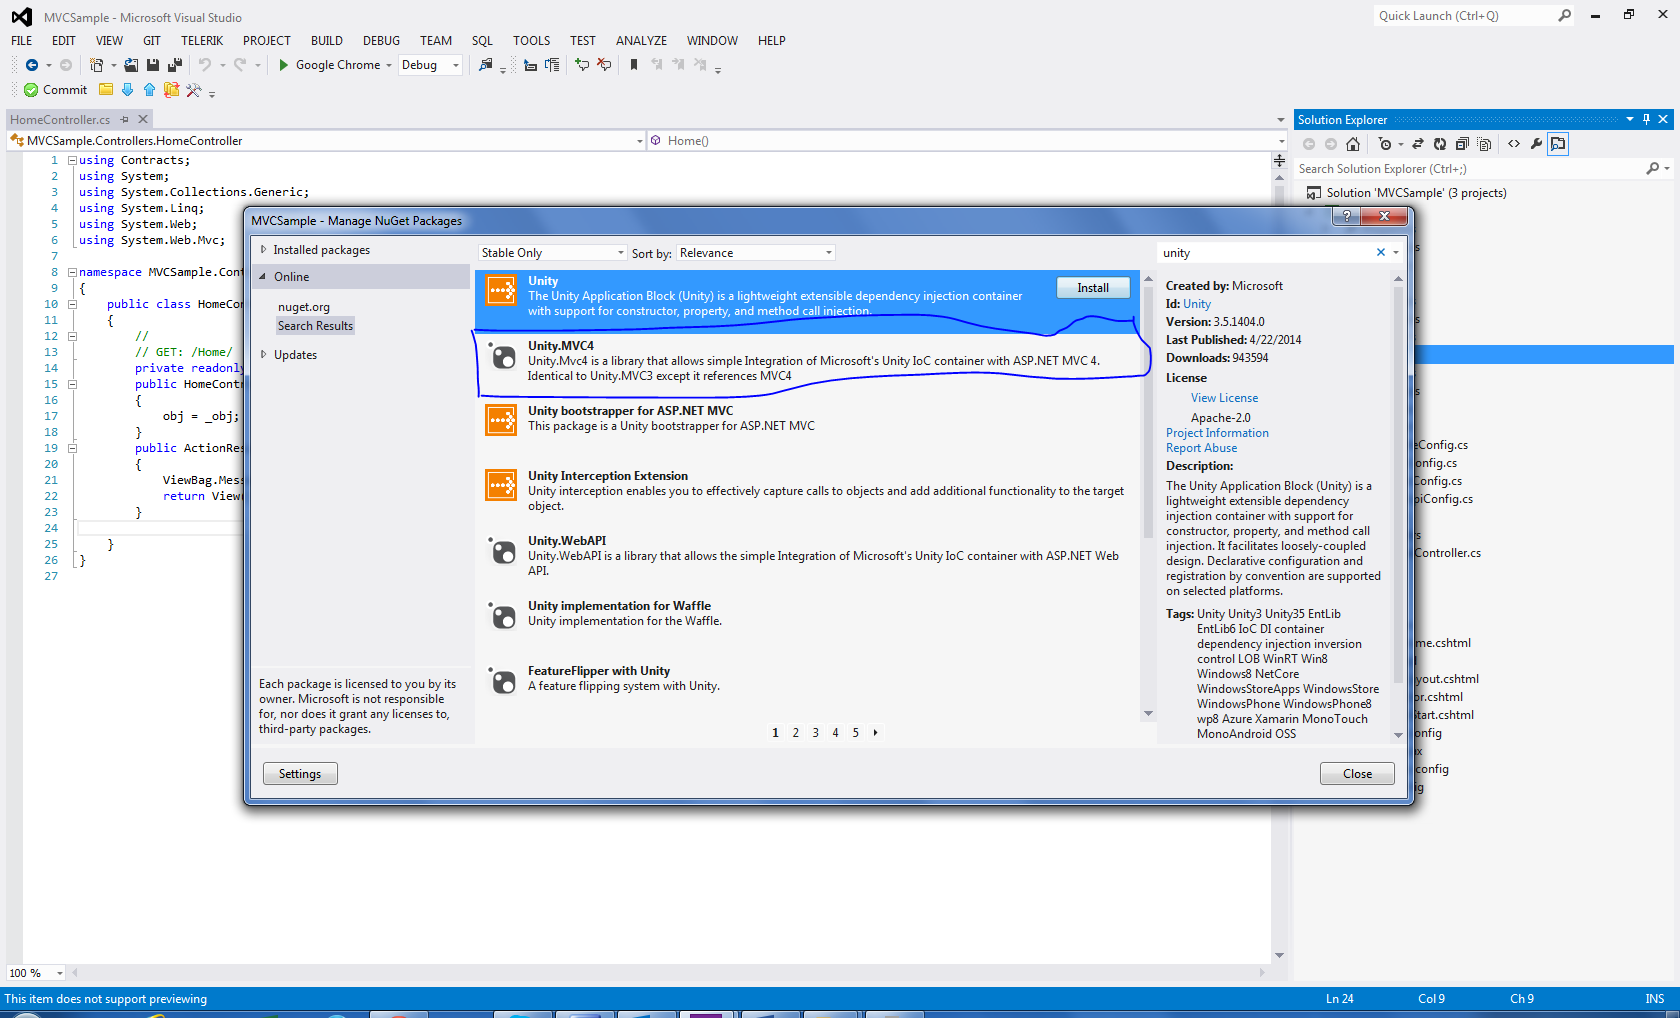
Then Go To Global.asax.cs and add Bootstrapper.Initialise();
using System;
using System.Collections.Generic;
using System.Linq;
using System.Web;
using System.Web.Http;
using System.Web.Mvc;
using System.Web.Optimization;
using System.Web.Routing;
namespace MVCSample
{
// Note: For instructions on enabling IIS6 or IIS7 classic mode,
// visit http://go.microsoft.com/?LinkId=9394801
public class MvcApplication : System.Web.HttpApplication
{
protected void Application_Start()
{
AreaRegistration.RegisterAllAreas();
WebApiConfig.Register(GlobalConfiguration.Configuration);
FilterConfig.RegisterGlobalFilters(GlobalFilters.Filters);
RouteConfig.RegisterRoutes(RouteTable.Routes);
BundleConfig.RegisterBundles(BundleTable.Bundles);
Bootstrapper.Initialise();
}
}
}
Now We Need Register Our Controller and Our Person Class in Bootstrapper.cs
using System.Web.Mvc;
using Microsoft.Practices.Unity;
using Unity.Mvc4;
using MVCSample.Controllers;
using Contracts;
using BAL;
namespace MVCSample
{
public static class Bootstrapper
{
public static IUnityContainer Initialise()
{
var container = BuildUnityContainer();
container.RegisterType<HomeController>();
container.RegisterType<IPerson, Person>();
DependencyResolver.SetResolver(new UnityDependencyResolver(container));
return container;
}
private static IUnityContainer BuildUnityContainer()
{
var container = new UnityContainer();
// register all your components with the container here
// it is NOT necessary to register your controllers
// e.g. container.RegisterType<ITestService, TestService>();
RegisterTypes(container);
return container;
}
public static void RegisterTypes(IUnityContainer container)
{
}
}
}
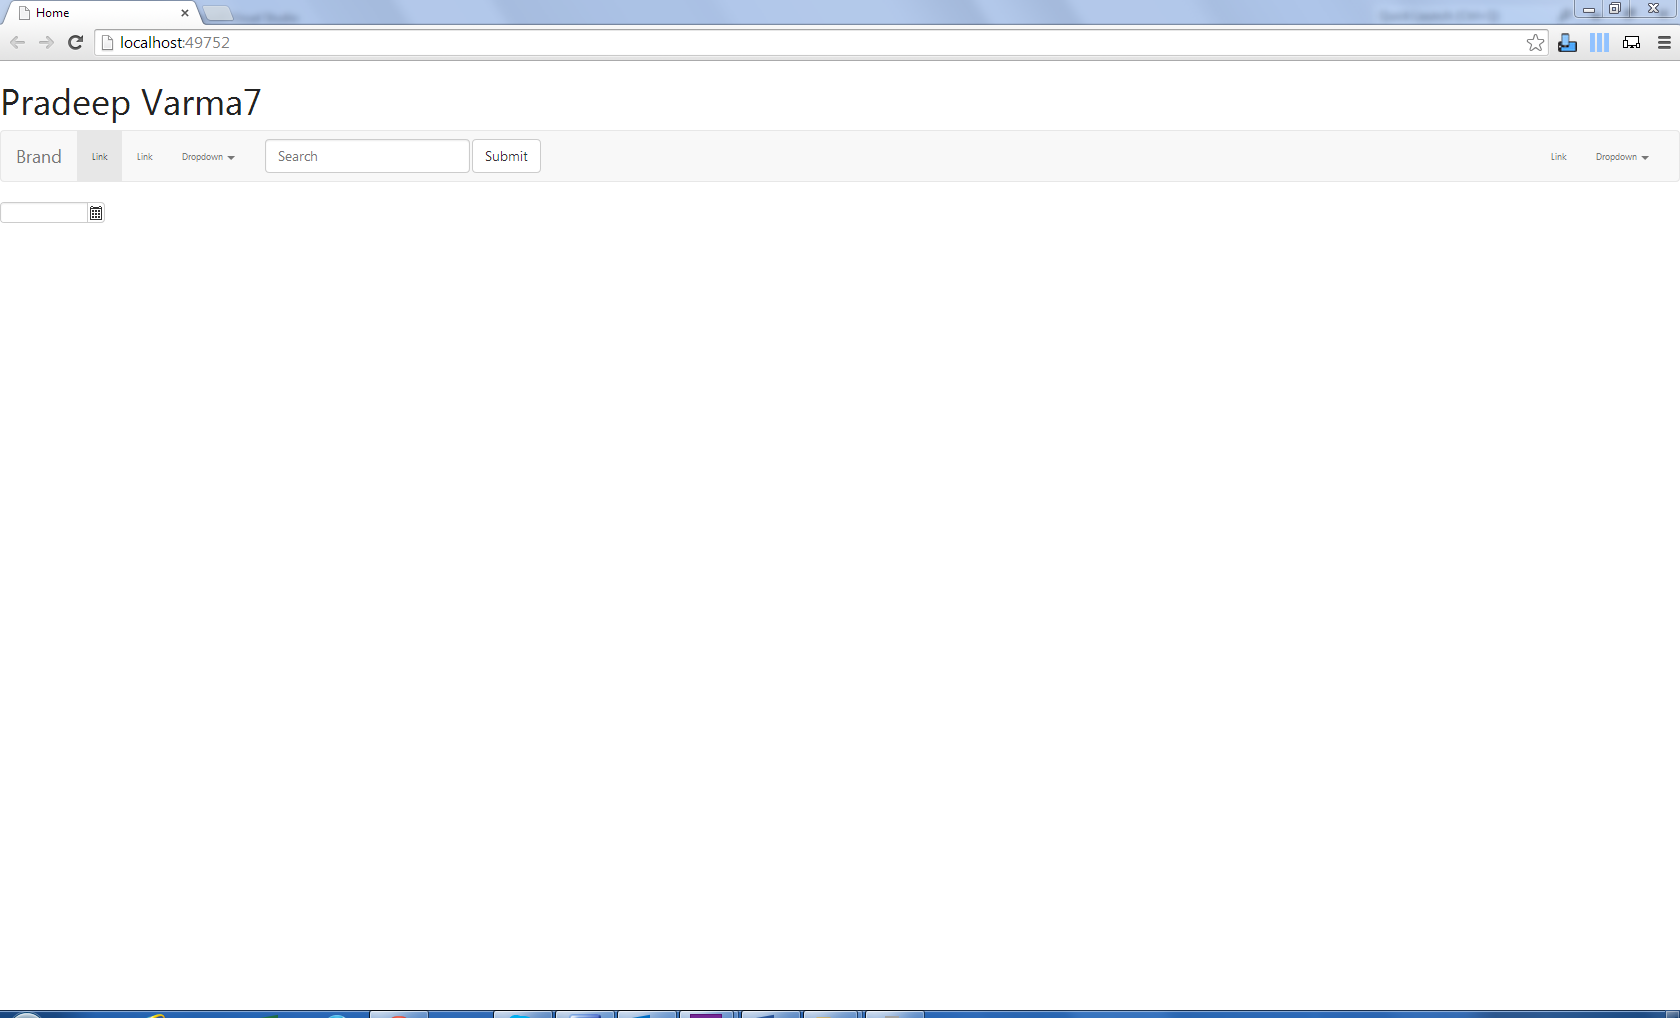
Now Lets Test it in View.
We Need To Add @ViewBag.Message in View To Verify.
Home.cshtml
<h1>@ViewBag.Message</h1>
Run the Application
