Simple Class Binding in XAML
Data binding is that robust way to connect your properties with any data source. In this tutorial we will dig the Class Binding Step-by-Step. If you are already familiar with Class Binding you can skip this tutorial.
What is Class Binding:
Class Binding Provides high-level access to the definition of a binding, which connects the properties of binding target objects, and any data source (for example, a database, an XML file, or any object that contains data). It is so strong and easy that one can easily interact with data within the application and can bound that data with any of the properties of the Objects.
Let’s Dig:
To understand the class binding we will go through the following steps for easy comprehension. First we will create a simple Windows 8.1 Silverlight application. This application will show the data of the Object bound with items of the Listbox.

Give the Project a good name, Once you have created the Project, you will see the following screen:

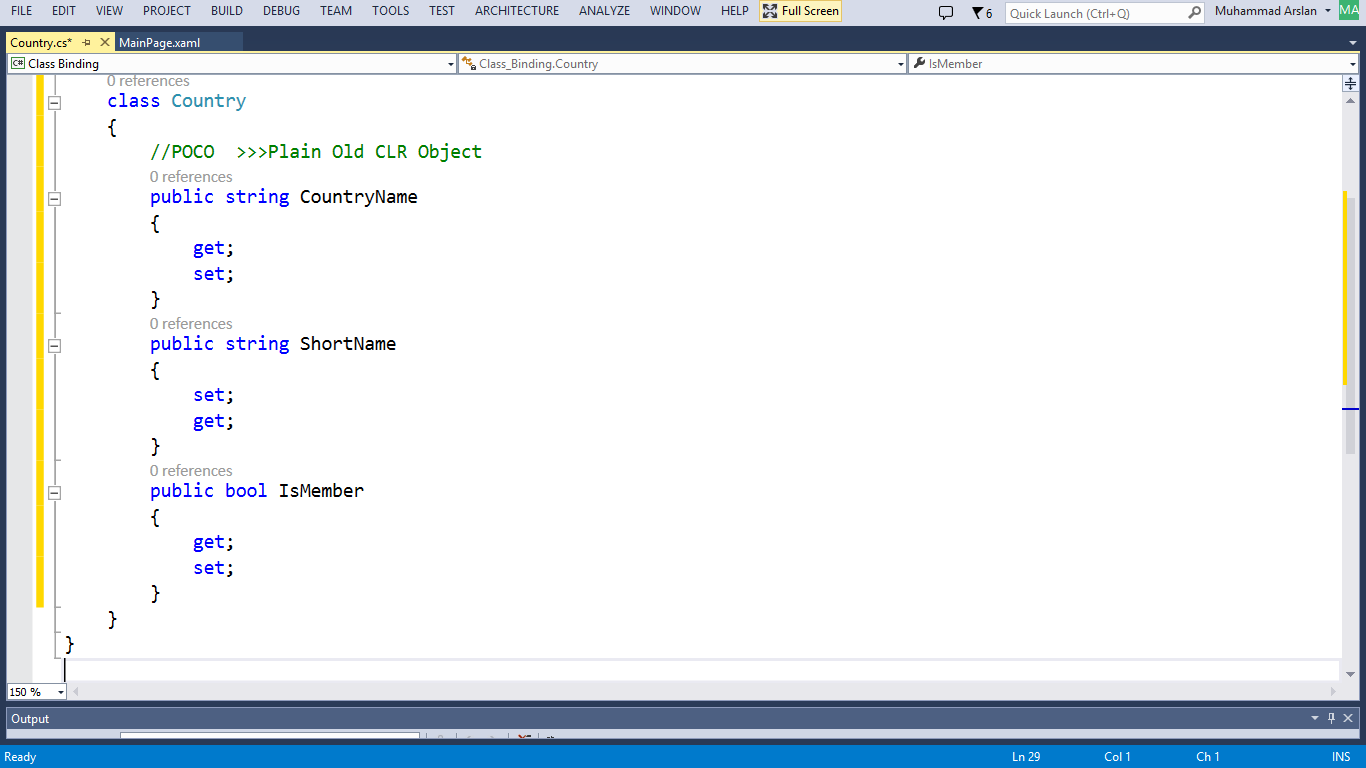
Now for class binding, we will create a class first, in this case I will create a Class named Country:

We will add some POCO (plain old CLR object) in our class:

After creating the Class, we will move the MainPage.xaml and will add the Listbox in the Content Panel,
After that, it would be noteworthy to mention that how to customize the items in the listbox, so customizing the listbox item Template, and as our class has three data members, so we will add three controls in each item, in this case I will take two textblocks and one checkbox for the bool data member.

You can see in this figure that checkbox and textblocks are being bind with the data members of the class (Country), so basically the xaml code which actually binds the class is as under:
<CheckBox IsChecked="{Binding IsMember}"/>
<TextBlock Grid.Column="1" Name="CountryName" Text="{Binding CountryName}"/>
<TextBlock Grid.Column="2" Name="txtShortName" Text="{Binding ShortName}"/>
Now to load some dummy data of Country Class, we will create the load event and add some data on the load event of the Page, for that we will need to create the list and add some objects of Class Country to that list and then making this list the source for the listbox. Here is the C# code of that:
 public MainPage()
        {
            InitializeComponent();
            this.Loaded += MainPage_Loaded;
            // Sample code to localize the ApplicationBar
            //BuildLocalizedApplicationBar();
        }

        void MainPage_Loaded(object sender, RoutedEventArgs e)
        {
            List<Country> country = new List<Country>();
            country.Add(new Country { CountryName = "Pakistan", IsMember = false, ShortName = "Pk" });
            country.Add(new Country { CountryName = "USA", IsMember = false, ShortName = "US" });
            country.Add(new Country { CountryName = "UK", IsMember = true, ShortName = "UK" });
            country.Add(new Country { CountryName = "India", IsMember = true, ShortName = "Ind" });
            country.Add(new Country { CountryName = "Russia", IsMember = false, ShortName = "RA" });
            country.Add(new Country { CountryName = "China", IsMember = true, ShortName = "Chi" });

            lstCountries.ItemsSource = country;
        }
And now you can run the project, we are done with simple class binding.

With that we are finished. Hope you enjoyed learning.
Downlaod:
You can download the sample project from the MSDN Samples site.
