How to connect Orchestrator to Windows Azure
Introduction
Orchestrator has available Runbook activities for Windows Azure that can be used once it is connected to it. The activities are part of the integration packs that Microsoft made them available online (http://www.microsoft.com/en-us/download/details.aspx?id=39622) and this Wiki article shares how you can connect Orchestrator to Microsoft Azure.
Integration
To connect Orchestrator to Microsoft Azure, you need to:
- Create a certificate to be used by Orchestrator to access Microsoft Azure
- Configure Windows Azure to trust the certificate from Orchestrator
Creation of a new Self Signed certificate on Orchestrator
To create a certificate on Orchestrator to be used to access Microsoft Azure, you can proceed like the following:
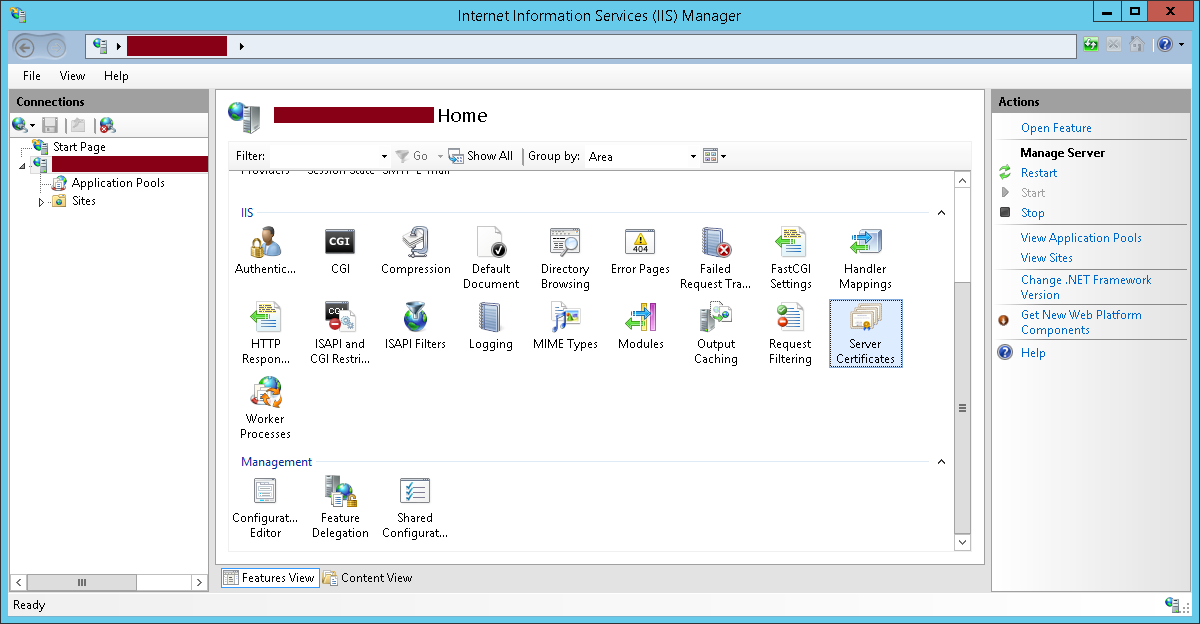
- Go to Internet Information Services (IIS) Manager and then go to Server Certificates
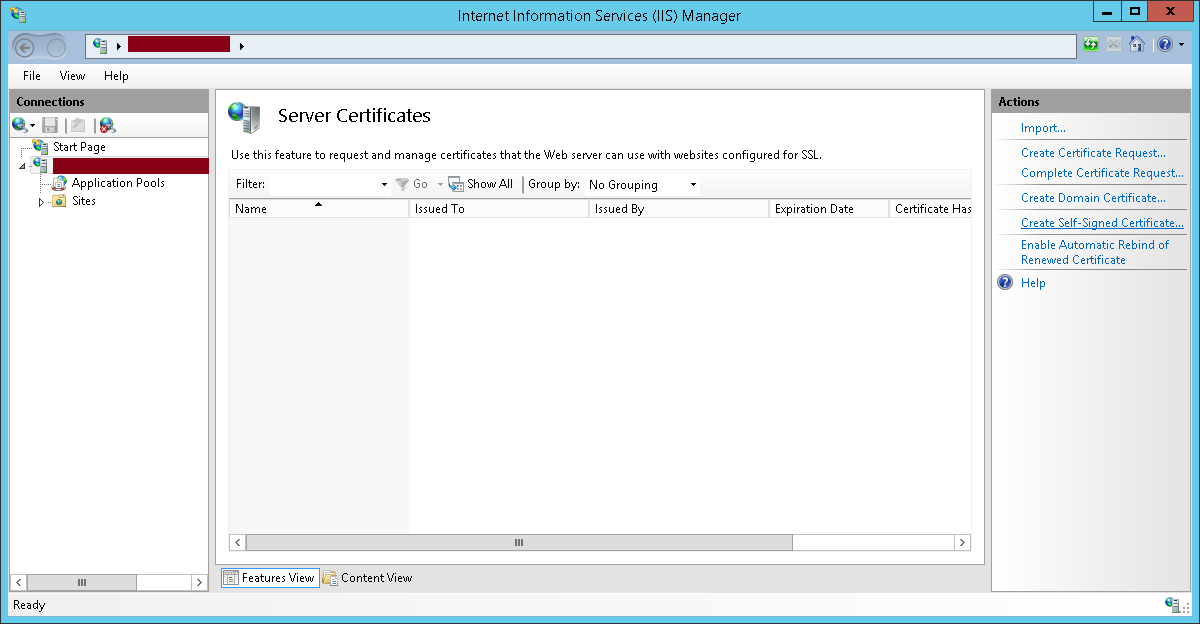
- Click on Create Self-Signed Certificate…
- Specify the friendly name for the certificate, make sure that Personal is used as the certificate store and then click on OK
Export of the created certificate
Once the certificate was generated, you will need to export two copies of it:
- The first copy does not include the certificate private key and will be used on Microsoft Azure to make the certificate trusted
- The second copy includes a certificate private key and will be used by Orchestrator to communication with Microsoft Azure
Below is how both certificates can exported – We will start with the first copy:
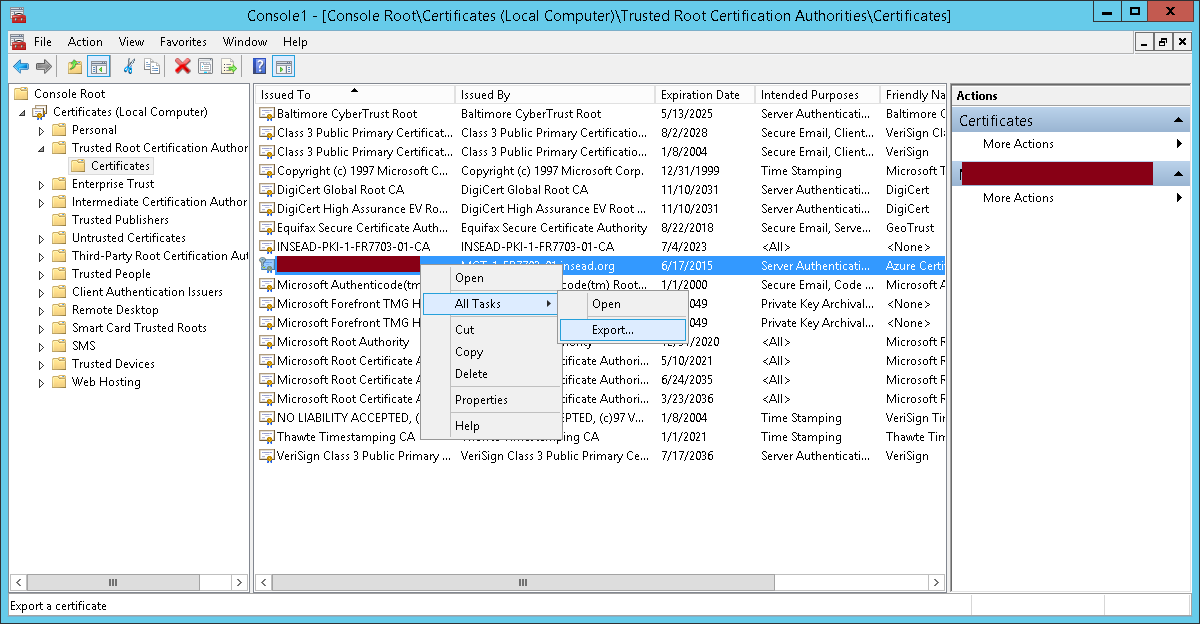
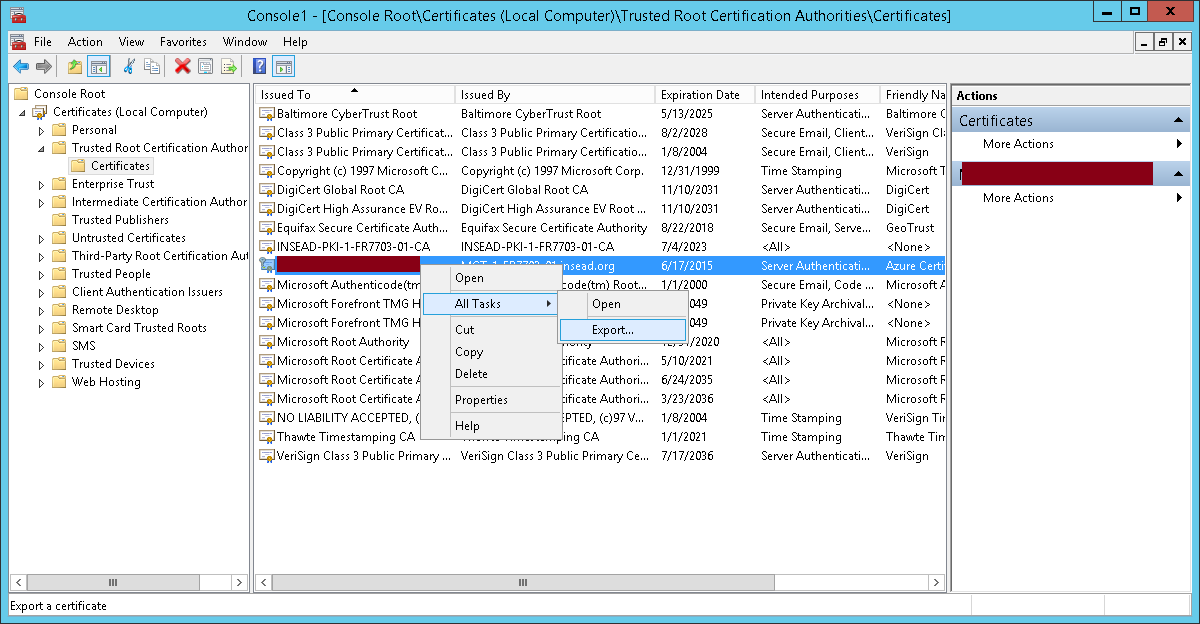
- Go to Certificates administrative tool for the Orchestrator server, go under Trusted Root Certification Authorities and then click on Export
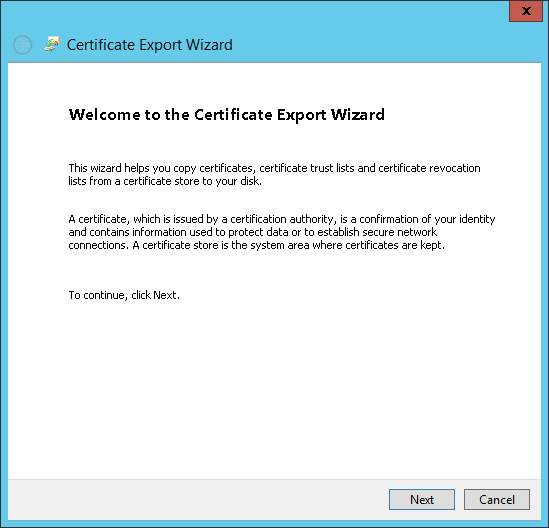
- Click on Next
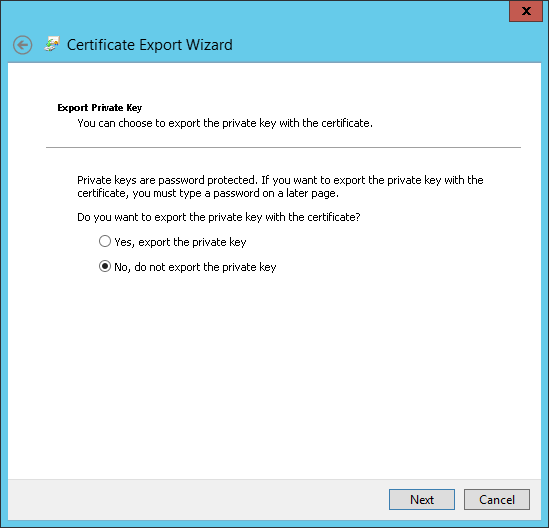
- Make sure that No, do not export the private key option is selected then click on Next
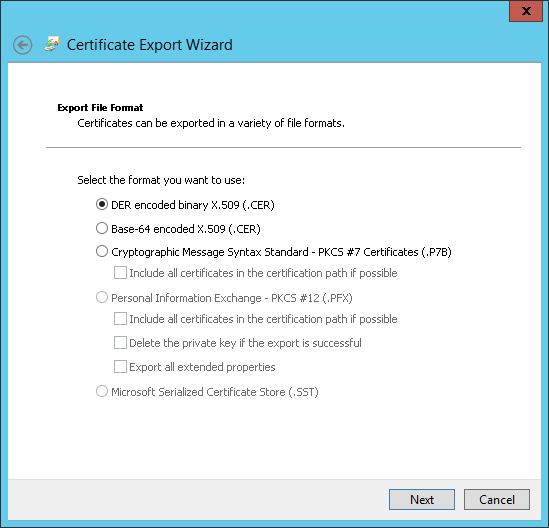
- Make sure that DER encoded binary X.509 (.CER) option is selected and then
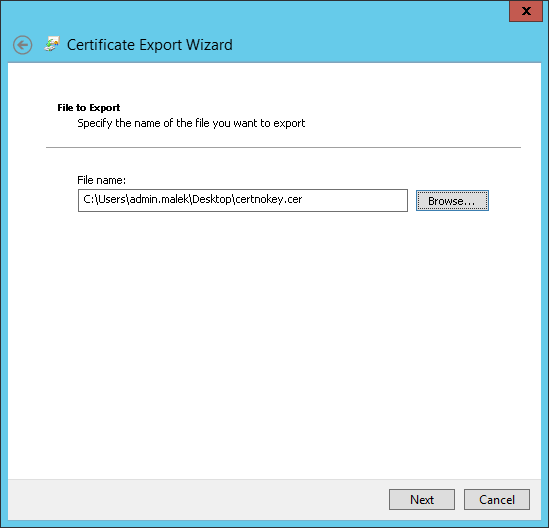
- Specify the name and the location of the certificate file to export and then click on Next
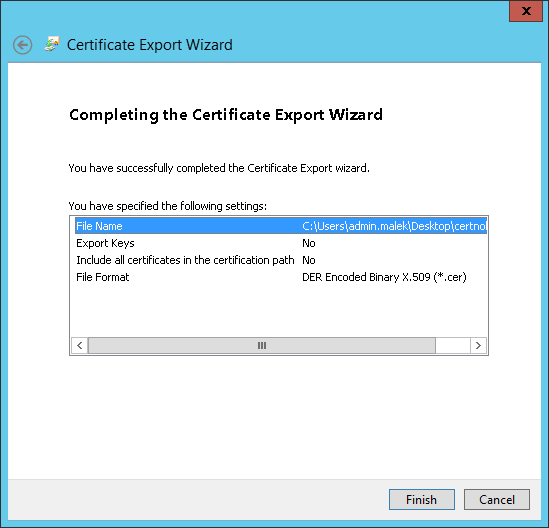
- Click on Finish
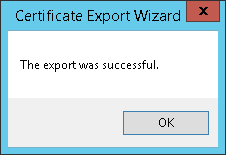
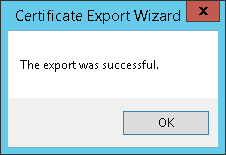
- Click on OK
For the second copy of the certificate, you need to proceed like the following:
- Go to Certificates administrative tool for the Orchestrator server, go under Trusted Root Certification Authorities and then click on Export
- Click on Next
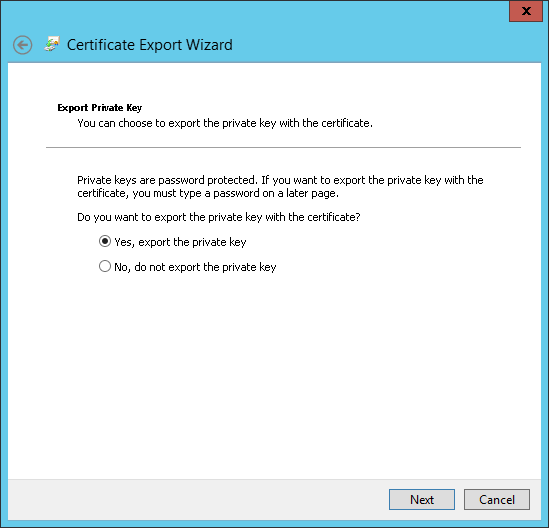
- Click on Yes, export the private key
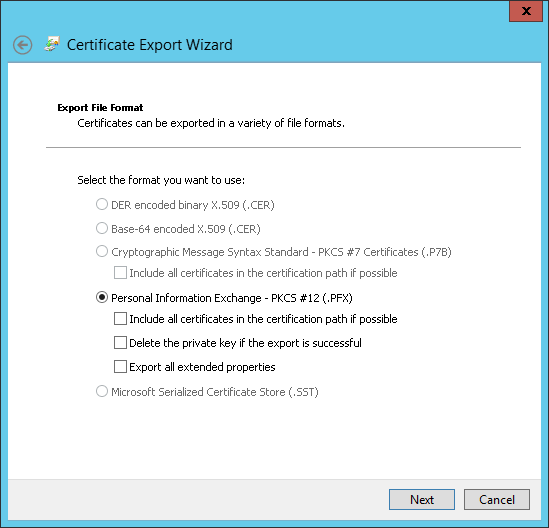
- Make sure that only Personal Information Exchange – PKCS #12 (.PFX) option is selected and then click on Next
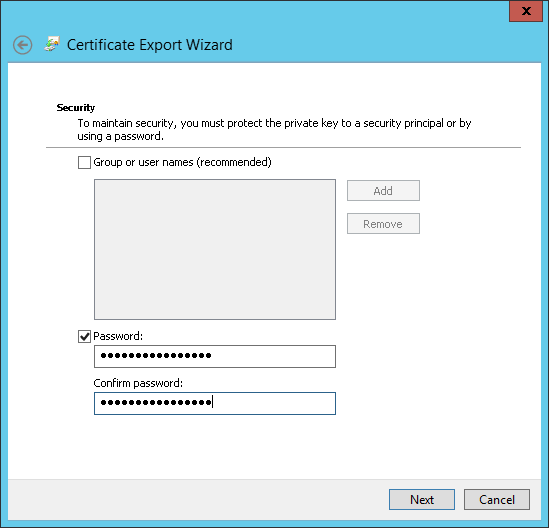
- Specify the password to use to protect the certificate and its key then click on Next
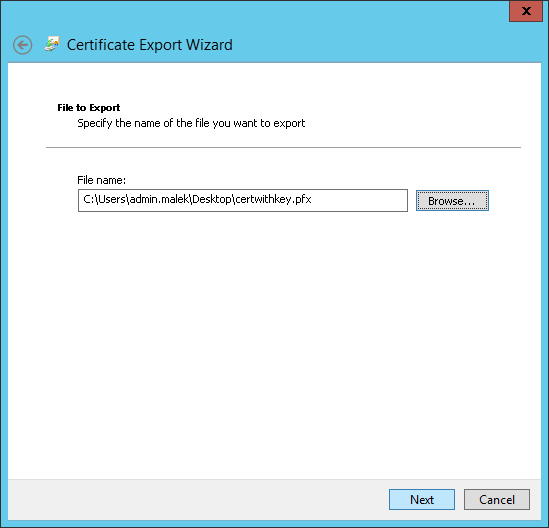
- Specify the name and the location of the certificate file to export and then click on Next
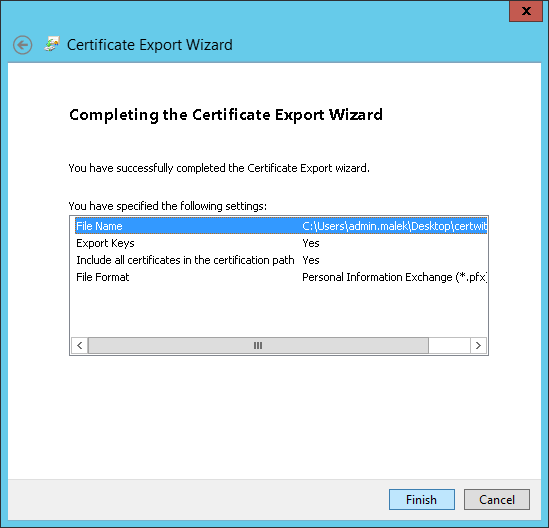
- Click on Finish
- Click on OK
Configure Microsoft Azure to trust Orchestrator certificate as a Management certificate
To configure Azure to trust Orchestrator certificate as a Management certificate, you need to proceed as the following:
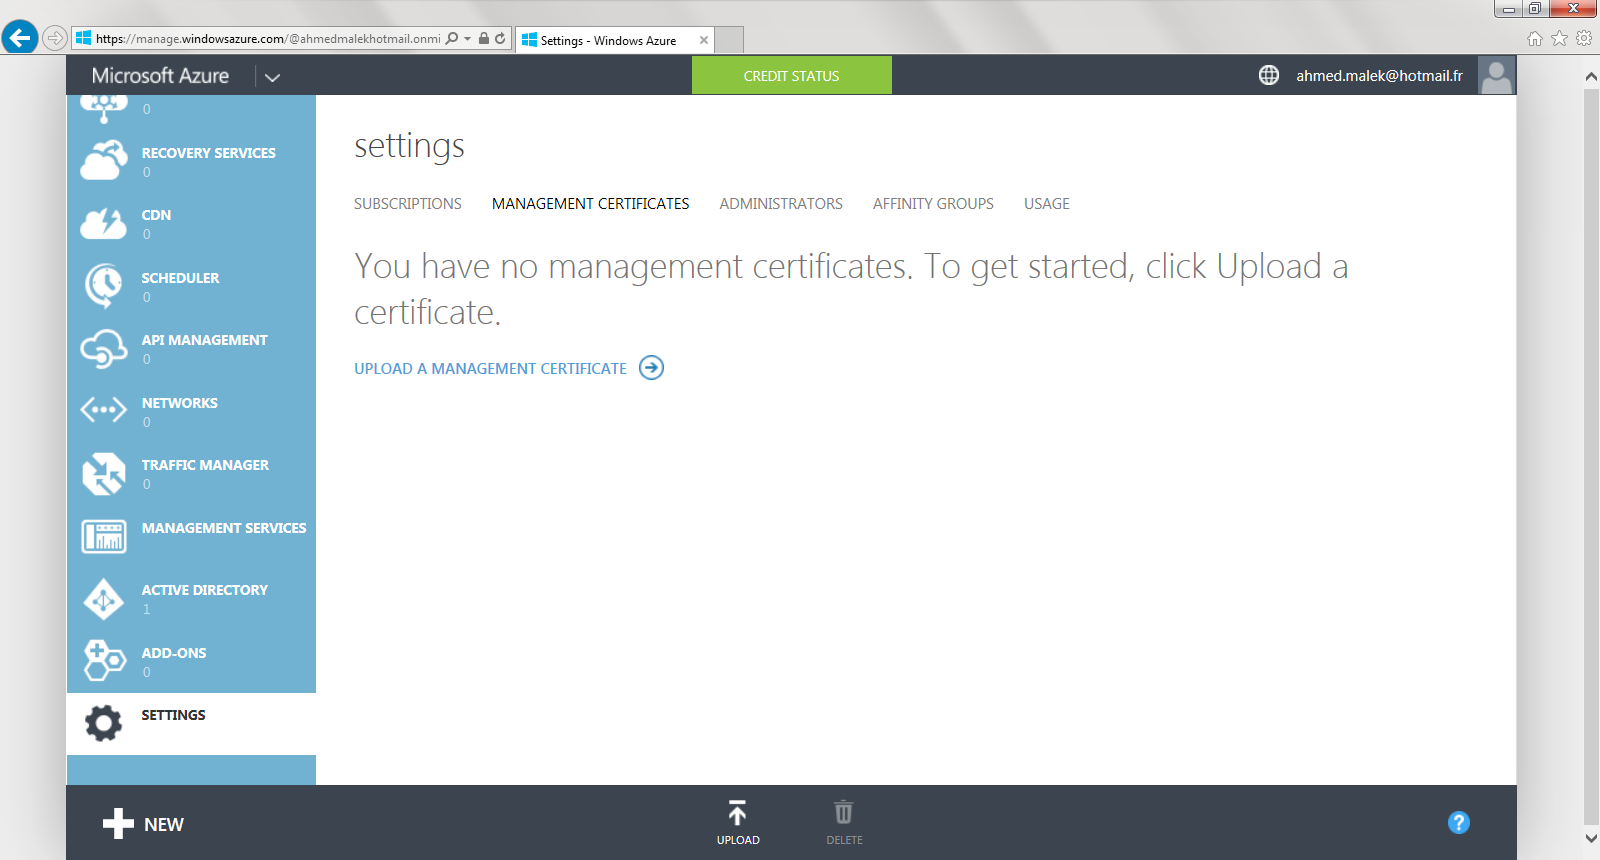
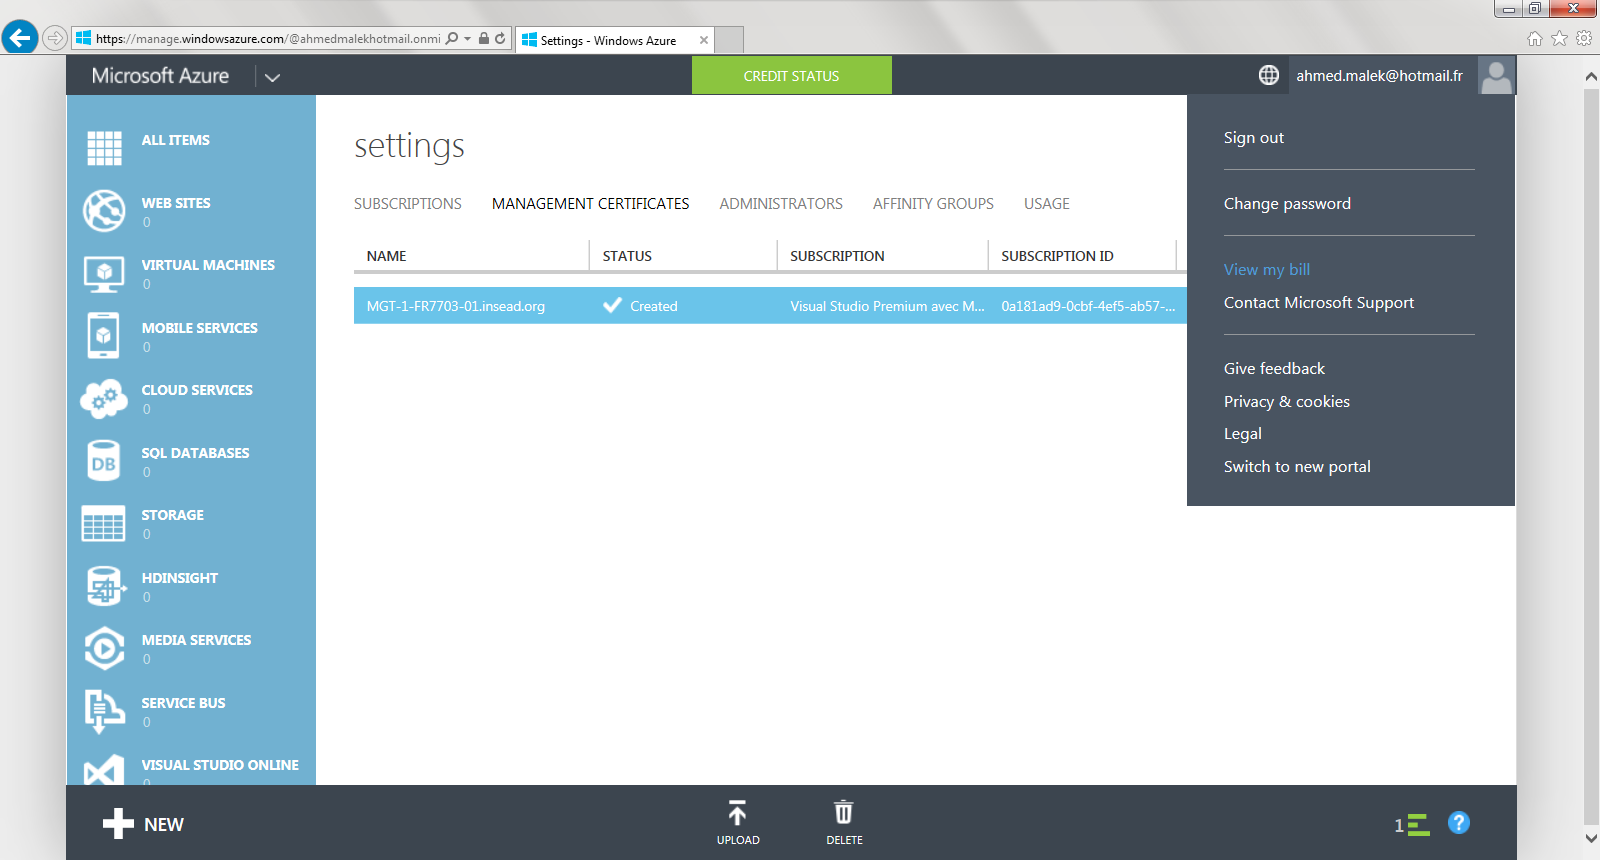
- Go to Settings and select UPLOAD A MANAGEMENT CERTIFICATE option
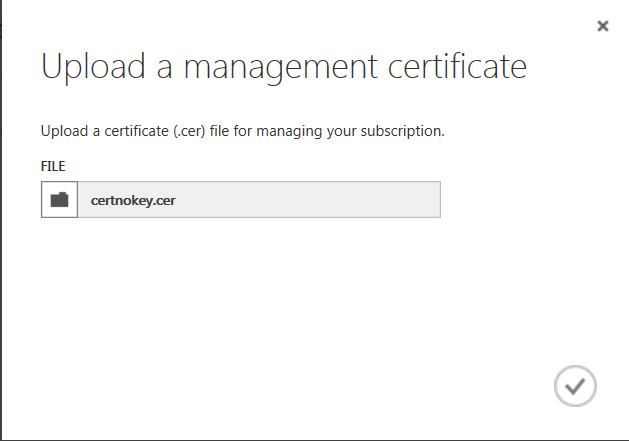
- Select the exported certificate with no private key and then continue
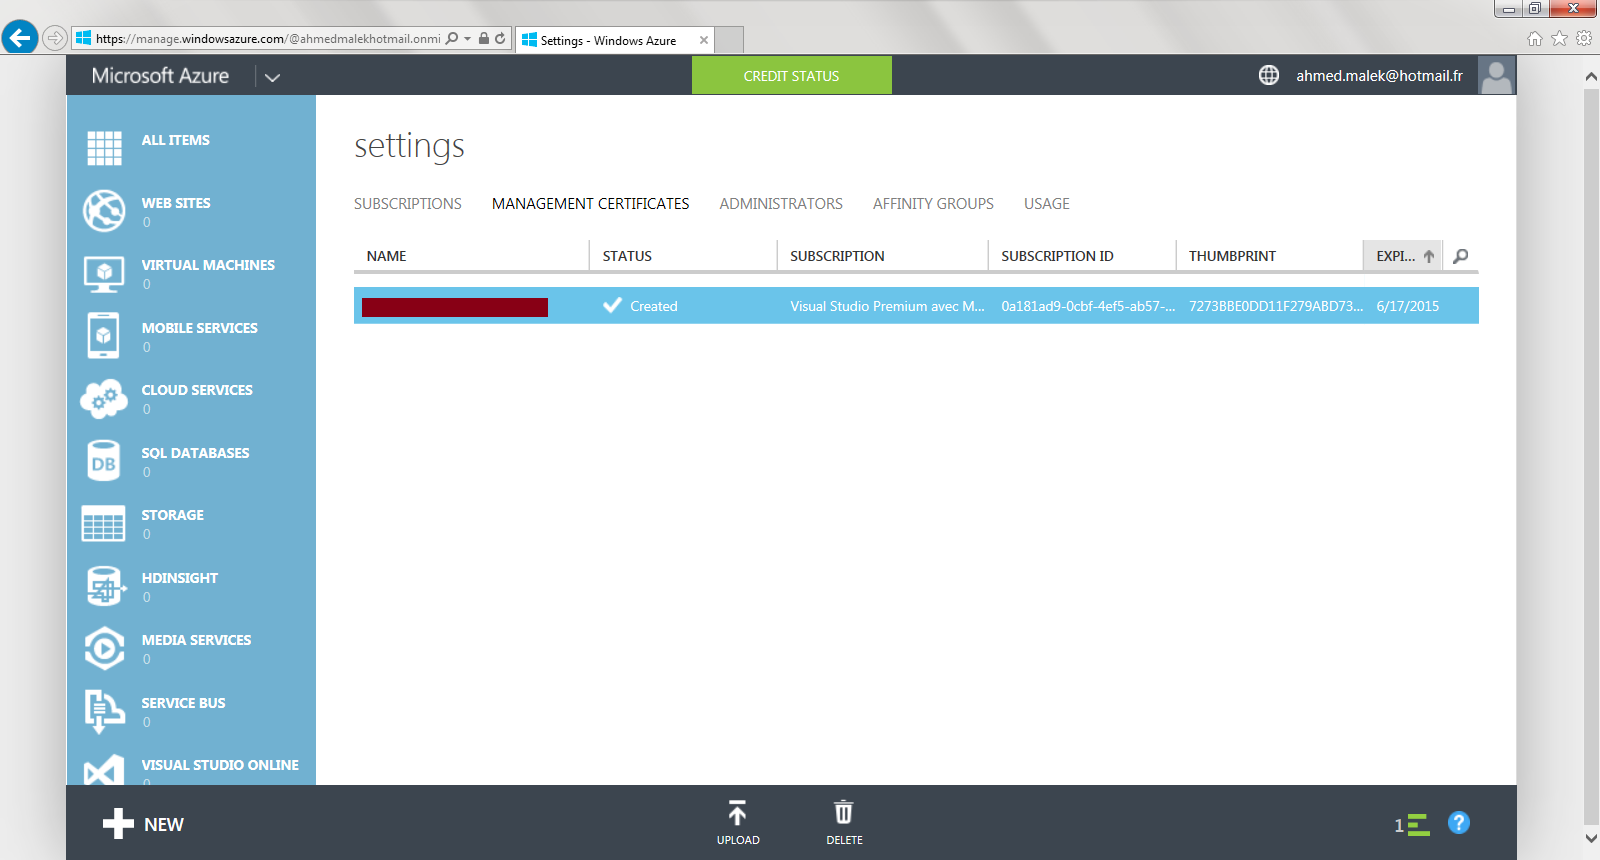
Once done, you will be able to see that the certificate was imported.
Configuration of Orchestrator to connect to Microsoft Azure
The last step would be to connect Orchestrator to Microsoft Azure. To do it, you need to proceed like the following:
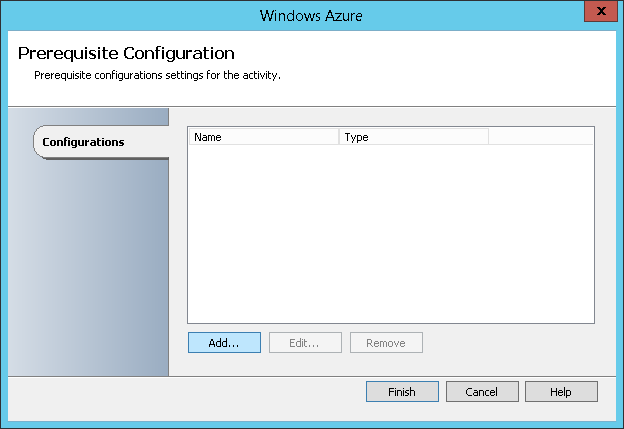
- On Orchestrator, click on Options and then select Windows Azure
- Click on Add…
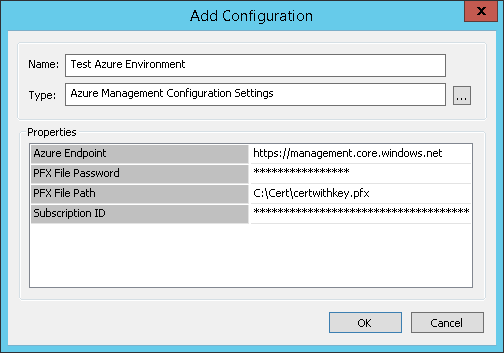
- Specify the name of connector, select Azure Management Configuration Settings as type and then:
- Specify http://management.core.windows.net as Azure Endpoint
- Import the exported certificate with key and specify its password
- Specify your Subscription ID (*)
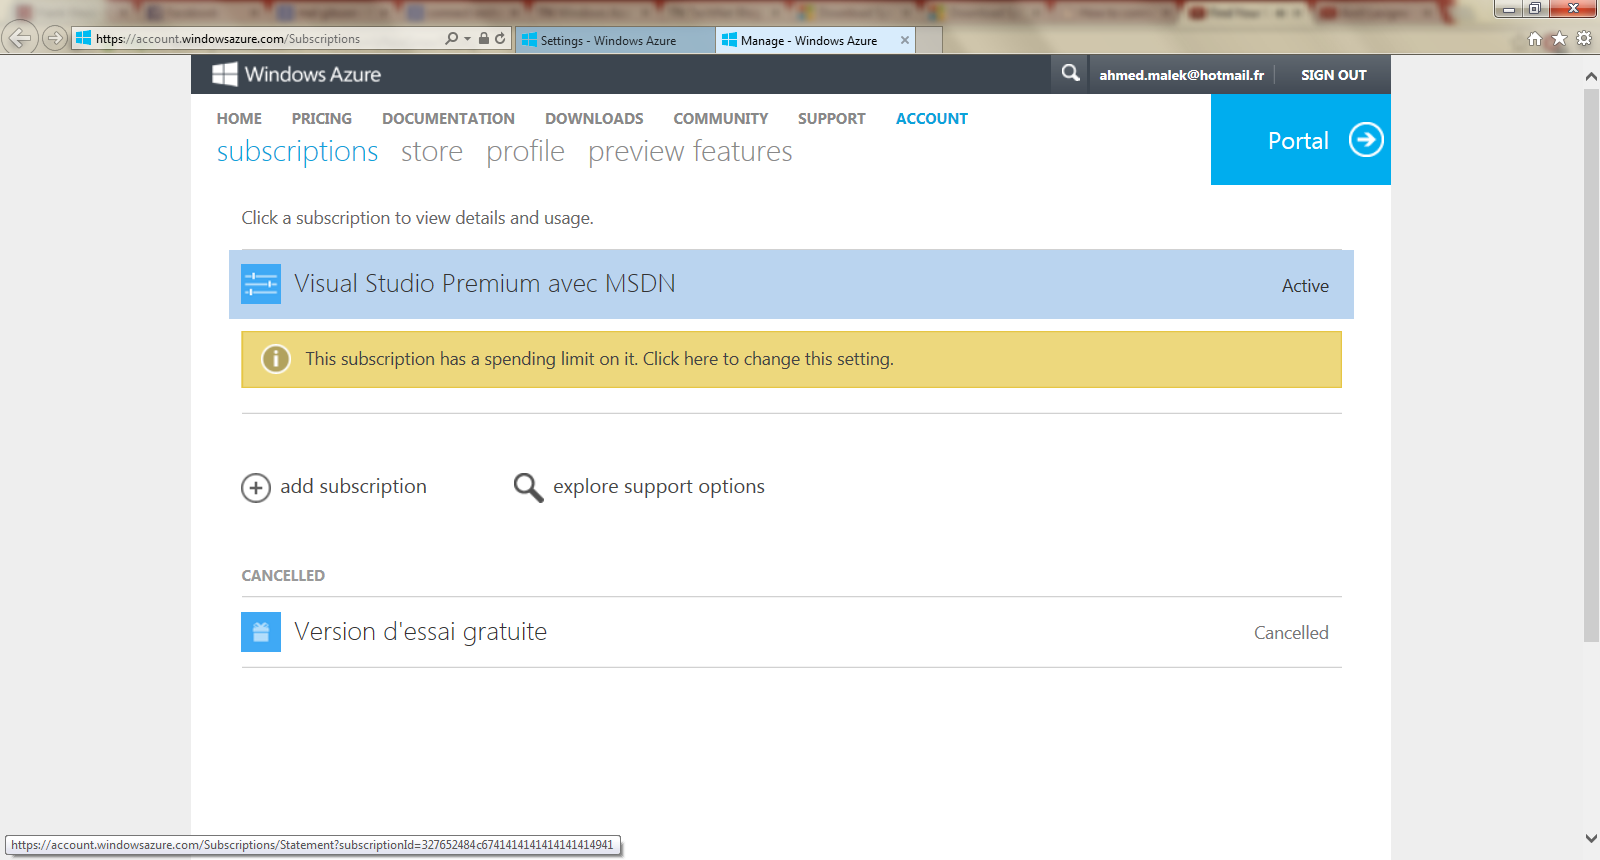
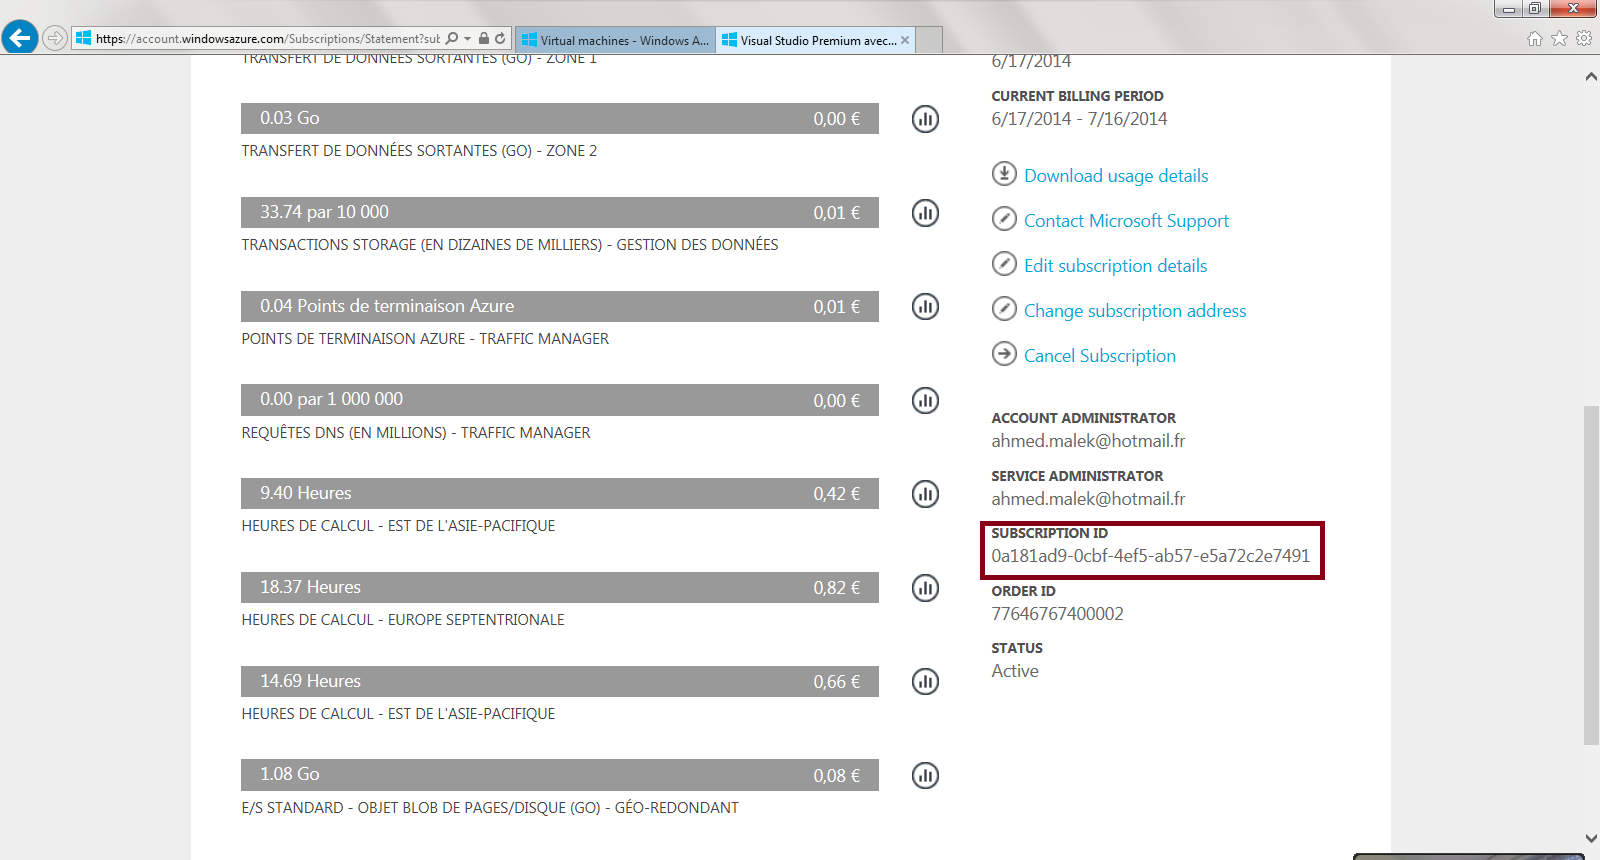
(*) You can use the following to identify your Subscription ID:
- On Microsoft Azure Management portal, click on View my bill
- Select your Subscription
Once done, you will be able to find your Subscription ID
Conclusion
Using Orchestrator is one of the possible ways that can be used to automate the administration and management of your Microsoft Azure environment. This Wiki article shared how Orchestrator can be connected to Microsoft Azure which is the first step for the integration and the automation.
