Azure: How to Create a Developer VM
Introduction
We can use Microsoft Azure's IaaS offerings to create a development environment (or DEV VMs) in the cloud. The major advantage of this is that our developers don't need to waste time and effort in setting up their machines, etc. This article walks you through the steps involved in setting up a DEV VM in Azure.
Create Virtual Machine from Gallery
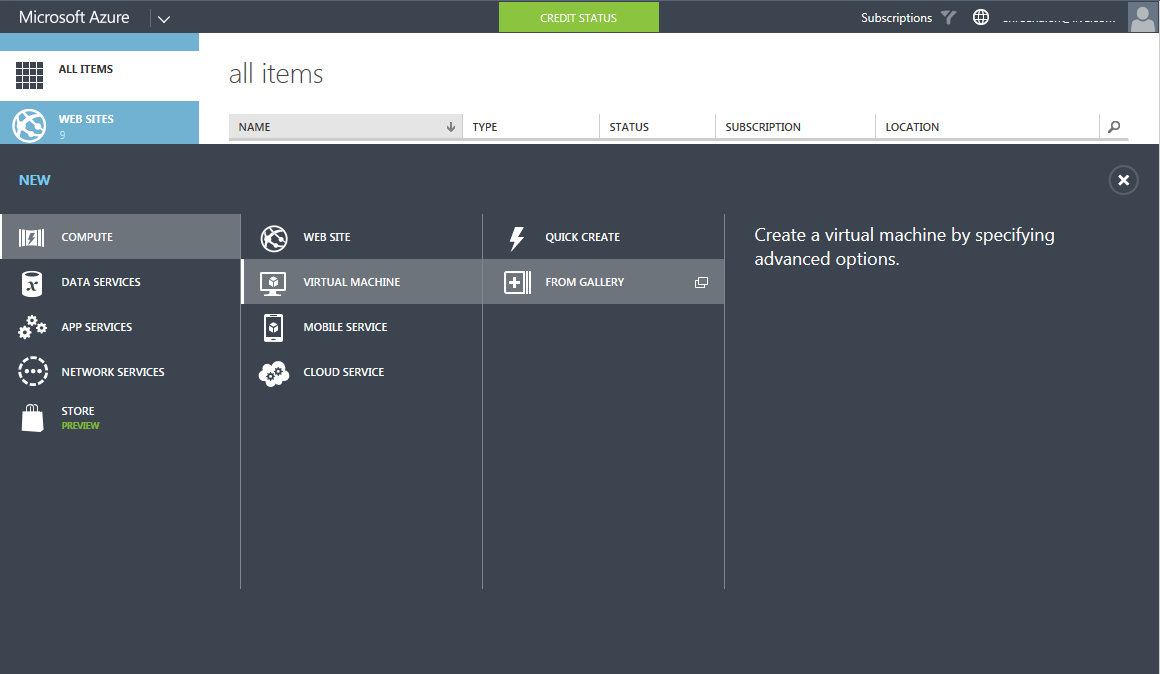
Launch the Management Portal, from where we can easily manage almost any aspect of Azure's cloud offerings. Go to New > Compute > Virtual Machine > From Gallery as illustrated:
>
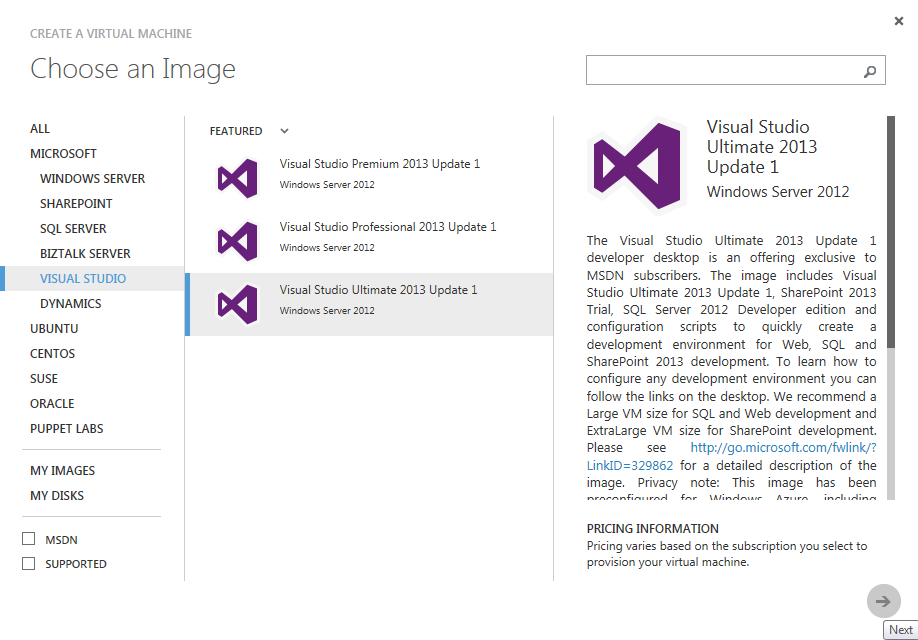
Choose an Image
We will now be presented with all available Gallery Images, which will be the start-point in creating our VM. Since we need this VM for development purposes, choose the Visual Studio option as illustrated:
Virtual Machine Configuration
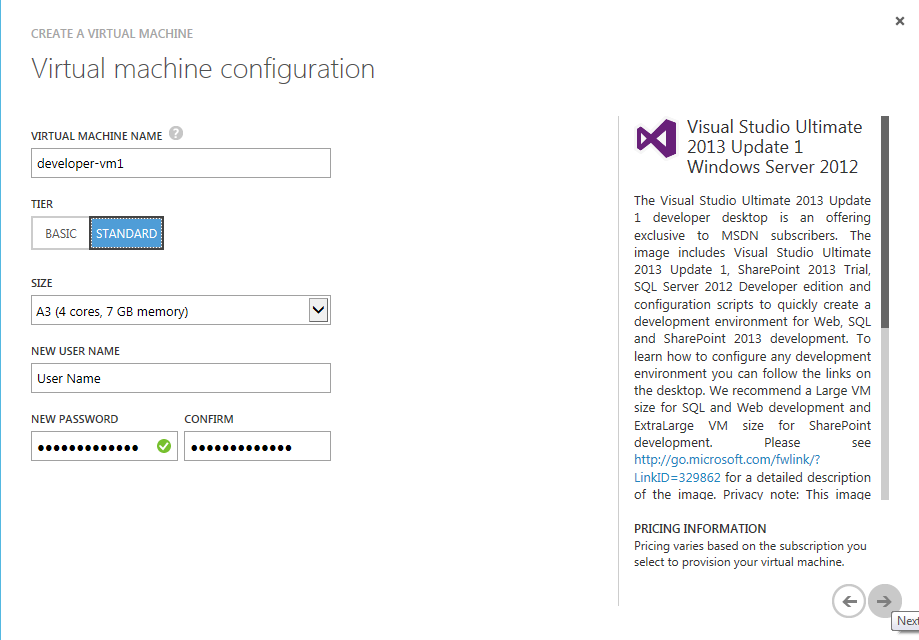
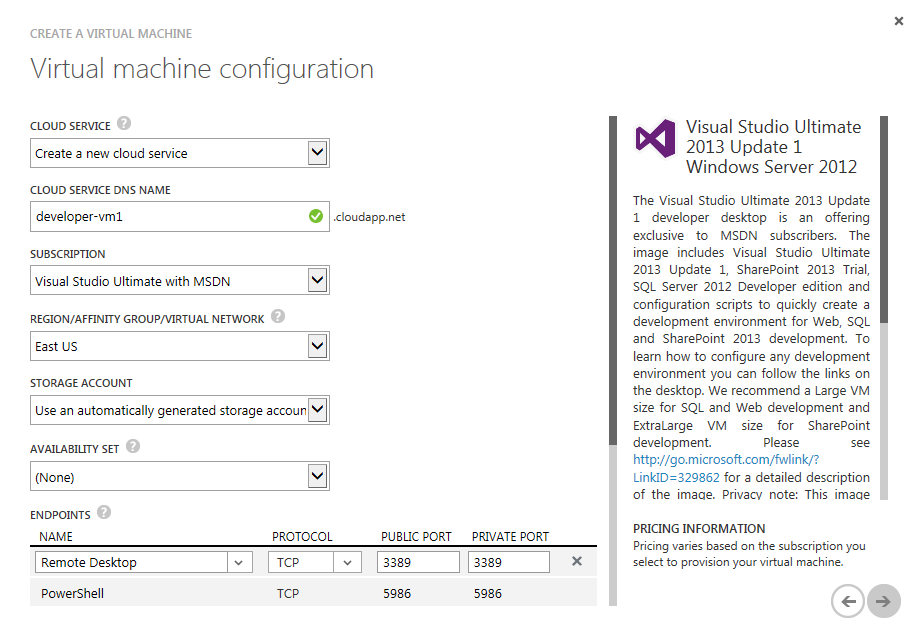
The next 3 screens help us to further configure our VM, go ahead and give our own values to various names, etc (look out for important notes below each screenshot):
Provide a name for our VM, and create a user account using which we can access this VM later. Keep all other values as-is:
On the next step, we can choose a region that closest to our location. Make sure you check the Public Port against Remote Desktop to 3389 (By Default) so that we can later login via RDP, we can keep all other values as-is:
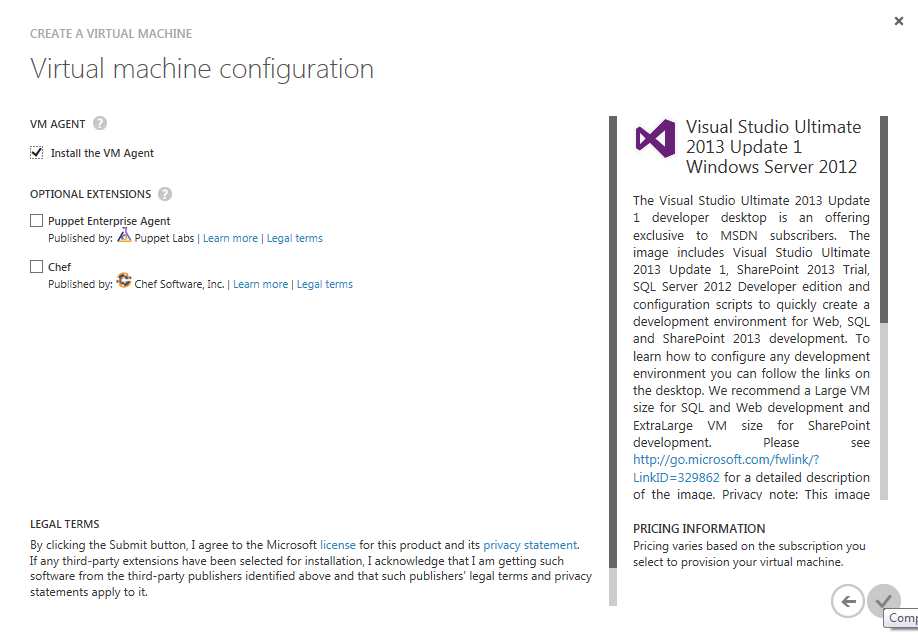
Make sure the Install the VM Agent is checked, keep all other values as-is:
Almost There!
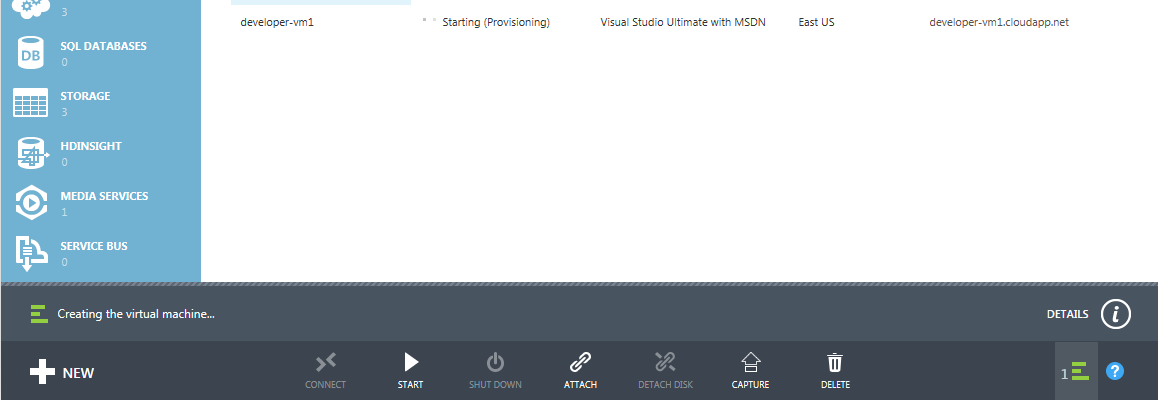
Azure now goes ahead and spins up a VM for us. This will take a couple of minutes, so go ahead & enjoy a cup of coffee!
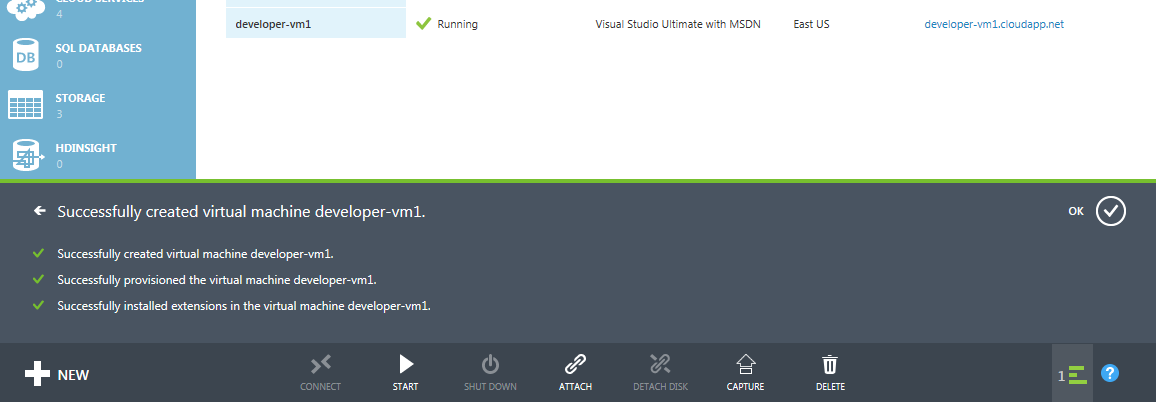
Once our VM is created/provisioned, we will be notified like so:
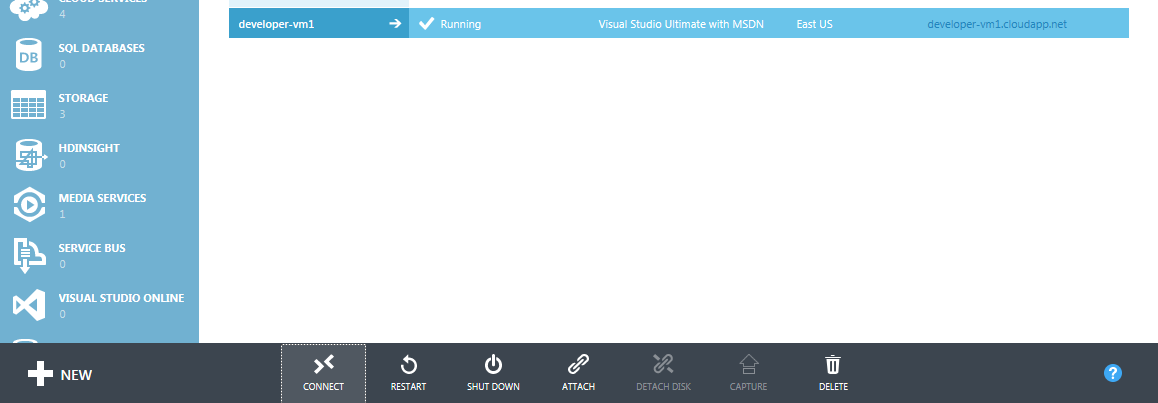
We can now download the RDP file to remote login into our VM by clicking on the Connect option:
Login!
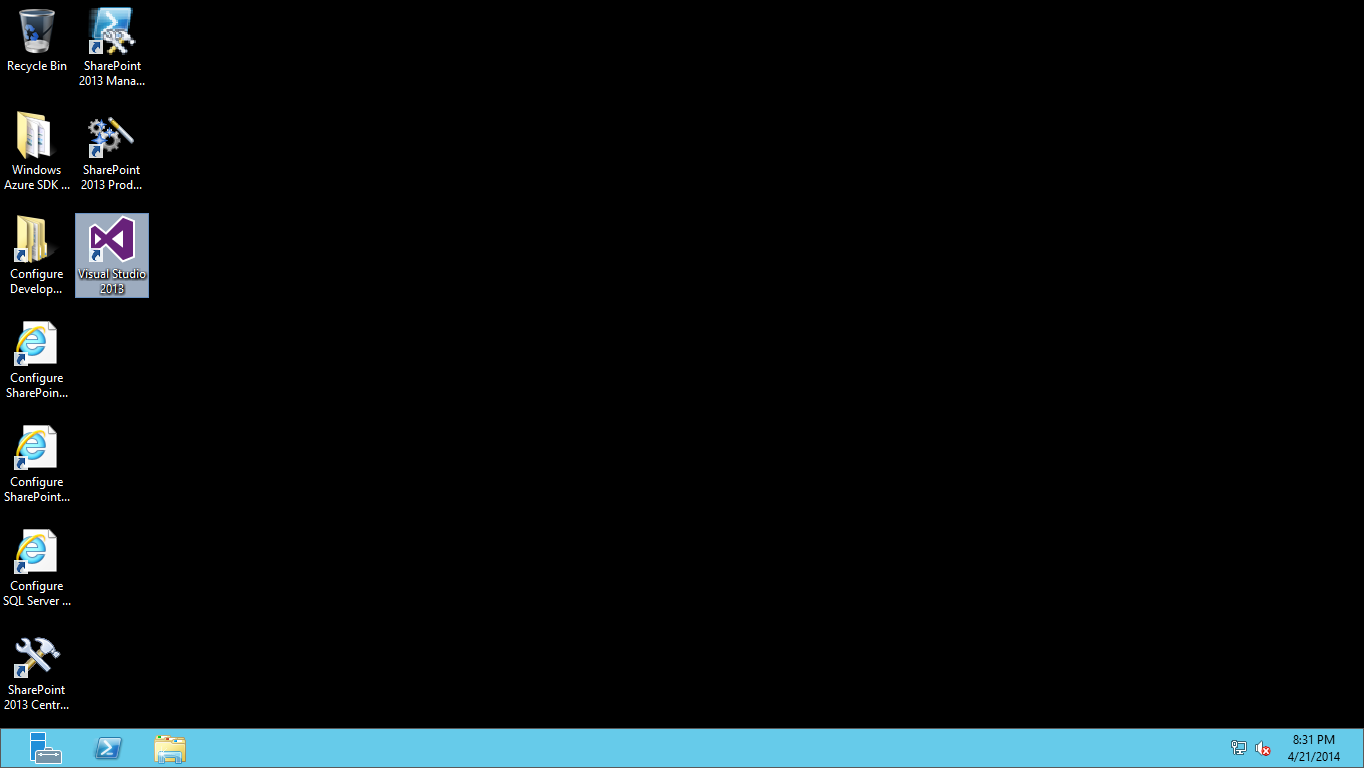
We have now logged into our DEV VM, see that shortcut to Visual Studio already placed on our desktop? Happy coding!
Glossary
| Item | Description |
| VM | Virtual Machine |
| DEV | Development |
| RDP | Remote Desktop Protocol |
| IaaS | Infrastructure as a Service |
