Windows: Step By Step Local User Profile Migration To Domain User Profile With All Settings
This is a Step-by-Step tutorial that will cover one of the major problems faced by help desk administrators, which is migrating local user profile to domain user profile.
Introduction
Migrating local user profile to domain user profile is an easy to follow process. You simply copy the data from the local profile to the domain profile folder. But what if the user has over 20 GB of data on his/her profile? It is not recommended to store confidential information on your profile but this is the problem you have to deal with. Are you going to transfer all the profile data to the domain profile? There's another method to achieve this goal. Stay with me for five minutes and it will save your time for one hour.
Customize local profile
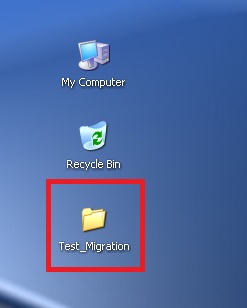
This step in this guide is not necessary. You can skip this step if you already have a local profile. Since we do not have a local profile, let's login to a workstation using local credentials and customize desktop and create some folders on a profile.
Prepare for migration
If you navigate to User profiles folder (C:\document and setting for windows XP) you will notice that there are local profile and domain profile for user Mahyar which is our test user account.
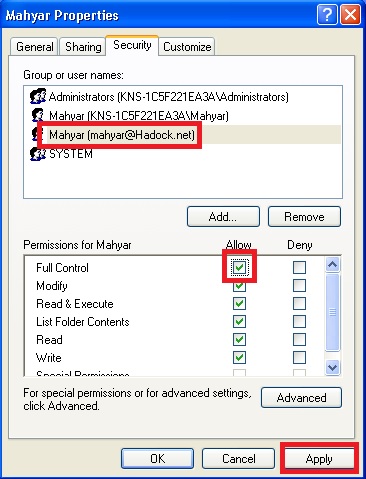
Right-click on Local profile folder and navigate to Security tab. Here what you have to do is to add domain user account and assign Full Control permissions on the folder.
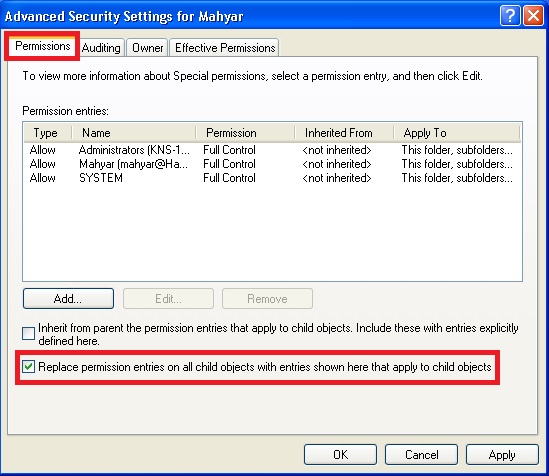
Next step is to replace permissions on child objects of Local profile folder and commit the changes.
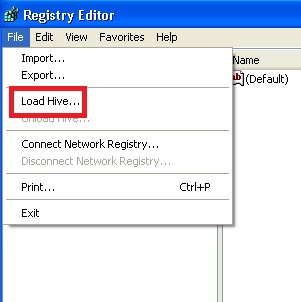
Open up registry editor by typing regedit on Start > Run and hit OK. Select HKEY_LOCAL_MACHINE and click on Load Hive… from File menu.
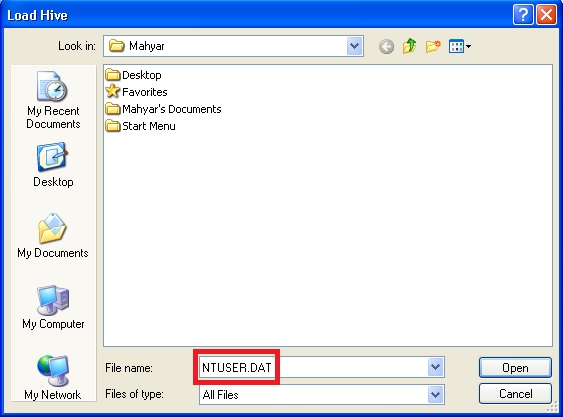
Since every user has their own user settings, now you must edit the user setting of local profile folder. Navigate to C:\Document and setting and go to your local profile folder. In this case we go to Mahyar folder which is our local profile folder. Once the folder is opened type NTUSER.DAT on file name text box and click Open
Registry editor will prompt you to enter a name for this node. Lets name this ntuser.
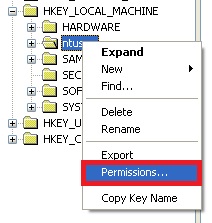
And here is the cool part. You have to assign the same permissions on this node for domain user. So right-click on the node and go to Permissions.
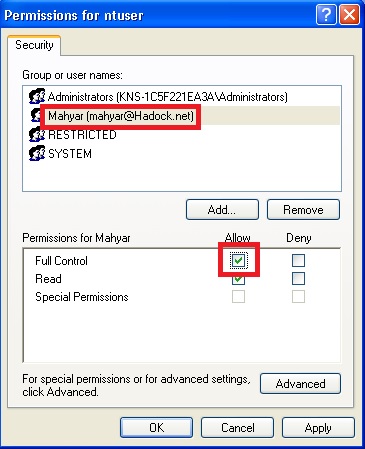
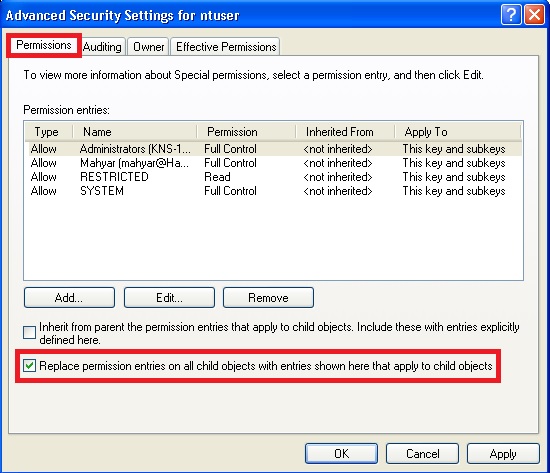
Again, add domain user to the security tab and assign Full Control. You also have to replace permissions on child objects of ntuser node.
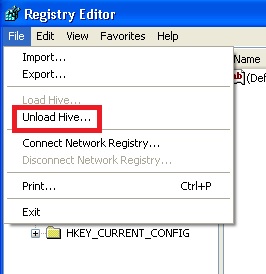
After completing the above steps it’s time to unload the hive. So click on Unload Hive from File menu.
Is profile migrated yet? No.
Last step in order to migrate the profile is to open up registry editor and navigate to the following node: HKEY_LOCAL_Machine\SOFTWARE\Microsoft\Windows NT\CurrentVersion\ProfileList. In this node you will see all the settings related to user profiles on your computer. Firstly, you have to find the local profile node. It is fairly easy by clicking on each node and looking at below key.
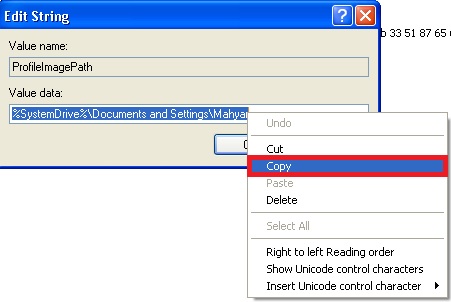
Once you found the local folder double-click on ProfileImagePath and copy the path.
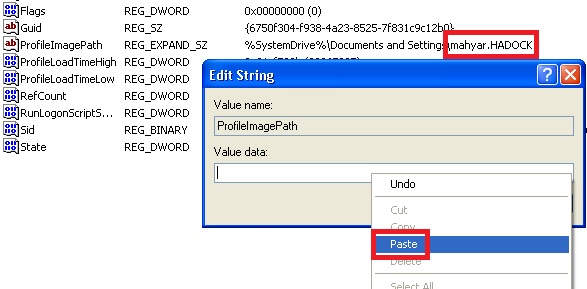
Now all you have to do is to paste this path to the ProfileImagePath attribute of domain profile and click OK.
Restart the machine and have your profile migrated. :)
