Windows 2012/R2 Install & Configure ISCSI target server
ISCSI is a standard protocol which help us to share the storage over the the Ethernet.Server 2012 has inbuild feature for create iscsi server.This guide include all the steps of configuring iscsi storage.
- We need to add ISCSI role from the server manager.
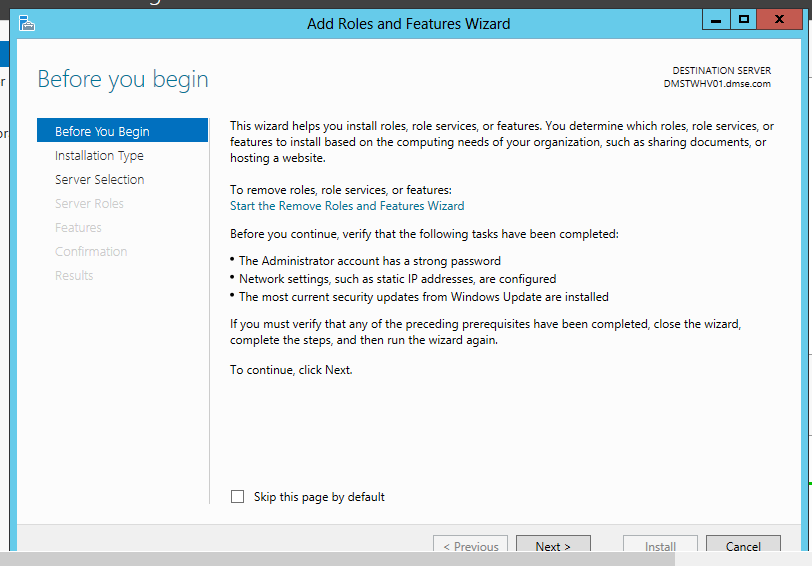
Open server manager > Select "Add Roles and Features"
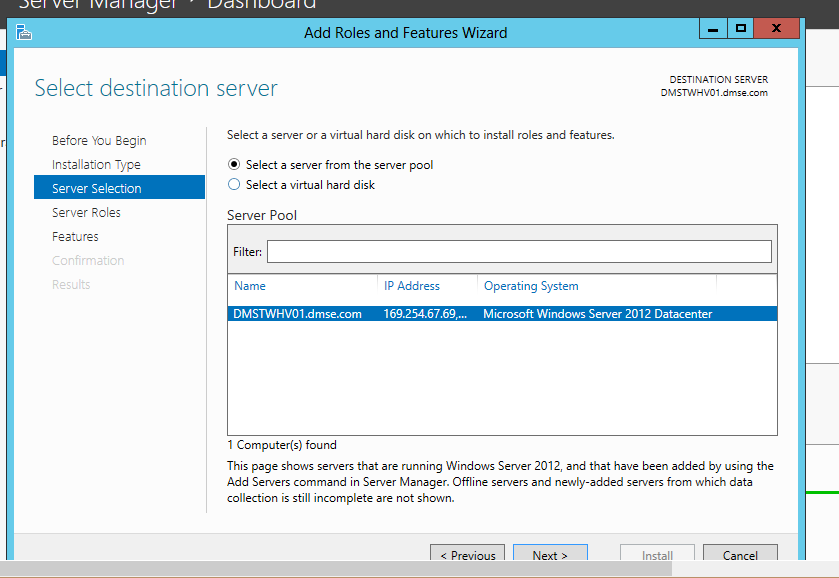
Select "Role-based or feature based installation"
Expand the "File server" Select "File Server,iSCI Target Server,iSCI Target Storage Provider",Click on "Next"
Click on "Close"
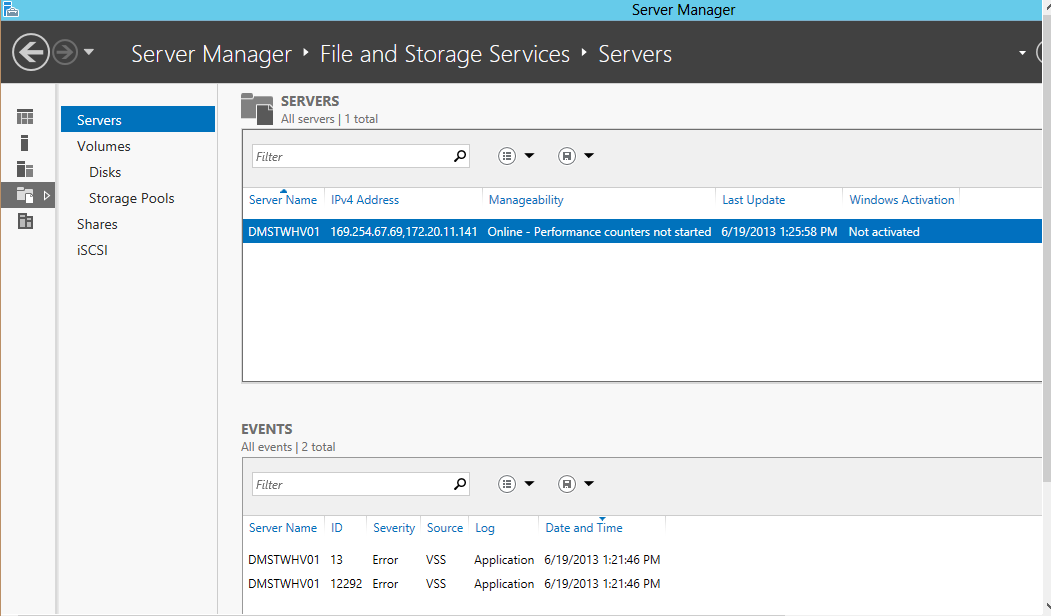
We can verify the installation on server manager**("File and storage services")**
Select the "Server"
Now we have to create iSCSI disk for sharing,Click on "iSCSI"

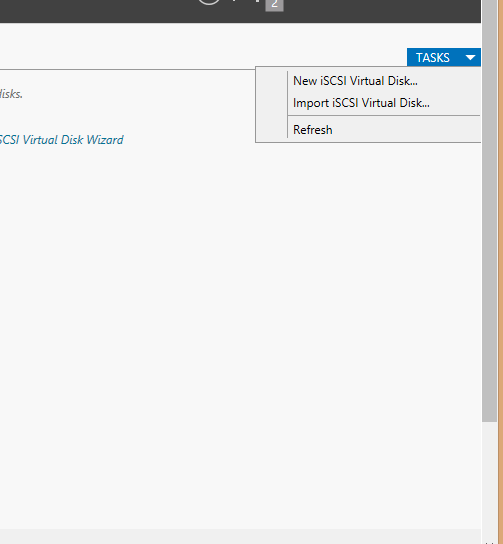
Open "Tasks" menu and select "New iSCSI Virtual Disk"
We can select the location by partition or we can give the custom path, in this example we are using D:\SAN as iSCSI disk path

We have to give the name for iSCSI disk
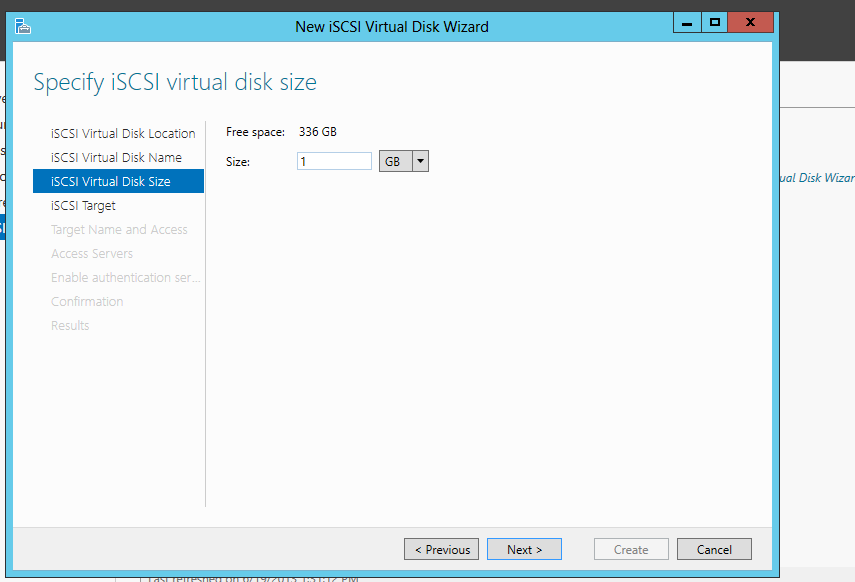
We can assign the capacity for iSCSI disk
Select "New iSCSI target" and click on "Next"
Assign a name for ISCSI target.This is only for identification purposes
Select the method of identifying the iscsi server(target).There are few options such as DNS name,IQN string or IP address.I have selected IP Address.
Select IP Address and give the server's ip address and click "OK"
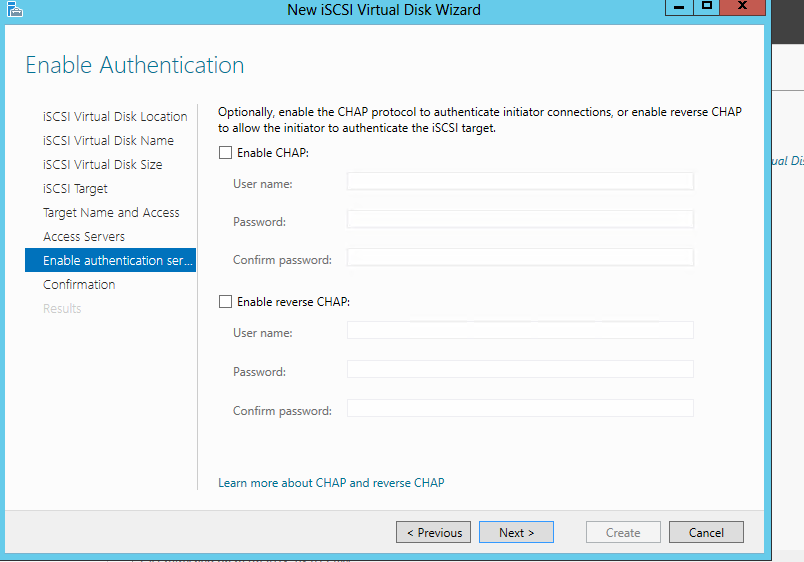
If required we can give a passowrds for access this iSCSI target
Click on "Next"
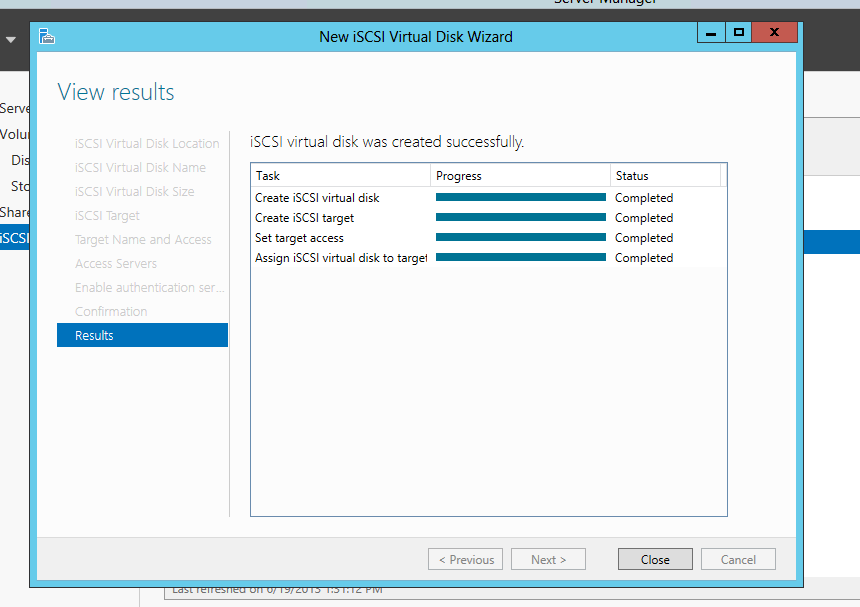
Click on "Close"
Go to the remote server/pc where we want to mount this disk.Press "Windows" button type iscsi
Then select iSCSI initiator and confirm for start the service.
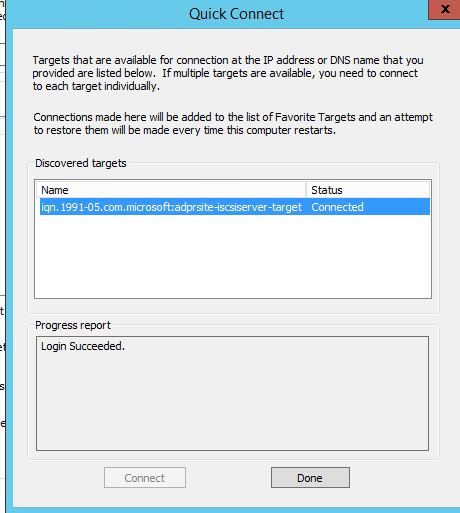
Give the iSCSI server's ip and click on "Quick Connect"
Click on "Done"
