BizTalk Adapter Service Installation
Overview
In this article I will cover installation of the BizTalk Adapter Service (February 2014 Update).
The BizTalk Adapter Service facilitates communication between a cloud application and an on-premise Line-of-Business (LOB) system. The following on-premise LOB systems are supported:
- Microsoft SQL Server
- Oracle Database
- Oracle E-Business Suite
- SAP
- Siebel eBusiness Applications
With the Azure BizTalk Services February 2014 Update there is no longer a SQL Server installation requirement for the BizTalk Adapter Service. The BizTalk Adapter configuration data has been moved from an on-premise SQL Server database to an Azure SQL database.
Prerequisites
Before installing the BizTalk Adapter Service Runtime the following are required:
- Create a local service account and add it to the local Administrators group.
- Install .NET 3.5 Features.
- Install .NET 4.5 Features.
- Provision a BizTalk Service.
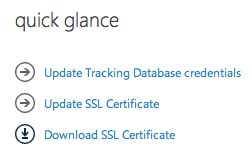
- Download the BizTalk Service self-signed certificate that is automatically created during the provisioning step. Browse to the Dashboard of the BizTalk Services instance and click Download SSL Certificate.
Import the BizTalk Service self-signed certificate to the local machine Trusted Root Certificate Authority.
Certutil -addstore root c:\wabsselfsigned.cer
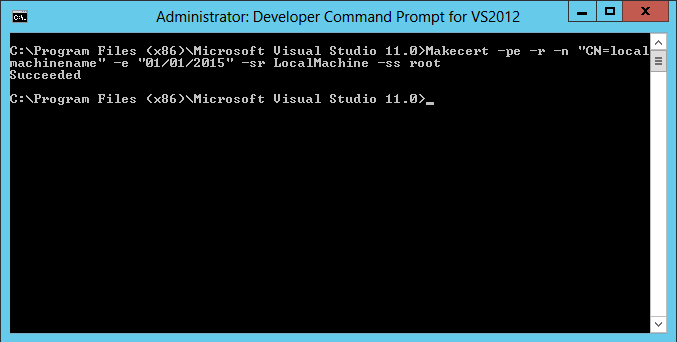
Create a self-signed certificate for the local machine. This will be used to secure the on-premise Management Service that is installed as part of the BizTalk Adapter Service Runtime installation.
Makecert -pe -r -n "CN=localmachinename" -e "01/01/2015" -sr LocalMachine -ss root
Export the private key for the self-signed certificate from the certificate store.
Certutil -exportPFX -p "Password" root localmachinename localmachinename.pfx
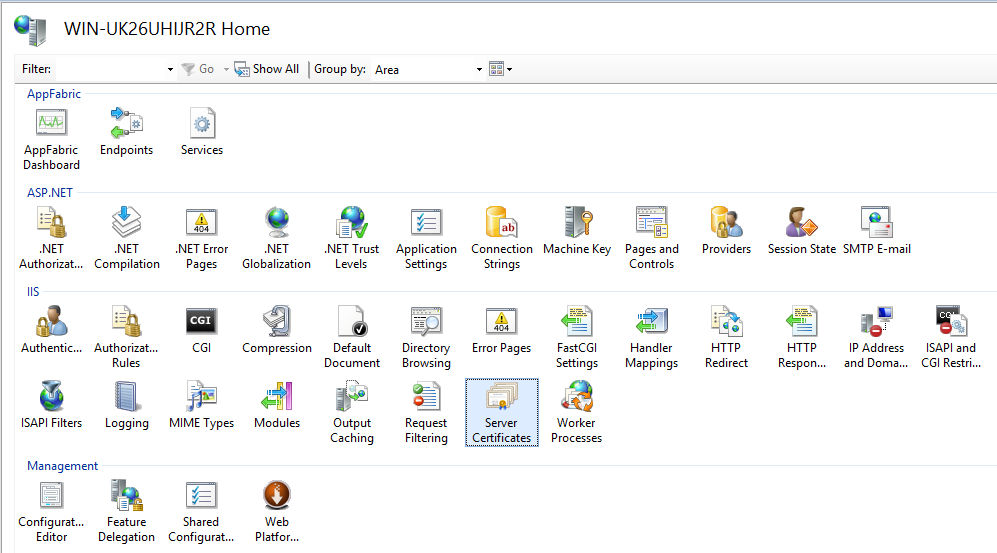
- Open IIS and select Home and double-click Server Certificates.
- Right-click on the screen and select Import
- Browse to or enter the path of the private key file exported above. Enter the password and leave the default selection of Personal and Allow the certificate to be exported.
Install BizTalk Adapter Service Runtime
- Download the Azure BizTalk Services SDK Setup.
- Run the WindowsAzureBizTalkServicesSetup.exe
- Accept the license agreement and click Next.
- Select Runtime and click Next.
- Review the Summary page and click Install.
Note: The following components were already installed on my machine and as a result have an Action of "None":
- Windows Communication Foundation LOB Adapter SDK
- Microsoft BizTalk Adapter Pack
- Microsoft BizTalk Adapter Pack(x64)
These components are required by the BizTalk Adapter Service and will be installed during the setup when they are not detected.
The Microsoft BizTalk Adapter Pack will be installed on a 32-bit machine and the Microsoft BizTalk Adapter Pack(x64) will be installed on a 64-bit machine when the BizTalk Adapter Service Runtime is being installed.
- Click Next on the Welcome page.
- Accept the license agreement and click Next.
- Enter the credentials of the service account created in the prerequisites steps above. This is the account that the Application Pool will run under. Click Next.
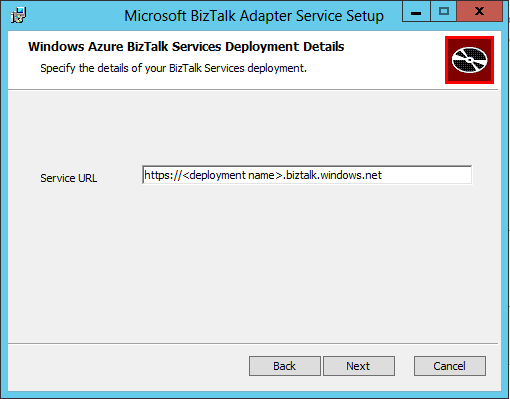
- Enter the Service URL for the Azure BizTalk Services instance created in the prerequisites steps above. This is new to the February 2014 Update and is used to ascertain the artefact store associated with your BizTalk Services subscription. The artefact store contains the configuration settings for BizTalk Adapter Service components that are created. Click Next.
- Check Use SSL to secure the management service option to encrypt HTTP requests to the on-premise Management Service with SSL.
- Select the SSL Certificate for the local machine that was created in the prerequisites steps above.
- Enter the port number for the BizTalk Adapter Service website, the default is 8080.
- Click Next.
- Click Install.
- Click Finish.
- Click Finish.
Post Installation
Creating on-premise LOB Targets for our applications to access from the cloud is done through Server Explorer in Visual Studio. Before we can do this we must add the BizTalk Adapter Service instance to Server Explorer.
- Launch Visual Studio as an Administrator and open Server Explorer.
- Right-click on BizTalk Adapter Services and click Add BizTalk Adapter Service.
- Replace [host] with the name of the host where the BizTalk Adapter Service was installed to. Click OK.
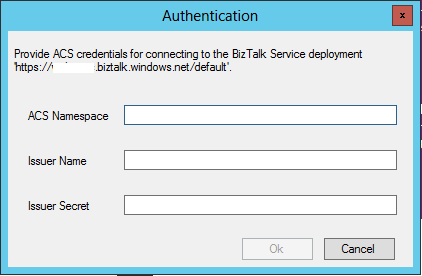
- In Server Explorer click on the BizTalk Adapter Service instance that was added and enter the ACS credentials of the Azure BizTalk Services instance created in prerequisites steps above. Click OK.
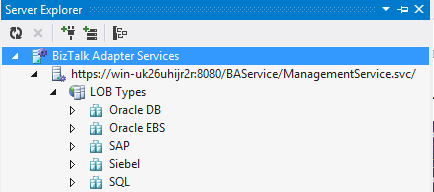
- The available LOB Types are visible now.
Considerations
Ensure that you correctly specify the Azure BizTalk Services URL when prompted to by the wizard. If you don't you will not be able to add the BizTalk Adapter Service instance to Server Explorer and will receive an error that suggests there is a problem with the ACS credentials entered.
On receiving the above error I performed some sanity checks on the installation. One of these checks was to verify the Management Service was available and was not throwing any errors. When I browsed to it I received a "Request Error" with no further detail.
I could see in Fiddler that I was receiving a "401.1 - Unauthorized" error and I incorrectly assumed that this was the root cause of the issues I was seeing. In fact this service is not meant to be browsable. In order to access it you would need to supply the ACS credentials.
Acknowledgements
Thanks to the BizTalk Server Product Team, Sam Vanhoutte and Steef-Jan Wiggers for their time and help in diagnosing the issues I encountered above.
See Also
The following articles were referenced in compiling the above:
- Install Azure BizTalk Services SDK
- BizTalk Adapter Service
- Architecture: BizTalk Adapter Service
- Microsoft Azure BizTalk Services - Getting Started
Another important place to find Azure BizTalk Services related articles is the TechNet Wiki itself. The best entry point is Azure BizTalk Services resources on the TechNet Wiki.
Also, if you are looking for BizTalk Server related articles, the best entry point is BizTalk Server Resources on the TechNet Wiki.
