SharePoint 2013: Installing and configuring PowerPivot
PowerPivot 2013 Installation
Microsoft SQL Server 2013 PowerPivot for SharePoint 2013 extends SharePoint to use PowerPivot features. To enable PowerPivot 2013 in SharePoint, spPowerPivot.msi needs no be installed. The package can be downloaded from Microsoft download center at the location; http://www.microsoft.com/en-us/download/details.aspx?id=35577
Setup is a simple click and proceed affair. Configuration starts after the installation.
For systems requirements please refer to the following article on TechNet.
http://technet.microsoft.com/en-us/library/jj218792.aspx
Double click the spPowerPivot.msi after downloading, the screen shown below appears.
Click next to proceed and accept the license agreement to install.
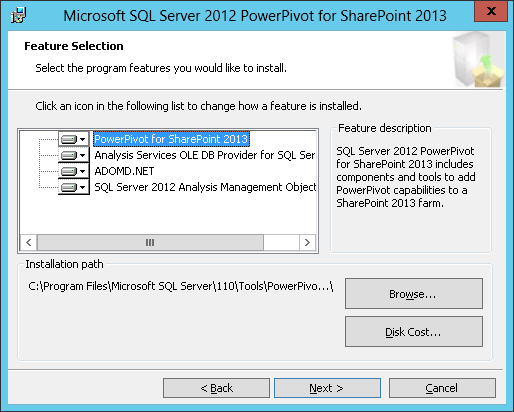
All the features below are pre-selected. PowerPivot for SharePoint 2013 includes features of PowerPivot for SharePoint 2013. OLE DB for Analysis service provides an interface for PowerPivot 2013 to interact with analysis service in SQL Server. ADOMD.net is a .NET framework data provider to interact with Analysis services in SQL Server. Analysis management object (AMO) is used by the application to manage instance of SQL Server analysis services.
A screen to confirm the selection on the previous screen is shown if you want to change just click back. Click next to proceed with installation to begin.
Installation in progress...

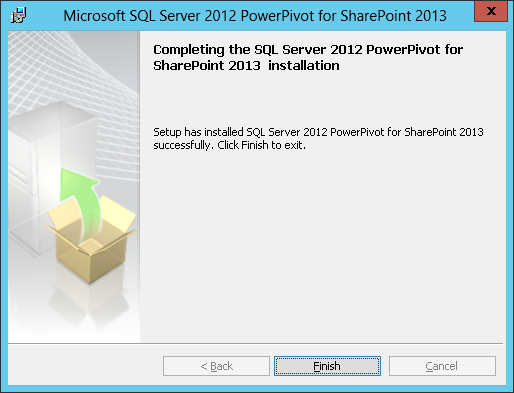
Installation completes.
PowerPivot Configuration for SharePoint 2013
Once installation is complete, configuration can be started by going to
Start Menu à All Programs à PowerPivot for SharePoint 2013 configuration
For configuration the logged in account must be an administrator on local machine and a farm admin in SharePoint 2013 Farm. The same account must have rights of DB Owner on SharePoint 2013 Farm configuration data base.
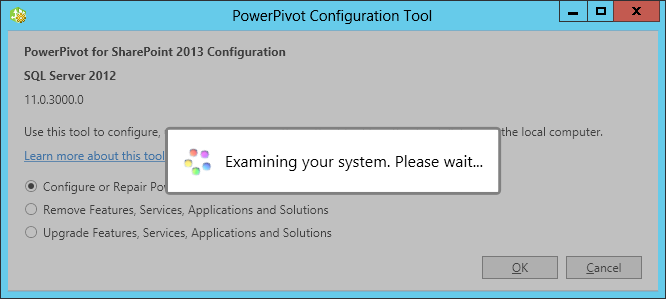
Configuration wizard starts by examining the systems settings. This may take a couple of minutes.
After examining the system settings, Select “Configure or Repair PowerPivot for SharePoint” option. For a fresh installation, this is the only option available as shown below.

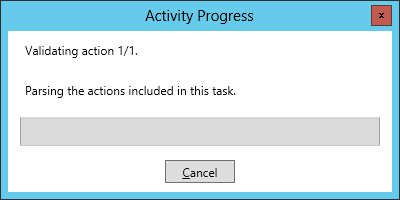
The configuration wizard will then run a validation check.
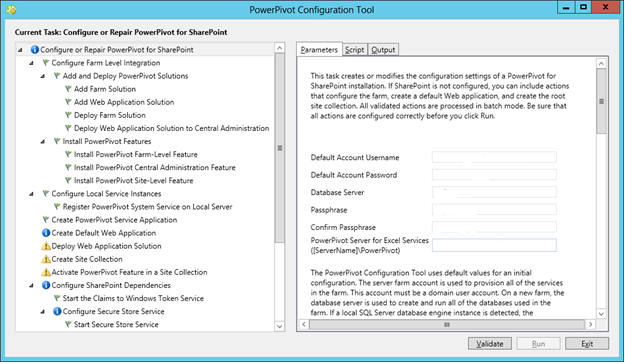
In case of failed validation for different components in the wizard, an alert mark is displayed in front of all failed components. The screen below the alert icon is displayed for different components like “Create Default Web Application”.
For PowerPivot configuration following information is required;
- Default Account Username, Domain account for web application administrator
- Default Account Password, A password for the above mentioned account
- Database Server, used by SharePoint farm
- Passphrase, the same passphrase you have used in the configuration of SharePoint Products configuration wizard.
- PowerPivot server for excel services, an instance will be created in the form of servername\PowerPivot for Excel services where servername is the server where SharePoint is installed.
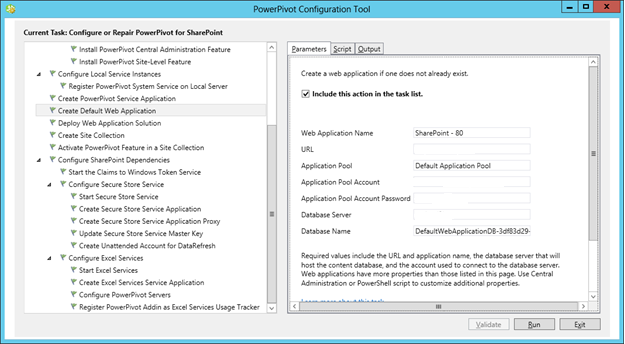
PowerPivot requires a default web application in SharePoint farm for its settings if you have a new farm and it does not contain any default web application like “SharePoint 80”, the PowerPivot configuration wizard will do this for you but this will require some information.
For setting up a default web application information required are:
- Web application name, any name of your choice
- URL, A URL for web application in the format of http://<sharepointservername>/
- Application pool name
- Application pool account, a domain account, preferably the same as you will use for the collection administrator as discussed below.
- Application pool account password
- Database server
- Database name
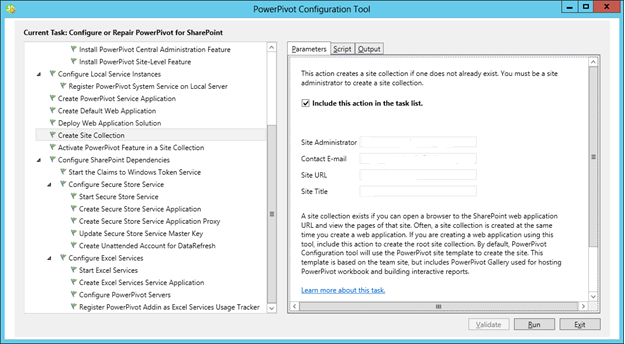
After the web application settings fill in the information for site collection for the same web application.
- Site Administrator, domain account
- Contact email
- Site URL
- Site Title
Add information for Unattended Account for Data refresh. All information except the Account Username and password are pre-filled. You can go with them to change the values as you require.

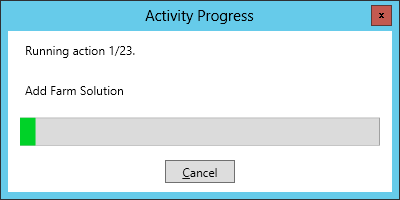
After you fill in all the information, click on the validate button again, the setup will again run the validation. If validation succeeded you will see the “Run” button is enabled. Click the Run button and this will start configuration.
After a successful run, a message will be displayed confirming the completion of all task selected.
You can confirm the setting by going in to:
Central Administration à Web Application management à Manage service Applications.
Here you can find the following service with status as “started”
- Default PowerPivot Service application
- Excel Services
- Secure Store service