How to Install Small Basic 1.0 onto Windows 8.1
This article shows you the step by step instructions for installing Small Basic 1.0 onto Windows 8.1.
You can see large images to click them in this article.
1. Enable .NET 3.5
If you already enabled .NET 3.5 then you can skip this step.
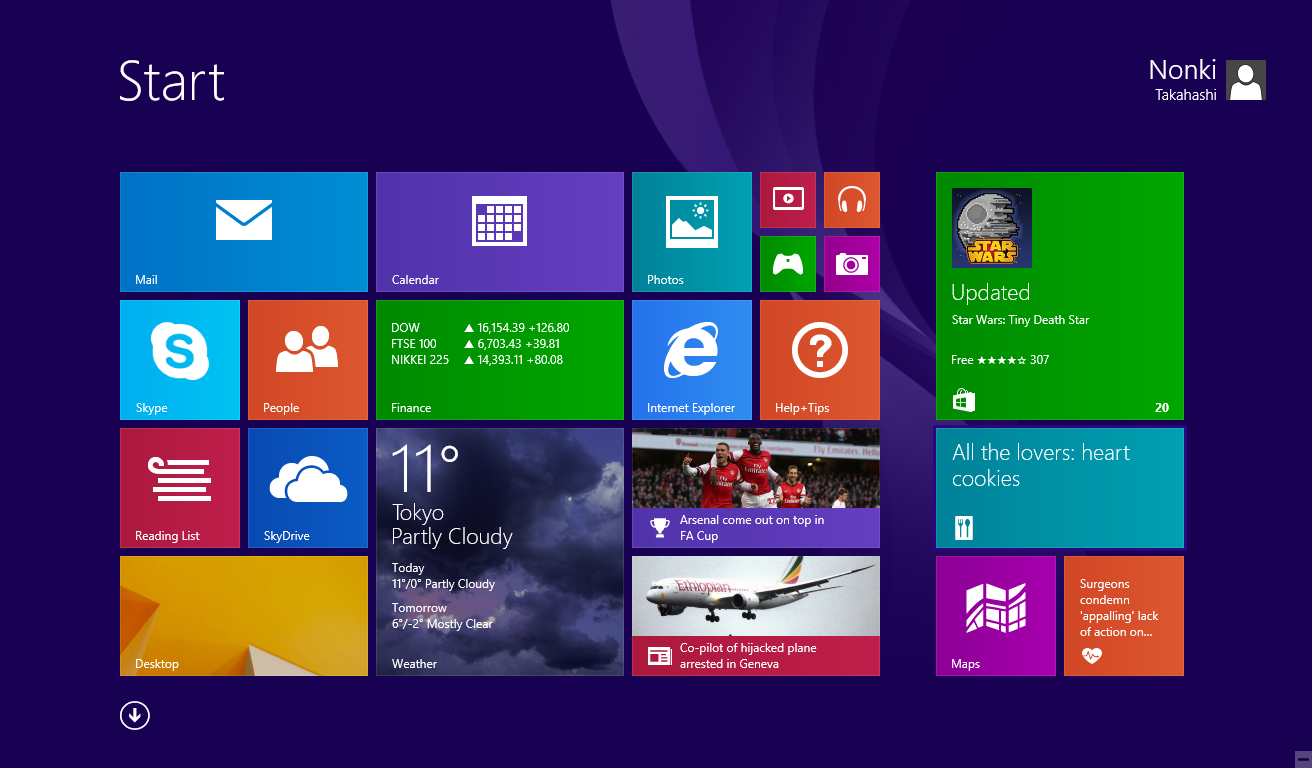
To open Apps screen, click the arrow icon in the left bottom corner of Start screen.
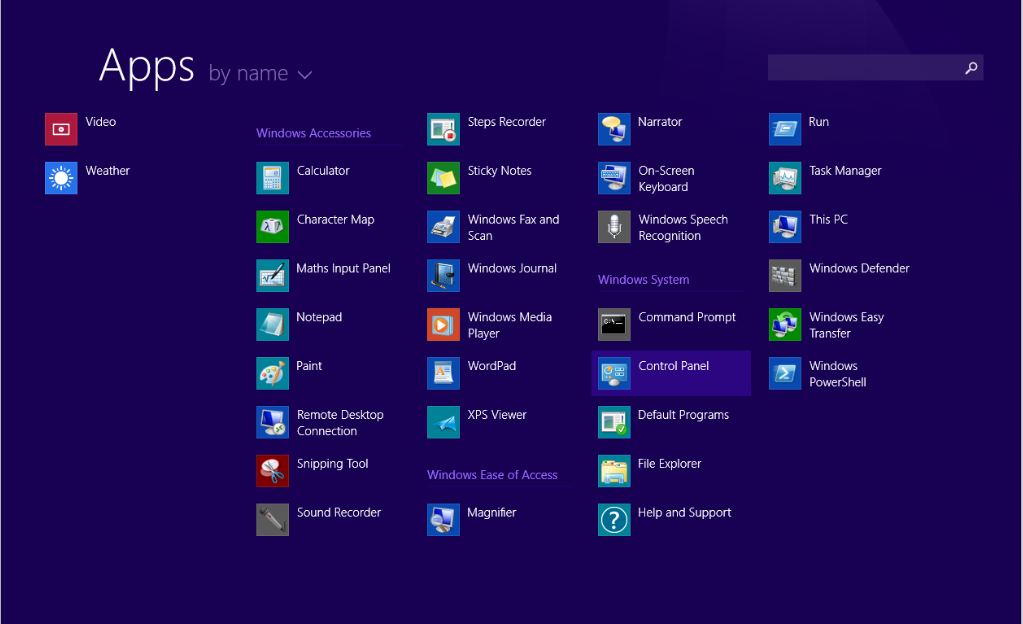
Scroll in the Apps screen and click [Control Panel] icon.
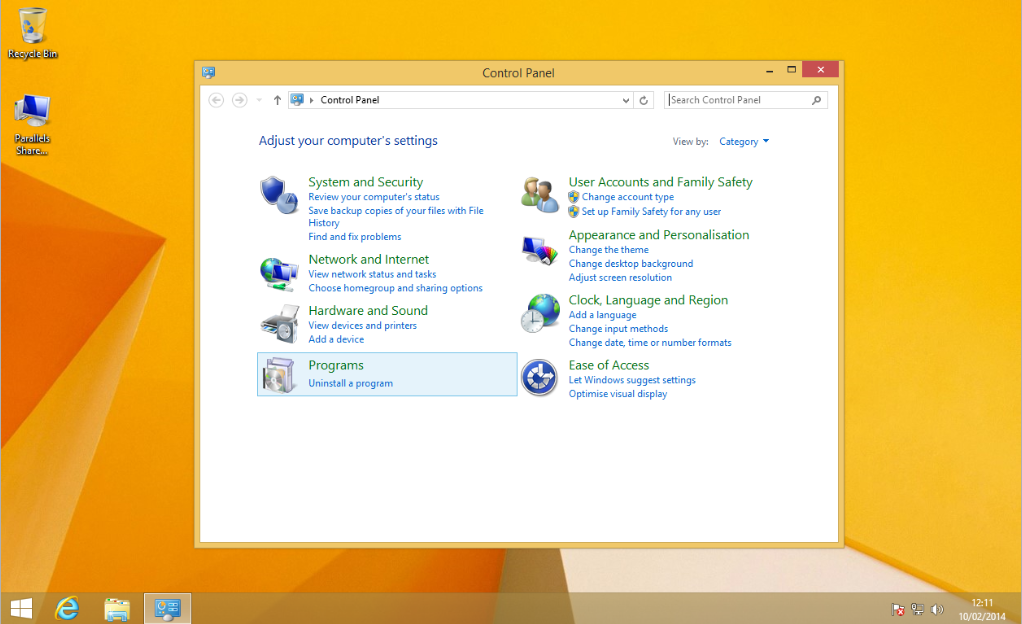
Click [Programs] icon.
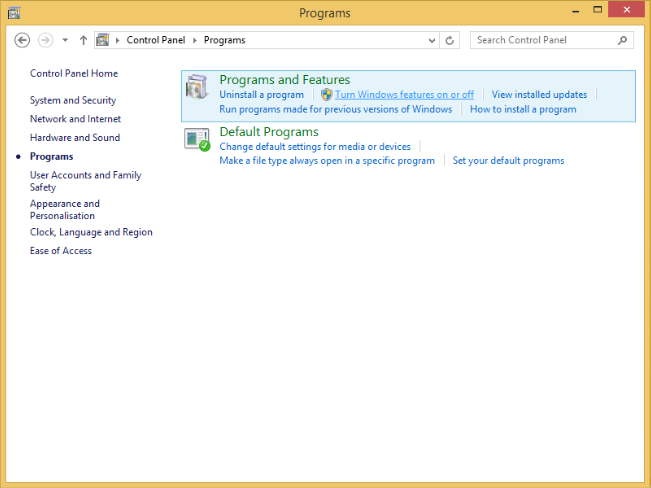
Click the link [Turn Windows features on or off].
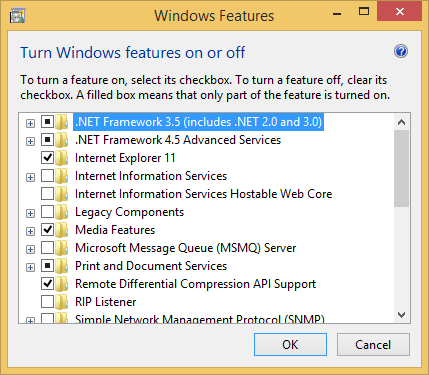
Check [.NET Framework 3.5 (includes .NET 2.0 and 3.0)] as follows.
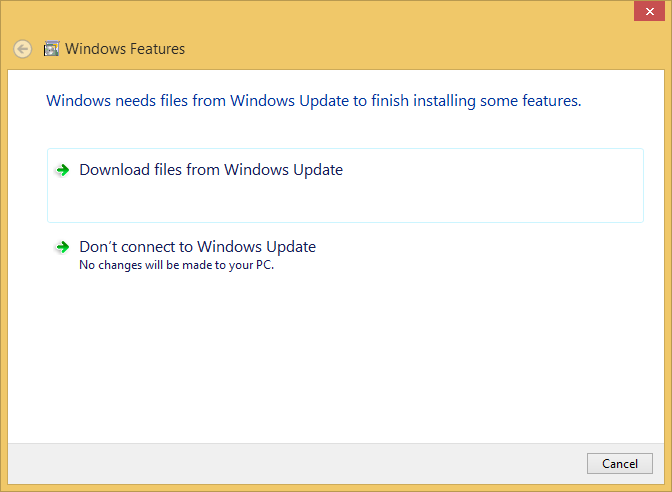
Click [Download files from Windows Update] to finish installing .NET 3.5.
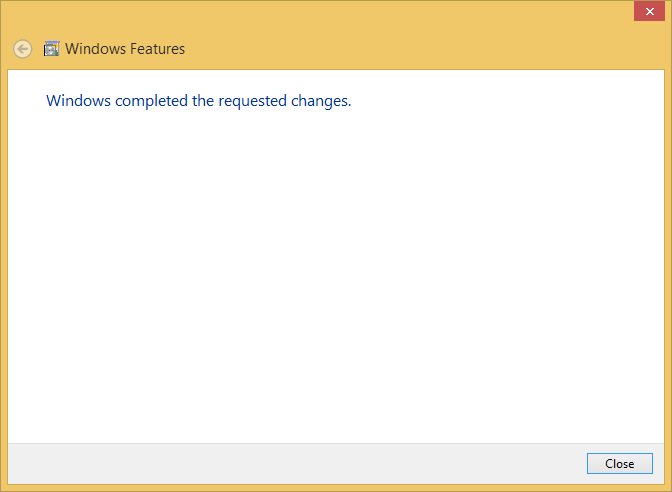
Then click [Close] button.
2. Go to Small Basic Official Site
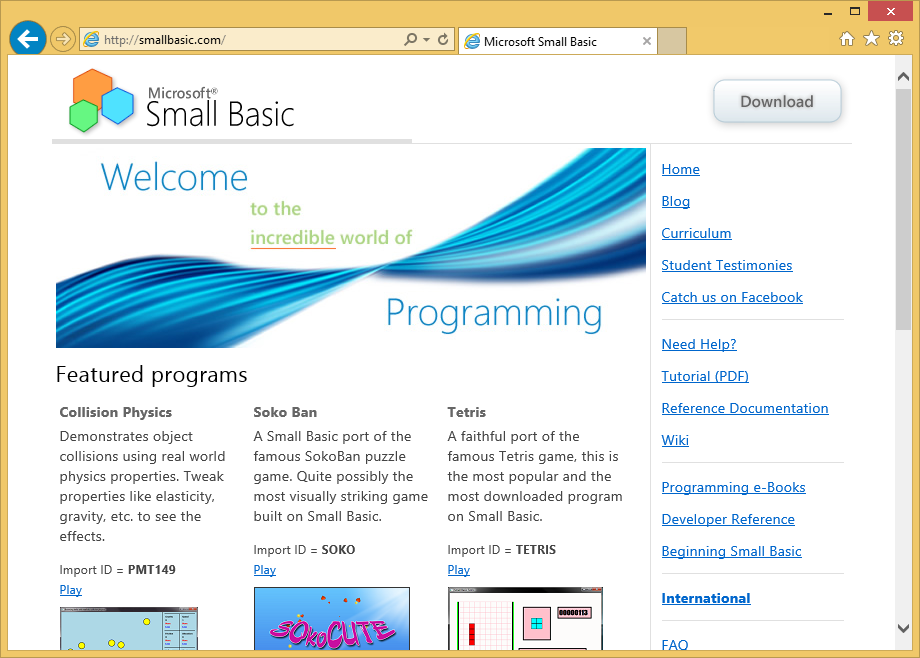
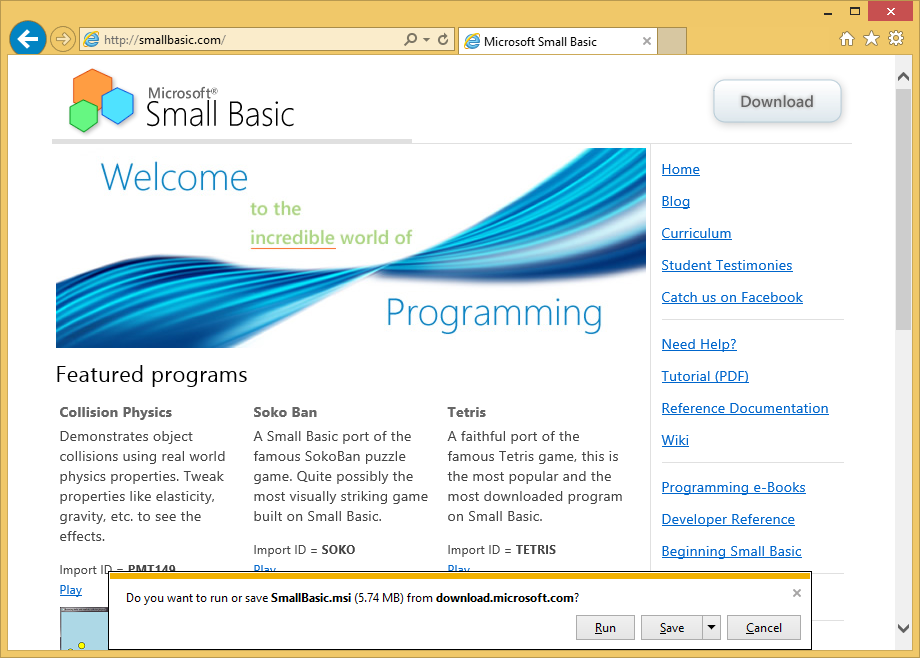
Type "smallbasic.com" in search box of Internet Explorer. If you get following screen, press [Download] button.
3. Run Installer
At the bottom of Internet Explorer, click [Run] button.
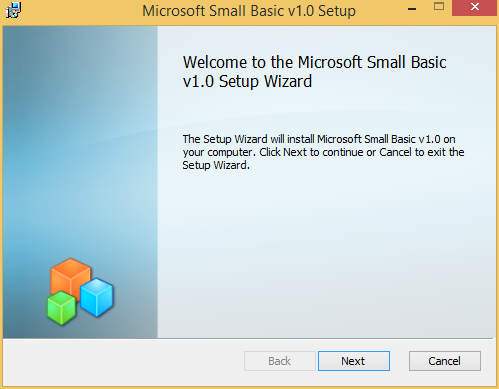
Click [Next] button in Microsoft Small Basic v1.0 Setup Wizard start window.
4. Check EULA
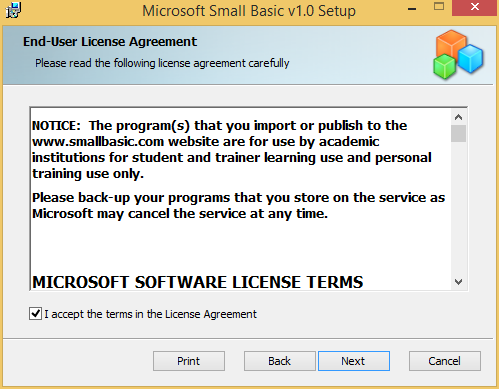
EULA (End-User License Agreement) describes how you can use Small Basic.
So, read EULA, click [I accept the terms in the License Agreement] check button and click [Next] button.
5. Select Language
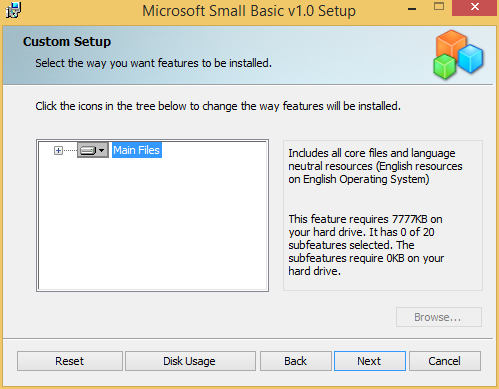
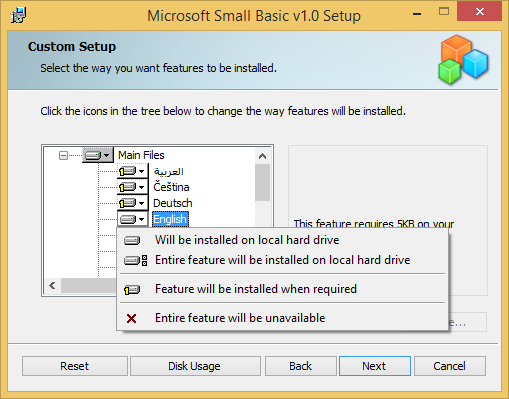
You can see following window. Click [+] to expand features tree.
Click triangle for your language and select [Entire feature will be installed on local hard drive]. Then click [Next] button.
6. Install
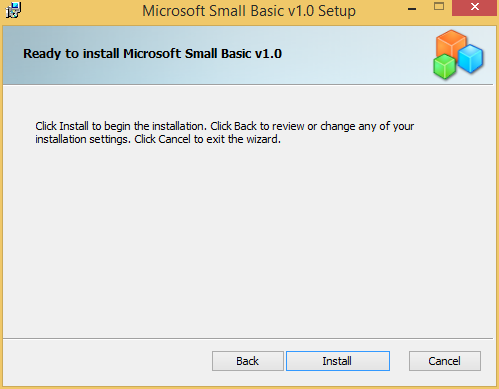
Click [Install] button.
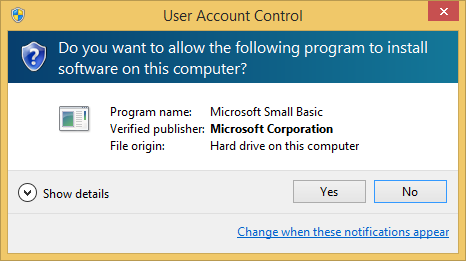
Click [Yes] for UAC (User Account Control) window.
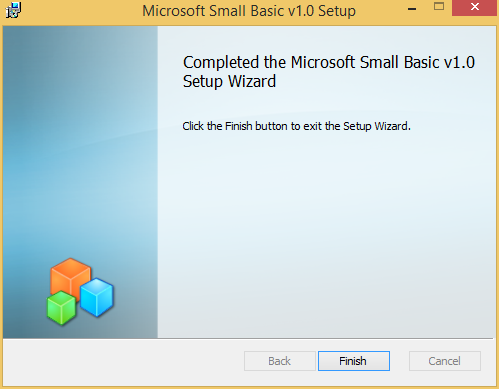
After installation you can see following finish window. Click [Finish]. That's all.
7. After installation
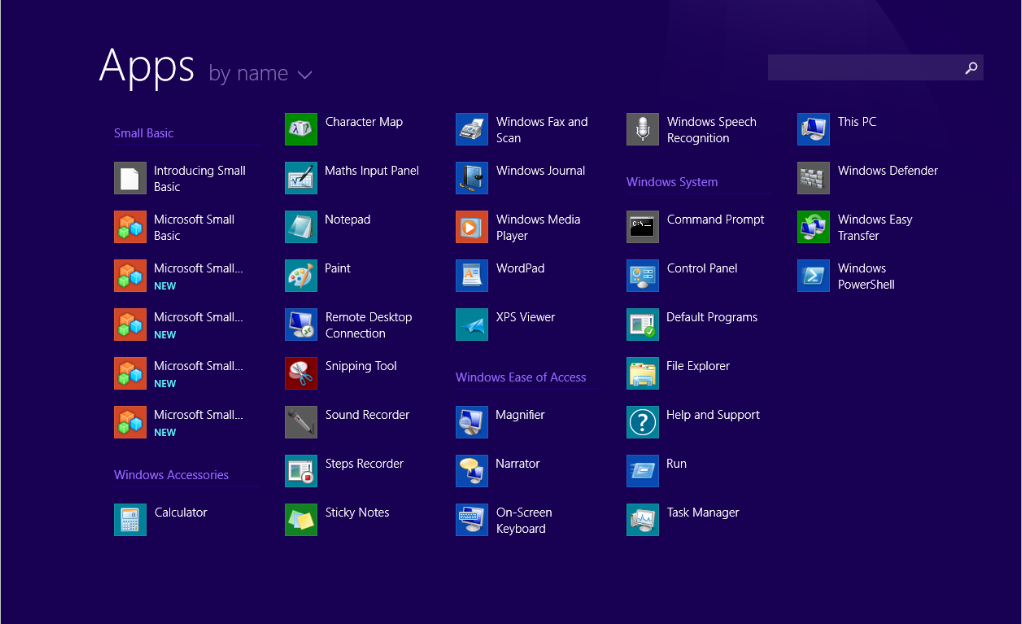
You can see Small Basic icons in Apps screen. To start Small Basic, click [Microsoft Small Basic] icon.
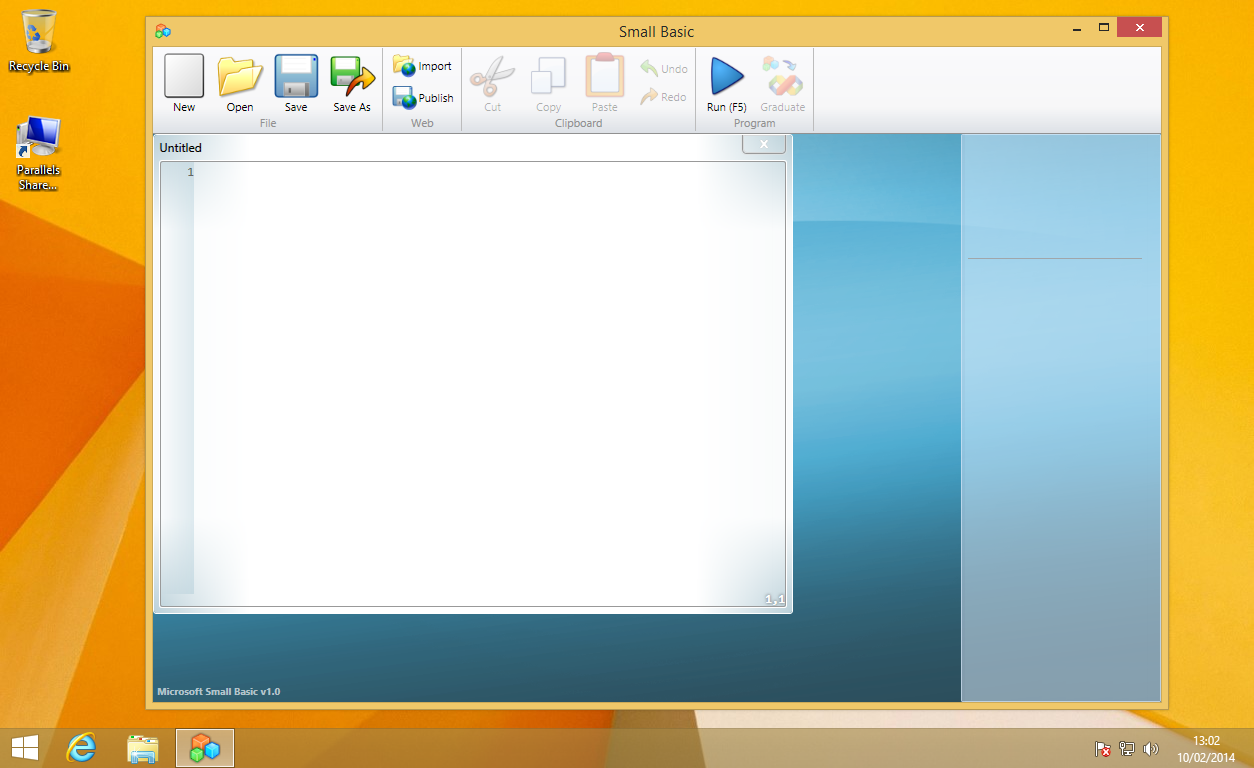
Finally you can get Small Basic IDE (Integrated Development Environment) window as follows.
See Also
- Small Basic Curriculum: Lesson 1.1: Introduction (install onto Windows XP or Windows Vista)
