Steps to configure relay in Exchange 2013
Basically, there can be two types of relay which will be used in an organization.
1) Internal Relay:
Which might be an application which submits emails to Exchange and in turn it delivers emails to a user's mailbox as a daily report, faxes etc.
2) External Relay:
An application might send out a fax-like invoice, quotation etc. to an external vendor for daily operation purposes. In turn, the vendor can also send out some automated emails like a daily sales report to user’s mailbox. In order for both functionalities to work, we need to have relay configured on the Exchange side.
The submission of the relay can happen in two ways:
1) Anonymous
This relay happens through an anonymous connection which means any account within that subnet assigned in the relay connector is authorized to submit emails to the organization.
2) Authenticated
This relay happens only through specific authenticated accounts by which the emails are submitted to the Exchange side from the application, fax, etc. For the authenticated relay to happen first we need to create/configure a service account for the applications/copier to use.
In this article, we will be seeing on how to configure relay permission on Exchange 2013
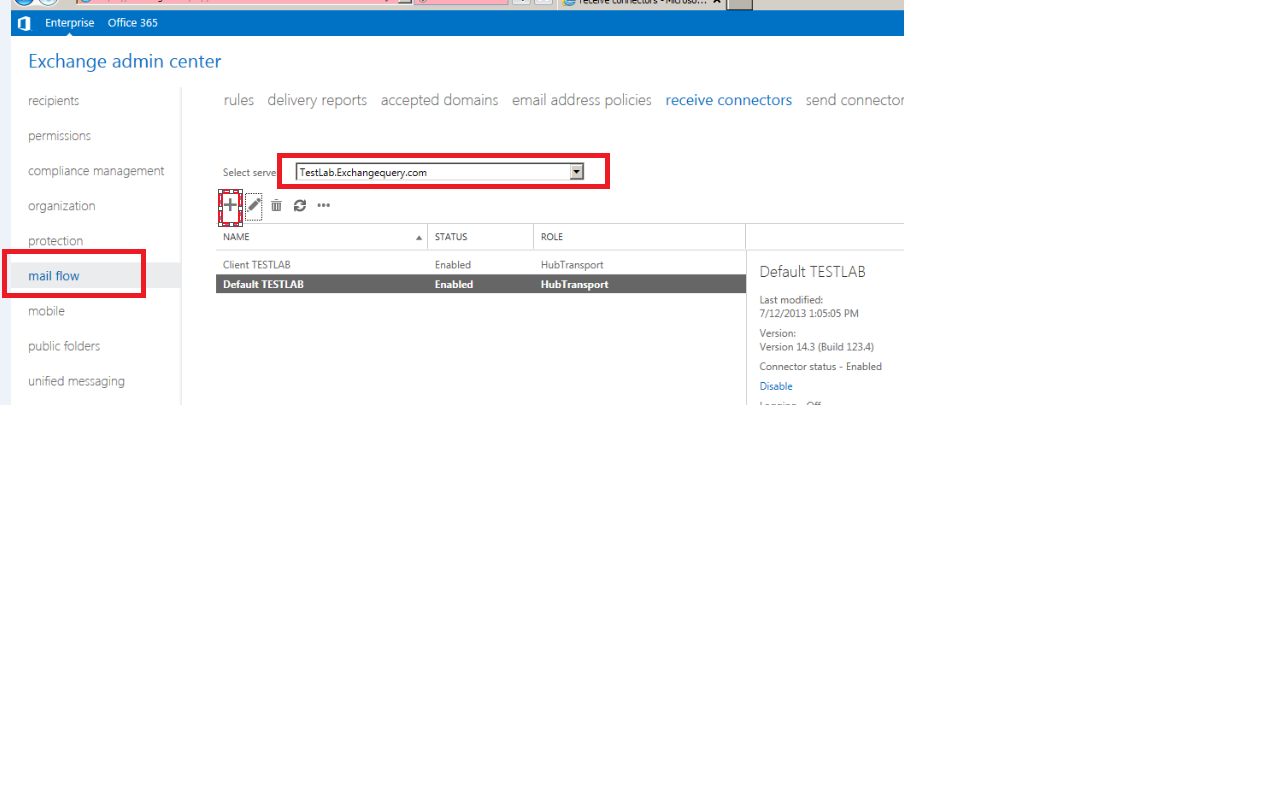
First, open EAC and then click on Mail Flow
Select the required server and then click on + Sign
Type the name of the connector and then select Custom
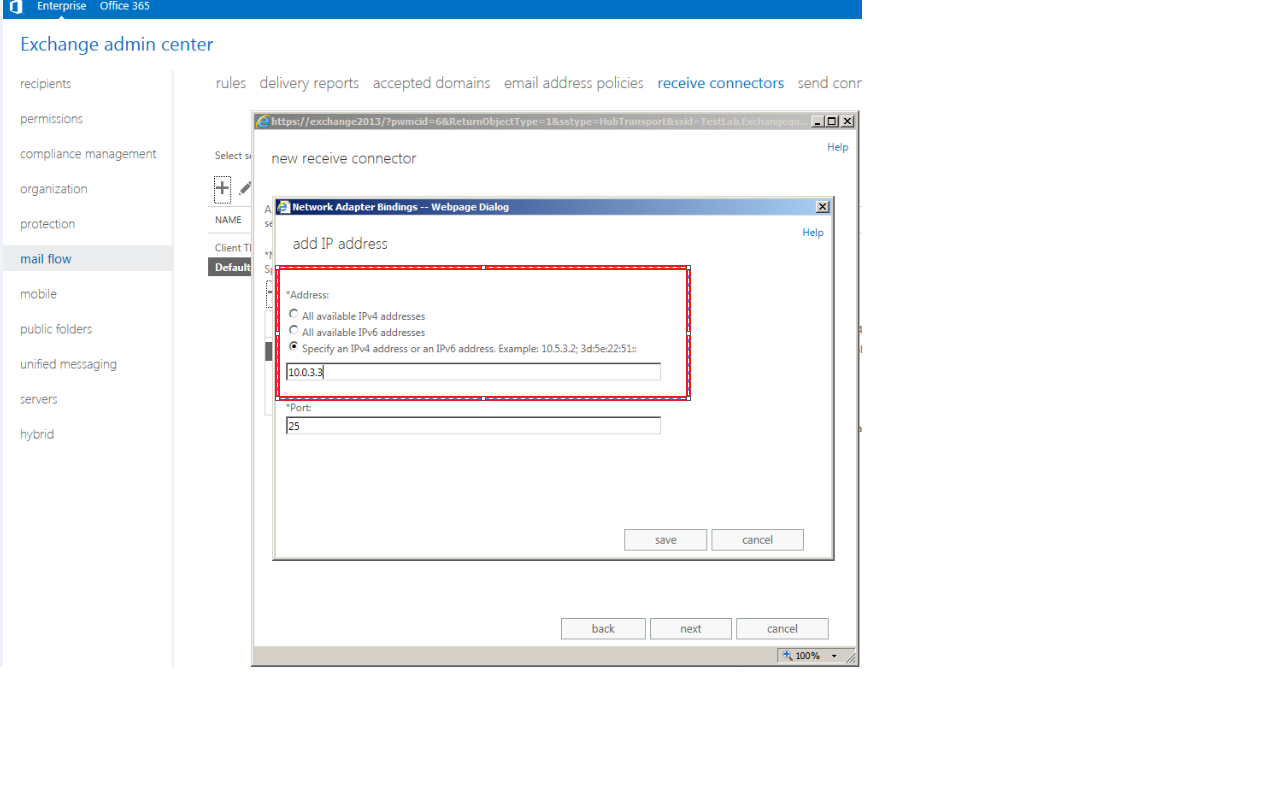
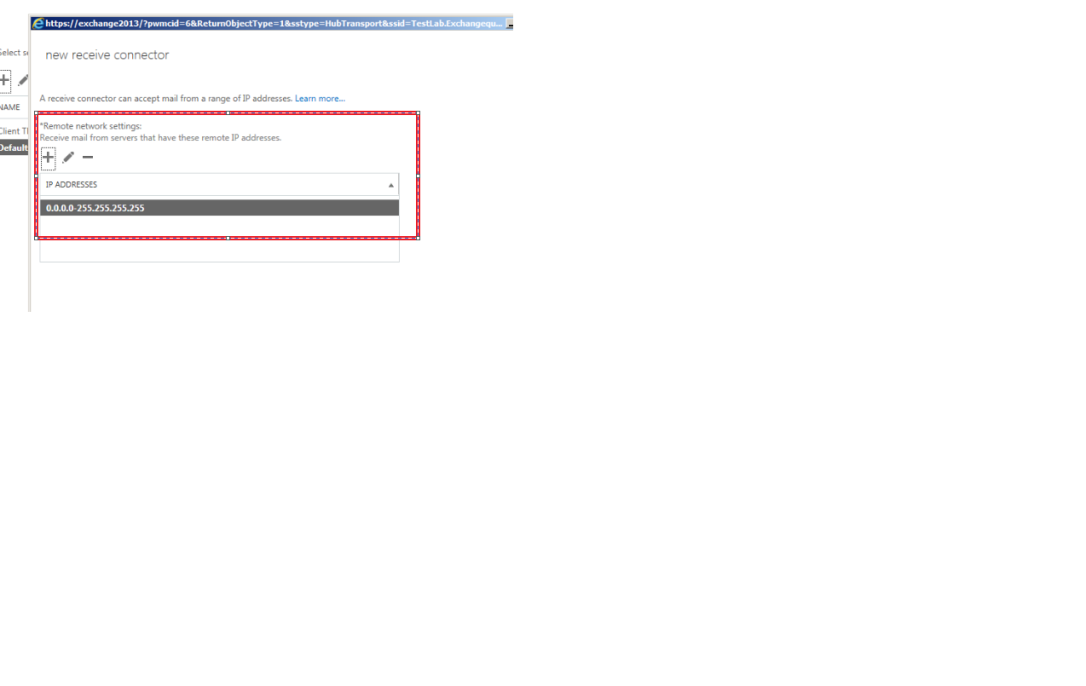
Click Next and assign the correct subnets and the IP address
Note:
This is a very important point since giving permission to unknown subnets will make the server to behave as an open relay which is ready to accept spam messages. Ensure that you are giving the known subnets which requires a relay.
Add the IP address
Now add the subnets
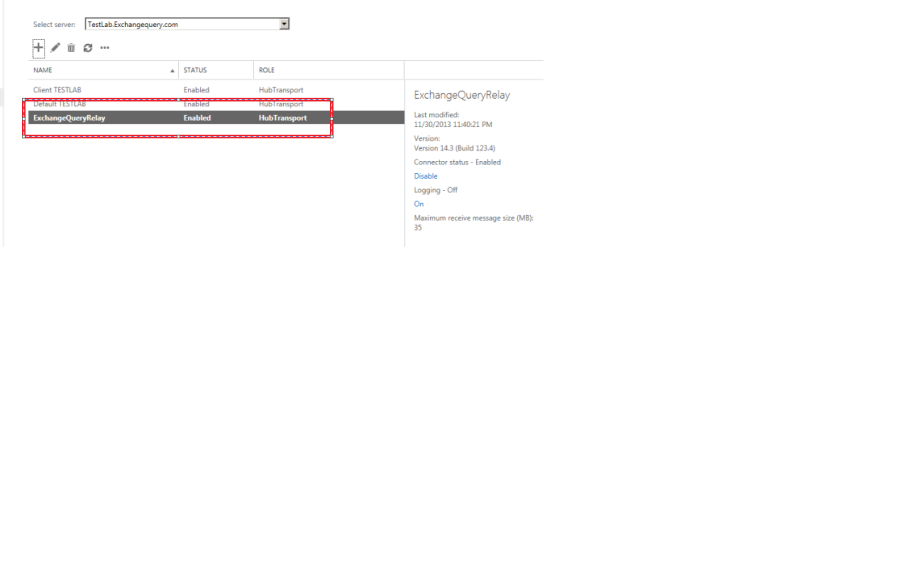
Click finish. And now we need to give permission accordingly to the type of relay that we are going to assign to this connector
Anonymous
Authenticated
First, we will look at how to give anonymous permission
**Double click or click Edit on the relay connector created.
**
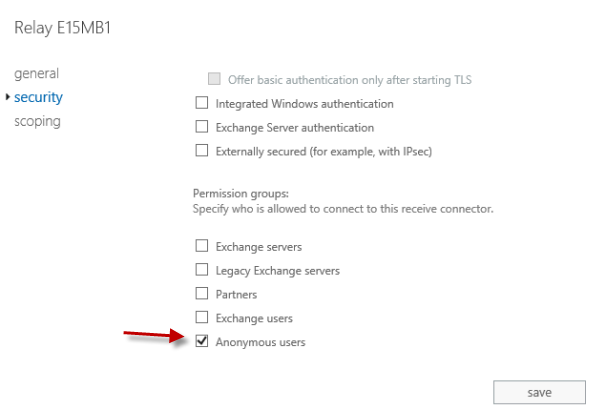
Select anonymous users which under Security and click Save
Now we need to give the required authentication to this anonymous users account for this connector. This can be done in two ways:
- Through Exchange Management Shell
- Through ADSI Edit
We will see on how to grant permission through ADSI edit.
Open adsiedit and navigate to below location
Click security, select anonymous log on and click Submit messages to any recipient
Note: This permission should be granted only on relay connectors and it should never be granted on the default receive connector.
Follow the same steps for authenticated relay except for giving permission to anonymous user account give submit messages to any recipient permission to the associated service account.
