SharePoint 2013: InfoPath 2010 Embedded Form
Have you ever come across a request where the end user/department has an Excel form which they would like to add to SharePoint as an embedded form? If you have and are scratching your head about it then you have come to the right place!
In this article I am going to walk you through the following:
- Take an Excel form and import it into InfoPath 2010 designer.
- Make necessary changes to the design of the InfoPath form.
- Create Fields in the InfoPath form.
- Add a Data Connection to the new list on InfoPath and add the fields to the form.
- Print the form directly from the browser.
Step 1: Take the Excel form and import it into InfoPath Designer.
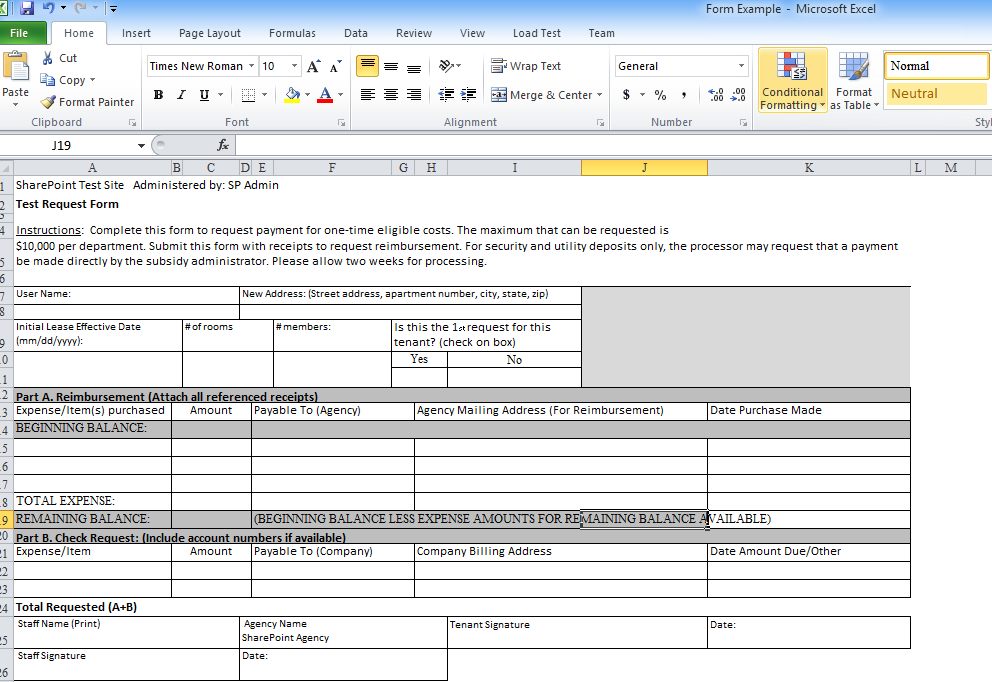
Below is a screenshot of what the sample spreadsheet looks like in Excel 2010.
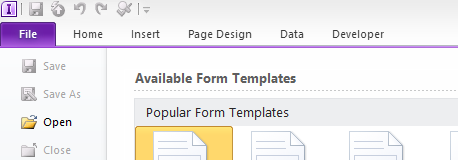
Start your Microsoft InfoPath designer and go to the File tab.
Select the New tab on the left and then select the 'Convert Existing Form' option and then click on 'Design Form'
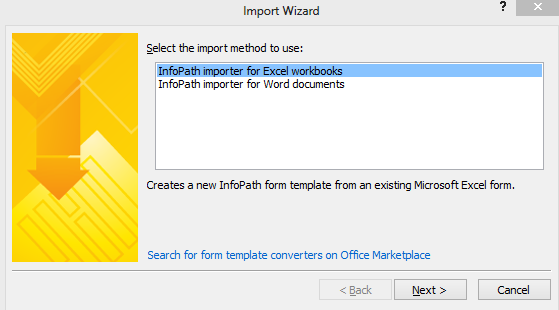
You should see the Import Wizard as show below. Select the Excel workbooks option and click Next.
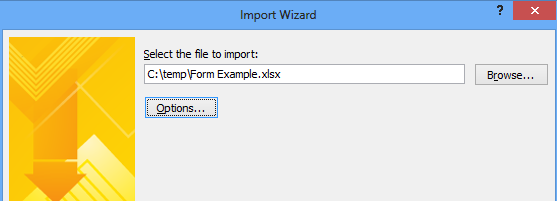
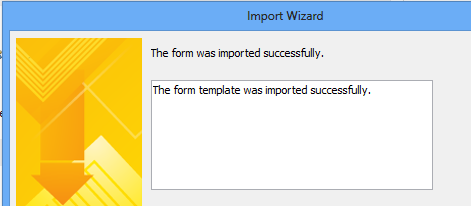
As a side note, if you do not see the option to import Excel workbooks and Word documents, then you need to install Office 2010 Professional Plus again and add the ' Office Shared Features' and 'Office Tools'.Select the Excel form that you want to import and then click next. Confirm that the form was imported successfully as shown below.
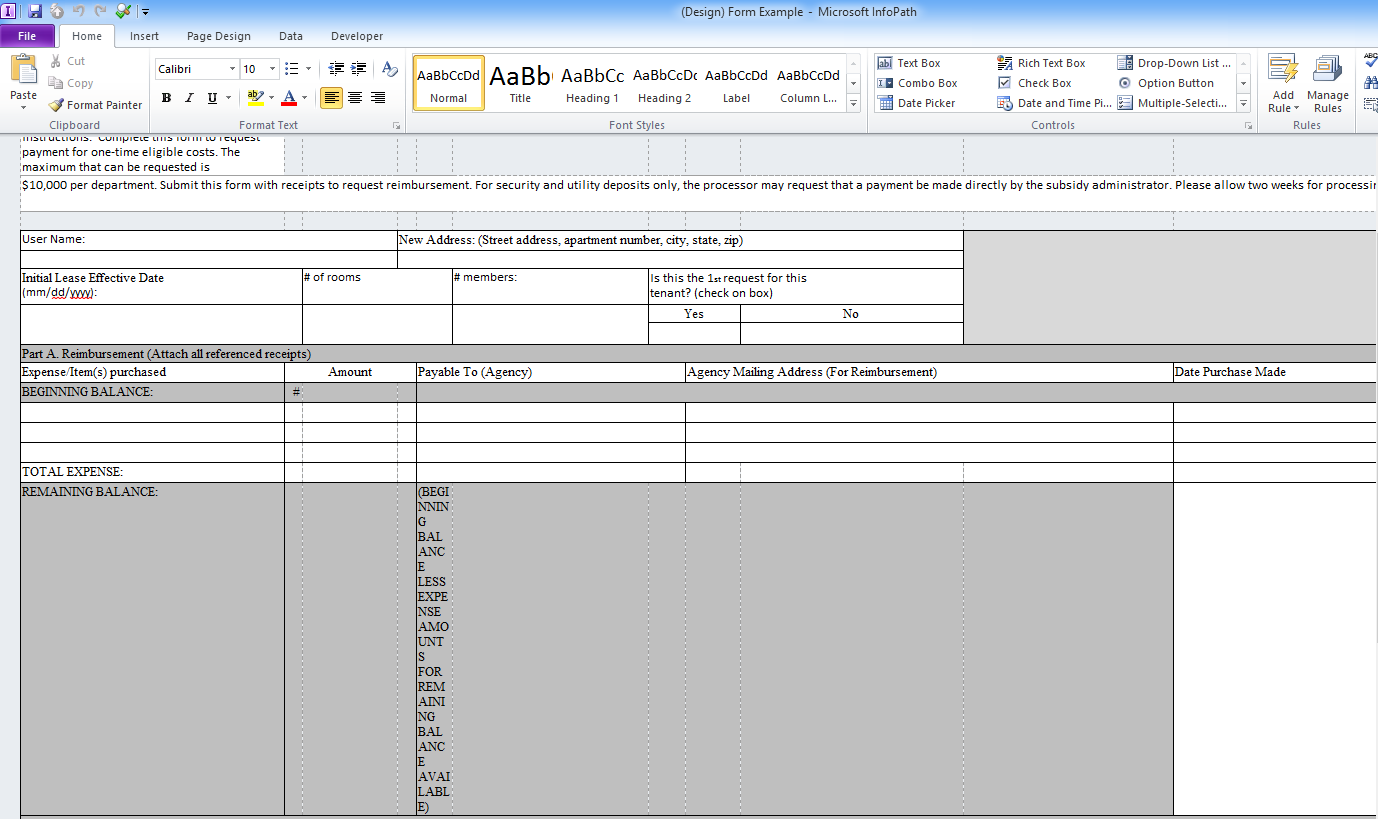
Below is the Excel Form in InfoPath Designer. As you can see there is some cleanup required.
Step 2 - Make necessary changes to the design of the InfoPath form.
You've probably noticed that the Excel 2010 form looks a lot distorted in InfoPath 2010 designer. I have created a 3 and half minutes long video which takes you through the process of importing the Excel form into InfoPath Designer, deleting rows and merging cells. The trick is to highlight all the cells you want to merger, right-click and then choose the 'Merge Cells' option.
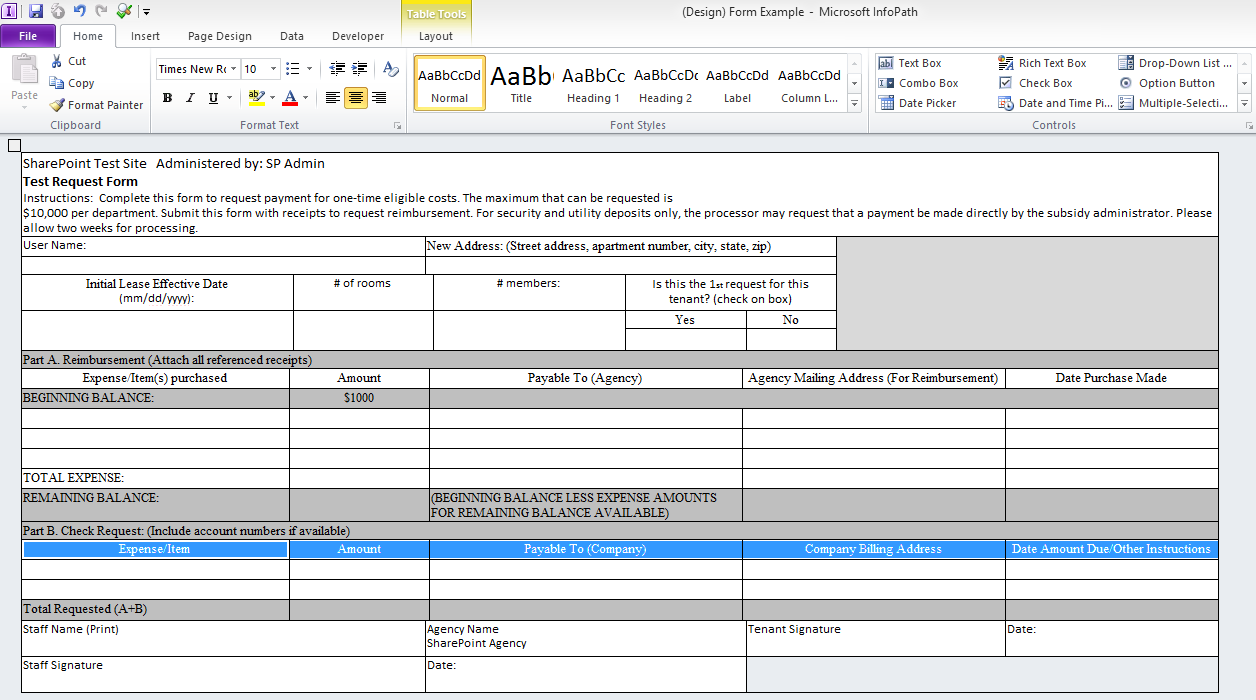
Below is the final look after cleanup.
Step 3 : Create fields in the infoPath form.
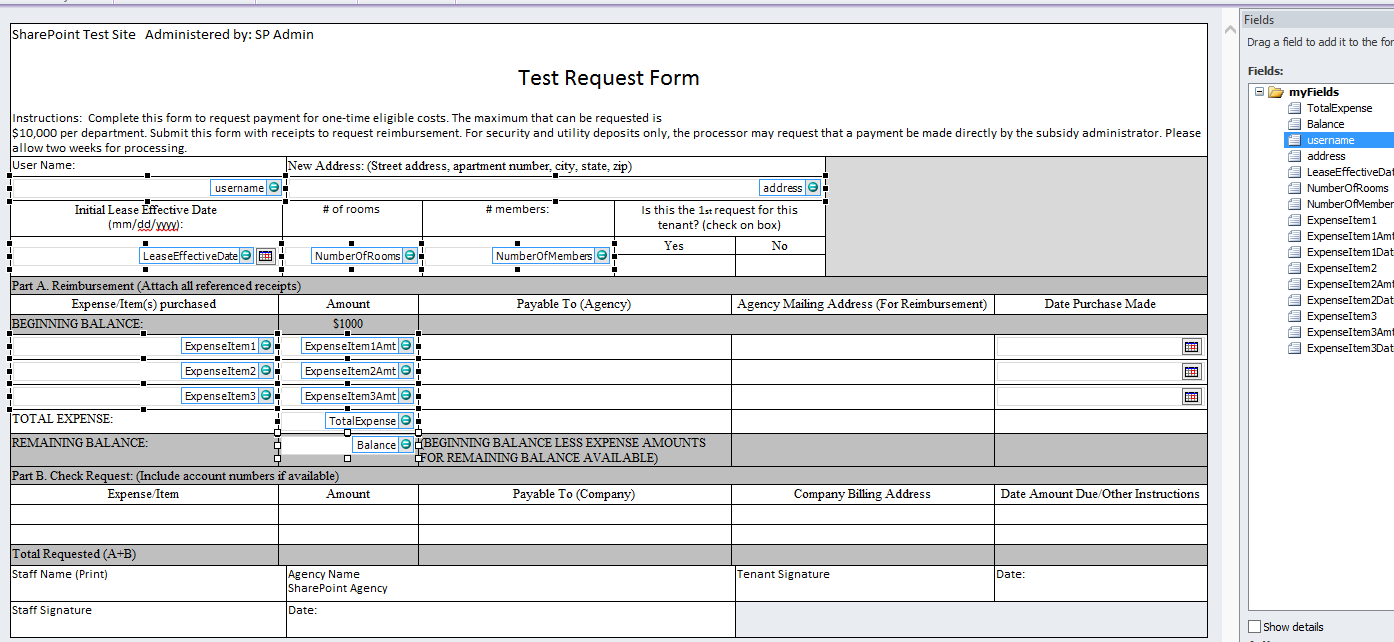
Below are the list of fields I created and their respective data types. The field names cannot have any spaces.
- User Name : Data Type is a Text (string)
- New Address: Data Type is a Text (string)
- LeaseEffectiveDate: Data Type is Date(date)
- NumberOfRooms: Data Type is a Text (string)
- NumberOfMembers: Data Type is a Whole Number (integer)
- ExpenseItem1: Data Type is a Text (string)
- ExpenseItem1Amt: Data Type is Decimal (double)
- ExpenseItem1Date: Data Type is Date(date)
- ExpenseItem2: Data Type is a Text (string)
- ExpenseItem2Amt: Data Type is Decimal (double)
- ExpenseItem2Date: Data Type is Date(date)
- ExpenseItem3: Data Type is a Text (string)
- ExpenseItem3Amt: Data Type is Decimal (double)
- ExpenseItem3Date: Data Type is Date(date)
- TotalExpense: Data Type is Text (string). I added a function to calculate the total value of all the above three expenses as follows.
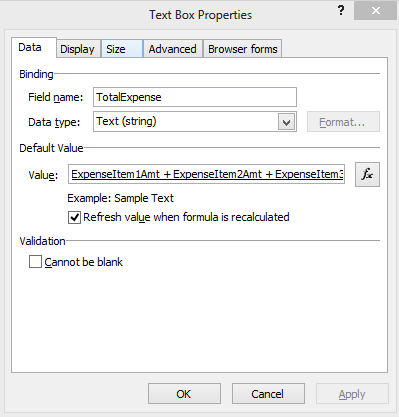
- Right-Click on the TotalExpense field (shown below) and choose Text Box Properties
In Text Box Properties click on the fx in the Default Value section and add ' ExpenseItem1Amt + ExpenseItem2Amt + ExpenseItem3Amt' . Below is a screenshot of the value
Balance: Data Type is Text (string). I added a function to this field as well following the same steps show above. The function is 10000 - TotalExpense.
Below is a screenshot of all the fields in the form.
I have created a 4 minute video which shows you how I created some of the fields.
Below is a screenshot of a SharePoint 2013 Web Application on which we are going to publish the InfoPath form.
Step 4: Add a Data Connection to the new list on InfoPath and add the fields to the form.
Following are the requirements for the InfoPath embedded form to work.
- SharePoint 2013 Enterprise License.
- State Service Manage Service application should be setup.
- In the Web Application both SharePoint Server enterprise Site Collection Features and SharePoint Server Publishing Infrastructure Site Collection Features should be activated.
- In the Web Application both SharePoint Server Enterprise Site Features and SharePoint Server Publishing Site Features should be activated.
Below are the steps to publish the InfoPath form to your SharePoint 2013 web application.
- On the File menu click on Publish. Then click on SharePoint Server as shown below
- Enter the location of your SharePoint web application as shown below and click Next.
- Confirm that 'Enable this form to be filled out by using a browser' is checked and 'Form Library' radio button is checked as shown below and click Next.
- Confirm that 'Create a new form library' radio button is checked as shown below and click Next.
- Give a name and description as shown below and click Next.
- Add all the fields you think you will need as a columns in your SharePoint document library. In my case I have added all the fields. Click Next
- Click Publish. Below is what you should after the form has been published successfully.
- If your SharePoint 2013 Web application has all the required services setup then the browser embedded form should open when you click on the 'Open this form in the browser'. Below is a screenshot of what the form looks like on the browser.
Step 5: Print the form directly from browser
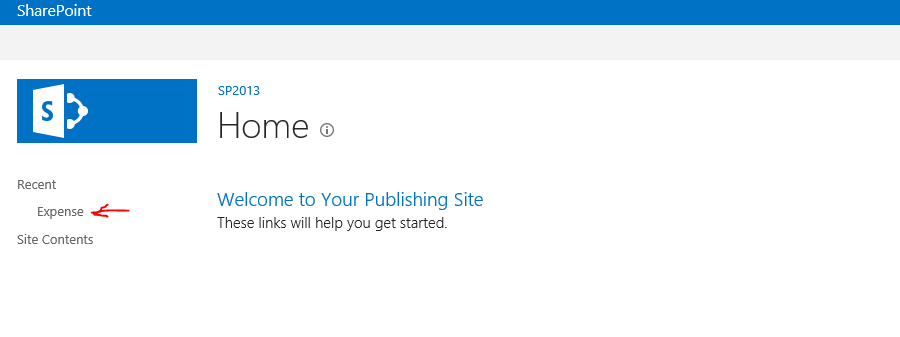
After publishing the form from InfoPath, you will now see a new document library created. In my case I named the document library as Expense which is what I see as shown below.
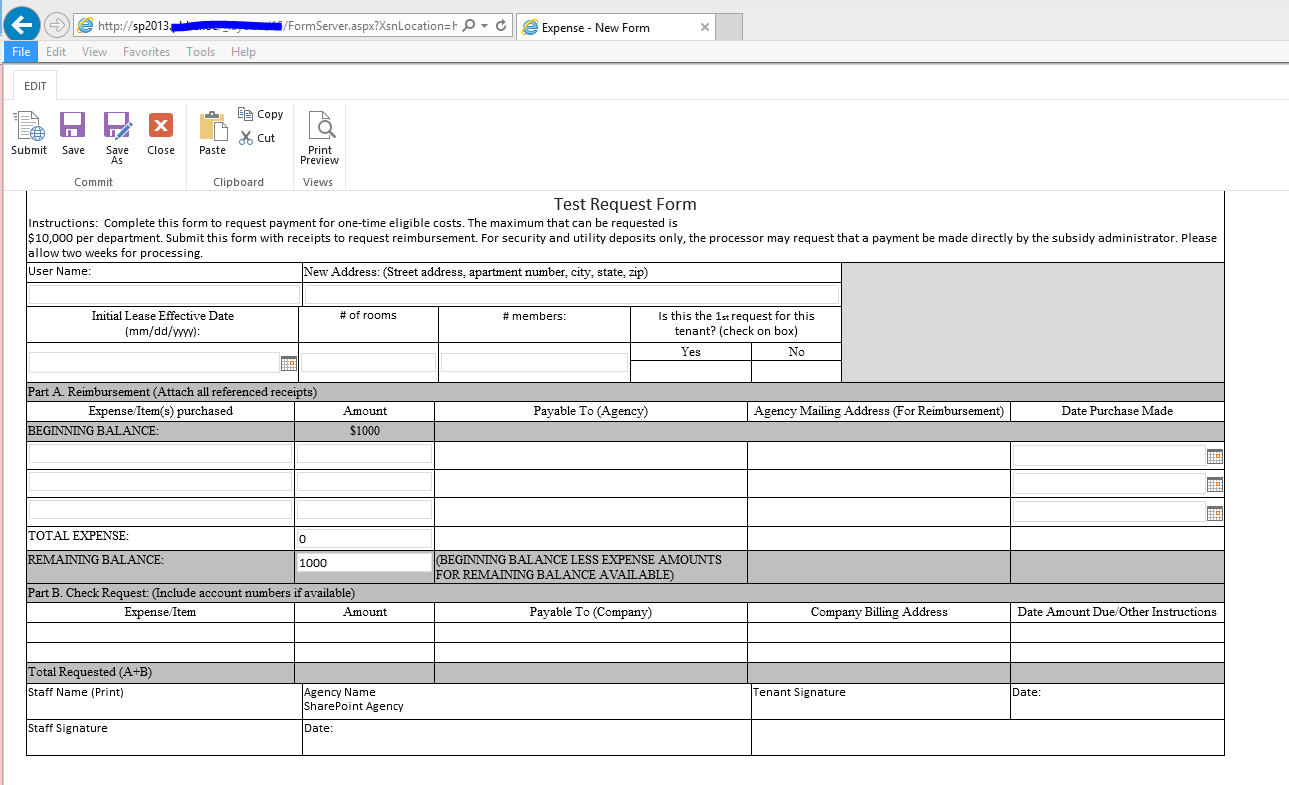
When I access my Expense document library and click on the 'New document' option I see the InfoPath form we built as shown below.
The form has the Print Preview button which gives you the option to preview the form you filled and print it directly from SharePoint. By default the browser will print the header and footer as well, however, that can be disabled using the below steps. In this example, I am using IE 10 browser.
- Go to File> Print Preview.
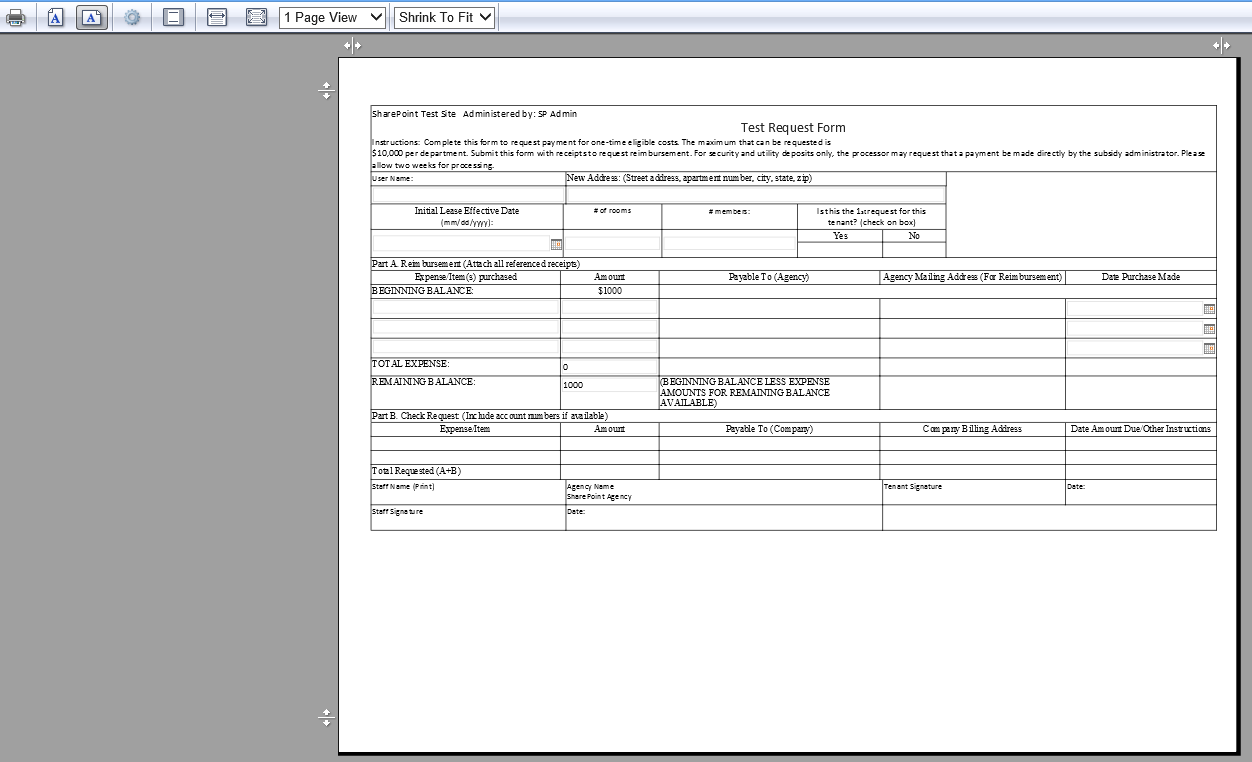
- By default Portrait is selected, you can change that to Landscape. Un-check the header-footer option. Below is a screenshot
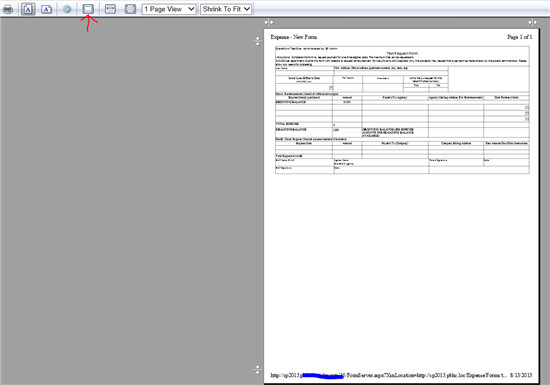
After making the changes, below is what you should see.
Hopefully the videos and the written steps I have provided has made SharePoint Administration task a little easier for some of you
