Excel: Quick Ramp-up for Data Explorer add-in
What exactly is the Data Explorer?
Microsoft “Data Explorer” for Excel is a new add-in that allows the users to data discovery, data transformation and enrichment of data across a wide variety of sources including relational, structured and semi-structured, OData, Web, Hadoop, Azure Marketplace, etc. Data Explorer also provides you with the ability to search for public data from sources such as Wikipedia.
“Data Explorer” enables its users (Information Workers, BI professionals and other users) to:
- Identify and locate any specific data from the available data sources (e.g. relational databases, Excel, text and XML files, OData feeds, web pages, Hadoop HDFS, etc.).
- Discover relevant data using the search capabilities within Excel.
- Combine data from multiple, disparate data sources and shape it in order to prepare the data for further analysis in tools like Excel and PowerPivot.
Pre-Requisites
System requirements:
Supported operating systems: Windows 7, Windows 8, Windows Server 2008 R2, Windows Vista Service Pack 1, Windows Vista Service Pack 2
- Windows Vista (requires .NET 3.5 SP1 or greater)
- Windows Server 2008 (requires .NET 3.5 SP1 or greater)
- Windows 7
- Windows 8
The following Office versions are supported:
- Office 2010 SP1
- Office 2013
Skills requirements:
Must know: Excel (Handling Charts), PowerPivot,
Optional: Windows Azure Marketplace, Facebook
Download
Download the appropriate version of Data Explorer from this link: http://www.microsoft.com/en-us/download/details.aspx?id=36803
Size for version corresponding to Windows 7, 32 bit version=7.5 MB
Steps to installation (Windows 7, 32 bit)
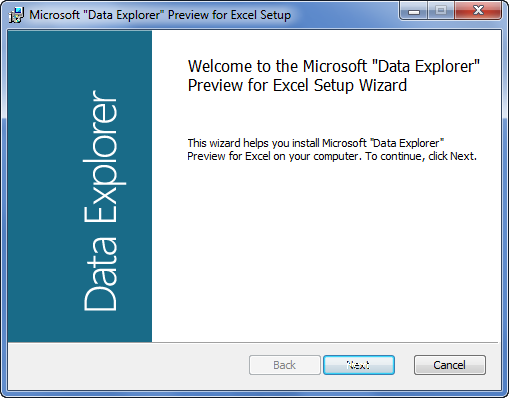
- The installation is the very usual and very easy wizard based ‘click-next’ kinds. Double click on the downloaded exe file “DataExplorer_1.0.3207.2 (32-bit).exe” and the installation wizard opens. Click ‘Next’.
- Read the License Terms. When done, tick on the ‘I Accept’ box and click ‘Next’.
- Provide the desired installation path (installation takes 20.1 MB of Space)
- To begin installation, click ‘Install’.
- Wait while the installation completes.
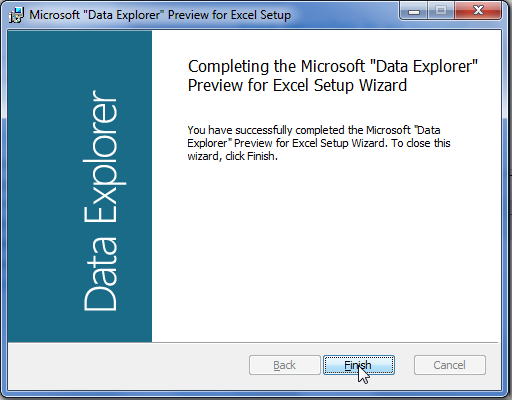
- When done, click ‘Finish’ to complete the installation step.
- Now in the excel 2013, a separate tab for ‘DATA EXPLORER’ should be visible.
Note: If the 'Data Explorer' is still not visible, you will need to manually add it by using following steps:
- Go to 'File' > 'Options' to open 'Excel options' window.
- In this, go to the 'Add-Ins' tab.
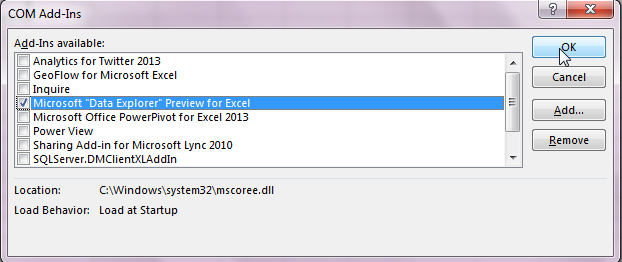
- Near the bottom end, from the ‘Manage’ drop-down, select ‘COM Add-ins’ and click ‘Go…’
- From the list of Add-ins, ensure that the add-in named ‘Microsoft Data Explorer Preview for Excel' is selected.
- In case this option is not visible, the installation might have not completed properly, and you might want to re-install the add-in again.
Connecting DATA EXPLORER with various sources
Connecting with Facebook
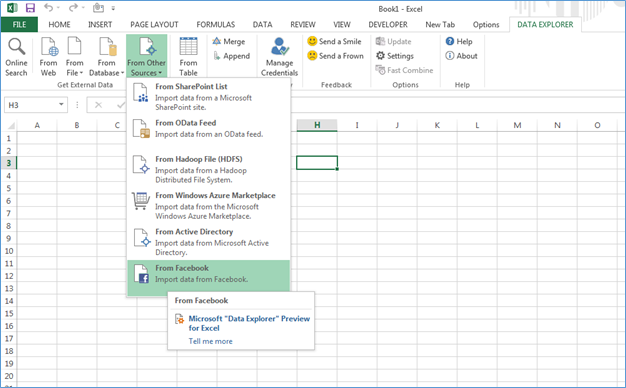
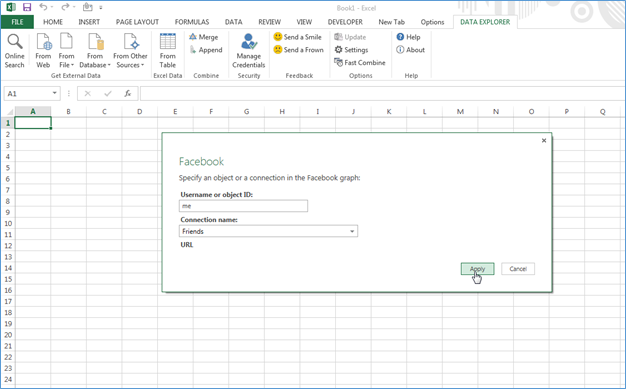
- In the DATA EXPLORER, go to ‘From Other Sources’ > ‘From Facebook’.
- In the connection windows, specify the details as required:
-
- Username of Object ID: Provide the user name. Somehow, here the only value that I found working was the default value ‘me’. Other things might need some additional internal configuration before-hands.
-
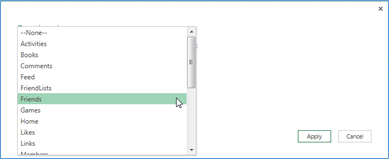
- Connection Name: Select the attribute to be imported from Facebook. This includes the common Facebook attributes like Activities, Comments, Feed, FriendList, Friends etc. For this test, we selected ‘Friends’.
Just fill first two details and click ‘Apply’.
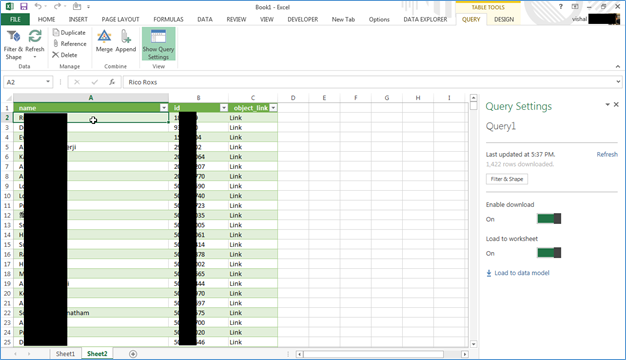
- A New Query Window would open displaying the output of the query. If the connection is set right, I should be showing a list of all the Facebook friends associated with the ID.
Note*: When using for the first time, it would ask for the Facebook Login Credentials for the account to be linked with Data Explorer. Provide the credentials and provide appropriate privileges to the app (the same usual way as of adding any new app to your Facebook profile).
- Just to peek into the exact query which is working in background here, click on the Settings.
- Click ‘Show Formula Bar‘
- The query running behind this data fetch would appear at the top of the table. When done with this, click ‘Done’ at the bottom right of the window.
- The whole list of all friends should be now visible in form of Excel table.
This way, information from Facebook can be brought into Excel for Analysis purposes.
Simple practical scenarios would include include developing applications to identify the people having most common interests, or finding friends who have been to any particular places etc.
