How to use OWA Mailbox Policy and Address Book Policy to bend address books to your will!!
What is OWAMailboxPolicy in Exchange 2010?
It’s a feature in Exchange 2010 to create organization-level policies to manage access to features in Outlook Web App. Outlook Web App mailbox policies allow you to create multiple policies at the organization level and apply them to individual mailboxes.
Previously Exchange administrators used to configure the settings for Outlook web access (Previous name) at the Virtual Directory level using Exchange management shell and Exchange Management console. Later on we had to configure the required features for individual mailboxes as an exception. This was achieved using commands: Set-OwaVirtualDirectory and using Set-CASMailbox in Exchange 2007. This old feature has been further enhanced in Exchange 2010 using the OWAMailboxPolicy.
** **
Why is the OWAMailboxPolicy required?
When you configure settings at the virtual Directory level for Outlook web access it will affect all users on the specific server by default. This is an expected behavior. In previous versions of Exchange the exceptions for individual mailboxes was achieved by enabling or disabling features on individual mailboxes using the command Set-CASMailbox in Exchange 2007. We did not have the outlook web app policy feature in Exchange 2007. So the problem happens when administrators had to customize access to features related to OWA for multiple user mailboxes basis of needs of the organization. This was tedious task and required manual intervention whenever we have to disable specific features for user mailboxes using the shell commands!
Advantages:
With Exchange 2010 we can create multiple outlook web app mailbox policies and apply to the user mailboxes using Exchange management shell as per the requirement. This overrides the setting of the virtual directory. Also the best part is we can create outlook web app policy and you just need to associate the policy with user mailboxes using Set-CASMailbox in Exchange 2010.
Important: The only limitation is that we can apply only one outlook Web App mailbox policy to the user mailbox. If you try to set more than one policy to the user the old policy will get replaced by new one!
Exchange 2010 CAS servers and OWAMailboxPolicy
When using this feature it is very important that we understand the CAS setup in the environment.
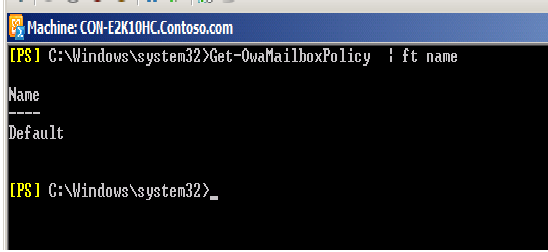
When you install Client access server in the organization a Default Outlook web app Mailbox policy gets created.
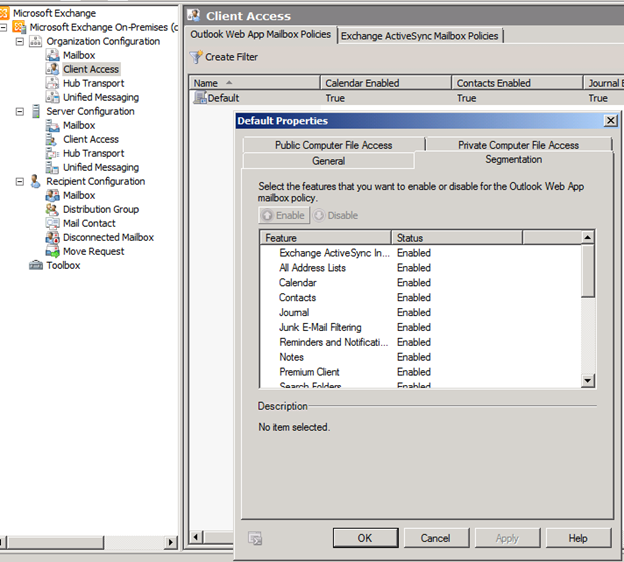
Since this is Default policy it will have all the options enabled as shown in the
Fig [a]:
Fig [b]:
Fig [c]:
Note: The default policy is though not applied to the mailbox when you install the Client Access Server Role. The settings of the virtual directory will be applied to the mailboxes on the Exchange 2010 unless you associate mailbox with the Outlook web app policy.
Considering the CAS server setup in the environment is very important before you plan to deploy the Outlook Web App policy you note down the changes if you are going to implement it.
How to create OWAMailboxPolicy?
This is pretty simple. You can use the Exchange management console or Exchange management shell to create it. Please check below links
Create Outlook Web App Mailbox Policy
The best part is you can create the policy based upon your requirements by enabling and disabling the required features and apply them to mailboxes depending on the need. To understand more click Apply an Outlook Web App Mailbox Policy to a Mailbox
For example: Let’s say I need to disable the Contacts folder in OWA for users in Organizational unit Finance. I have already created Outlook web app mailbox policy. I would run the below command.
Fig
Fig:
Fig:
The command completed successfully.
Create Outlook Web App Mailbox Policy
How do I verify if the user mailbox is associated with OWAMailboxPolicy?
This can be done by running the following command
Get-CASMailbox <mailboxname> | fl Owa*
For example: we will run this command on the user named tom.
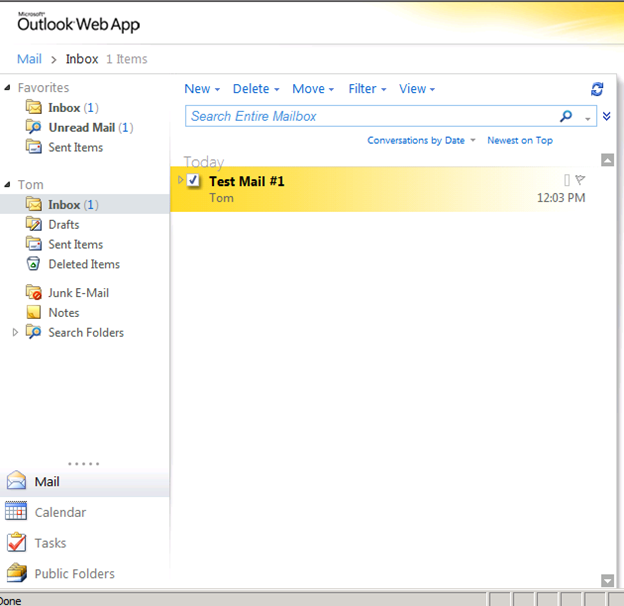
Now we will login to the outlook web app for the user Tom and confirm the changes are reflected in it.
Fig
As expected the contacts folder is missing from Outlook web app for the user Tom!
You can remove the policy applied to the user mailbox by setting the value for OWAMailboxPolicy to $null
Removing OWAMailboxPolicy from user
Now as we have understood what actually Outlook Web app policy is let’s proceed and try this out. I will demonstrate the following scenario which will make use of Outlook Web App mailbox policy in Exchange 2010.
Let’s consider the following Scenario:
You are an administrator for Contoso.com. You have been given the following task basis of the Company needs:
- To restrict the Default GAL access to all users using OWA.
- Disable MAPI access for users from Finance department
- Users from Finance department should be only able to view users from their own department.
Topology:
- Domain name: Contoso.com
- Exchange 2010 mailbox servers : 3
- Exchange 2010 Hub and CAS servers : 1
- Domain Controllers : 1
- Outlook version : Outlook 2010
To achieve this task you decide to make use of Outlook Web App mailbox policy. For demonstration purpose we will implement the above plan for users from Finance department.
Step1:
We will go ahead and disable GAL for all users on Exchange 2010 server. To achieve this we will go ahead and run the following command:
Set-OwaVirtualDirectory -Identity "<CASServerName>\owa (default Web site)" -GlobalAddressListEnabled $false
Step2:
Now we will login to Tom’s mailbox using Outlook web app and check if we are able to see GAL.
Ok so now the GAL is disabled for all users on the server. Now let’s proceed further. We need to disable the MAPI for the users.
Step 3:
We will go ahead and disable MAPI access by running the following command as shown below:
Fig:
Let’s verify that the MAPI is disabled for the above users. We run the command
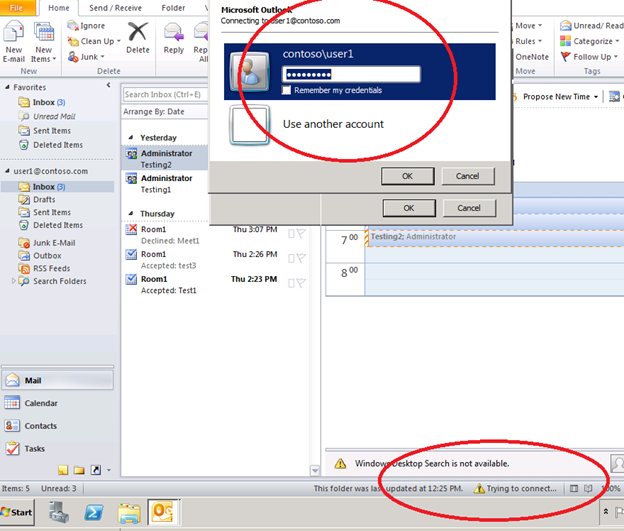
Now I try to login to outlook and I am not able to connect as expected.
So half the part is done but it is not finished yet…we still have to segregate GAL to respective departments. How do we do it GAL is already disabled for all users? Hmmm…we still have a way out! We can use Address Book policy and associate it to users using outlook web app Policy!!
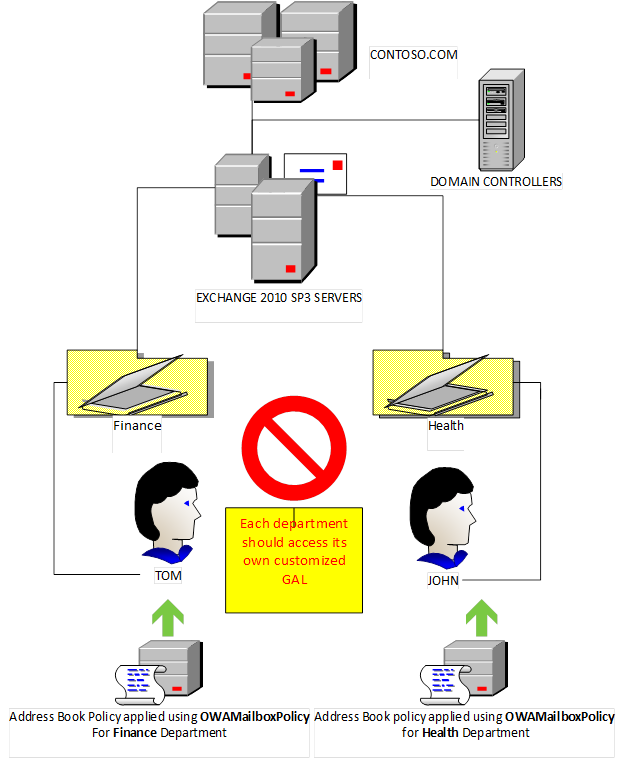
Here is the Visio diagram of the same:
Global address list (GAL) segmentation (also known as GAL segregation) is the process whereby administrators can segment users into specific groups to provide customized views of their organization’s GAL
To simplify the process, Microsoft Exchange Server 2010 Service Pack 2 (SP2) introduces address book policies (ABPs). When creating an ABP, you assign a GAL, an offline address book (OAB), a room list, and one or more address lists to the policy. You can then assign the ABP to mailbox users, providing them with access to a customized GAL in Outlook and Outlook Web App. The goal is to provide a simpler mechanism to accomplish GAL segmentation for on-premises organizations that require multiple GALs.
ABPs are intended to optimize the GAL for each group of users, not make it impossible for them to see each other or to resolve other users in your organization. ABPs create only a virtual separation of users, not a legal separation.
To learn more about Address Book policies see, Understanding Address Book Policies
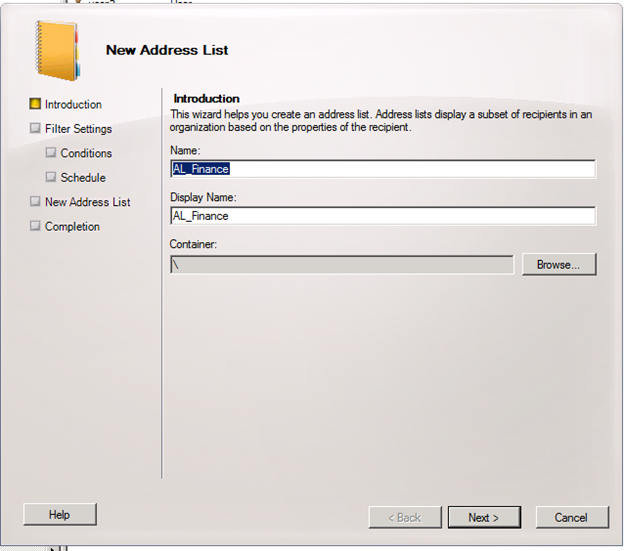
Now in this scenario you need to first create Address list. We will create Address list with name *AL_finance
Next we will select the Filter settings as All recipient types
Next we will select the Condition as “Recipient is in a department”
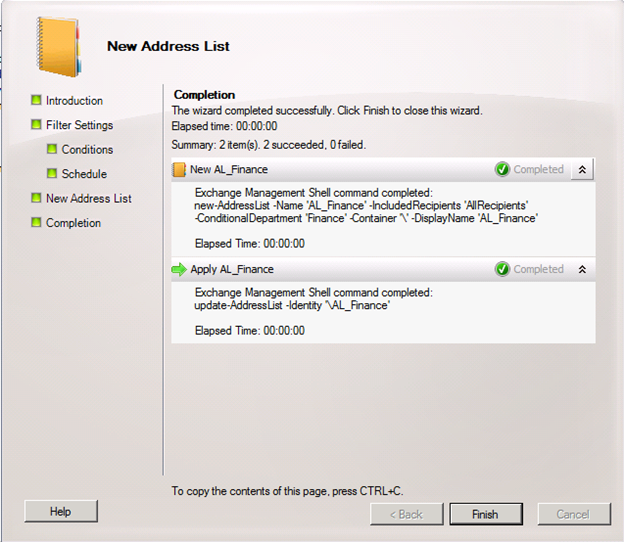
Now click on Next and let the command execute.
ABPs must contain a room list. If your organization doesn't have resource mailboxes (such as room or equipment mailboxes), we recommend that you create a blank room list. In our scenario we do not have the Room mailboxes.
To create one we run the command as below
New-AddressList –Name AL_FinanceRoom –RecipientFilter {(Alias –ne $null) –and ((RecipientDisplayType –eq ‘ConferenceRoomMailbox’) –or (RecipientDisplayType –eq ‘SyncedConferenceRoomMailbox’))}
Now the next step is to create Global Address List for the Finance Department. We would run the following command:
New-GlobalAddressList –Name “AL_Finance_GAL” –RecipientFilter {(Department –eq ‘Finance’)}
Now we need to run the New-OfflineAddressBook command as shown below:
New-OfflineAddressBook –Name “AL_Finance_OAB” –AddressLists “AL_Finance_GAL”
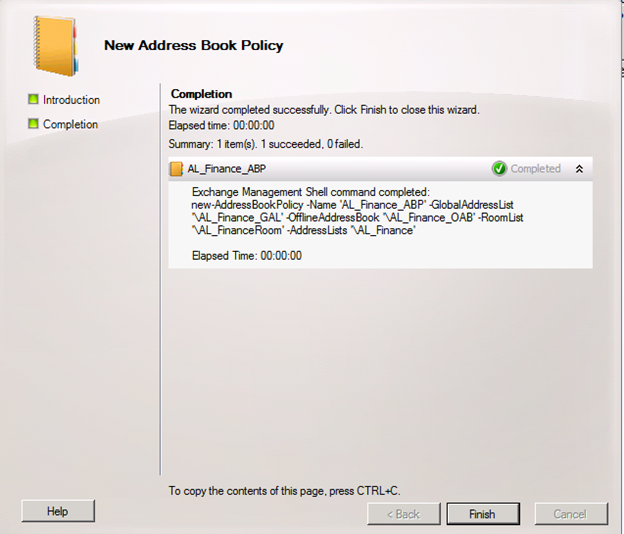
Now the next step is to create Address Book Policy. We will create Address Book policy with name AL_Finance_ABP
Click on New button to complete the task as shown below
Now it is time to apply address book policy to user mailboxes located in Finance Department. To do this we will run the command as shown below
Get-Mailbox –OrganizationalUnit Finance | Set-Mailbox –AddressBookPolicy “AL_Finance_ABP”
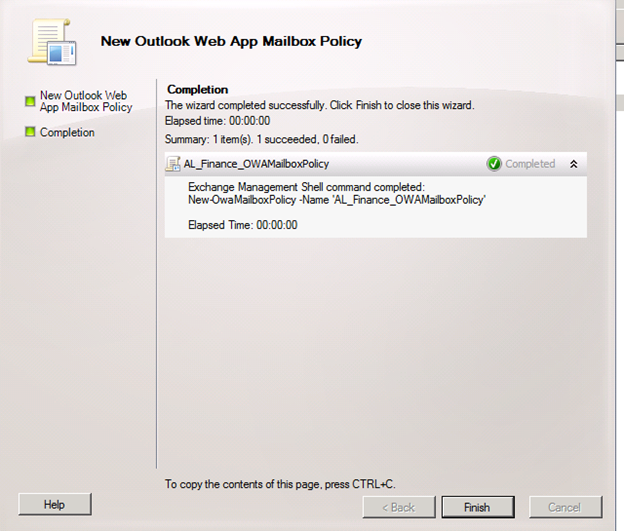
Now go and create the new OWAMailboxPolicy
Next, we need to associate the new OWAMailboxPolicy to user mailboxes in Finance Department:
Now let us open Exchange Management shell and runs the following commands:
Get-CASMailbox –OrganizationalUnit finance | Set-CASMailbox –OwaMailboxPolicy “Al_Finance_OWAMailboxPolicy”
Time to Test!
We open up the outlook web app on the server and login to the Tom’s mailbox (he is in finance department):
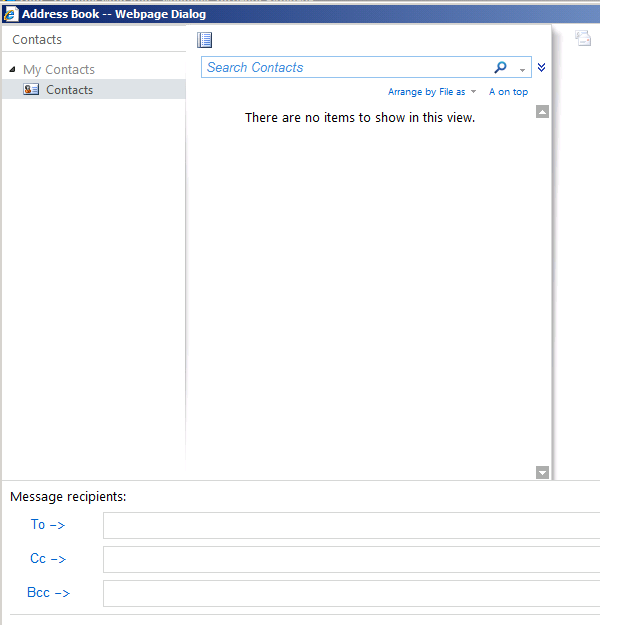
Finally we did it!! Tom can only view mailboxes from Finance Department.
Also if you now login to any other mailbox using OWA from other department you would not be able to access Default GAL because there is no OWAMailboxPolicy & Address Book policy applied. The Mailbox is using the settings from OwaVirtualDirectory. Please see below:
You will have to repeat the steps for other departments to complete segregation of the GAL.
Conclusion:
With Good understanding of Address Book policy and OWAMailboxPolicy in Exchange 2010 you can customize GAL access in your environment. I hope this article will be somewhat helpful to all readers. Enjoy!
-- Siddhesh Dalvi

