How to Install a Skeleton Server 2000 on to a Hyper-V Server
How To Install A Skeleton server 2000 on to Hyper-V Server
Before we begin, you must understand a few things. You need proper licensing, for example Server 2000 retail has no restrictions as far as converting to Hyper-V. You must remove the old server after successful conversion.
OEM Server 2000 needs an instance license.
For the skeleton Server 2000 install, be sure to select the correct hard drive size.
For the skeleton Server 2000 make sure you select a legacy network adapter.
Click on Start>> All Programs>> Administrative Tools>> Server Manager.
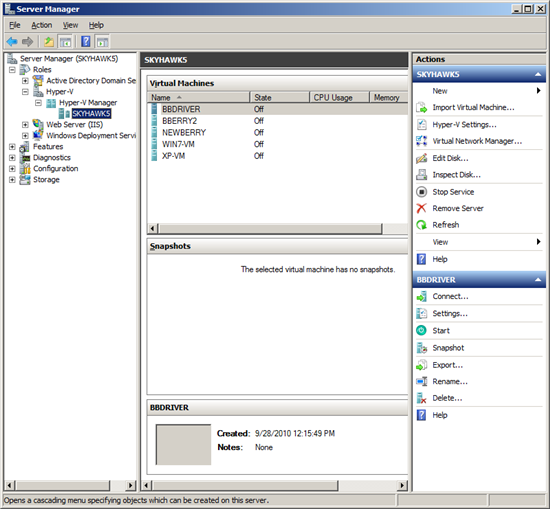
Expand Hyper-V Role, and under actions select New >> Virtual Machine.

Click Next.
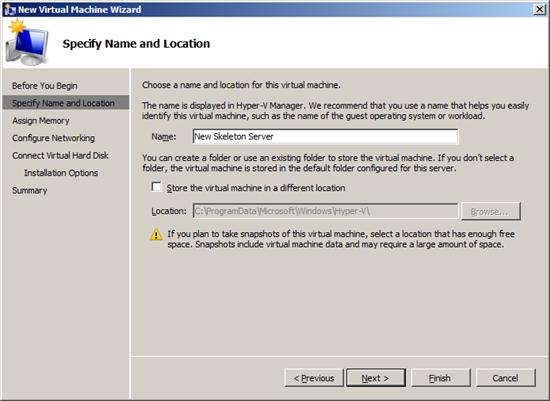
Give your new VM a name, I selected New Skeleton Server.
Click Next.
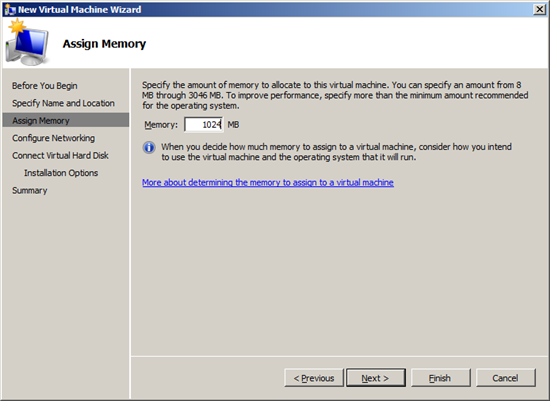
Specify your memory size, I used 1024, Click Next.

Here you can select Local Area Connection- Virtual Network, Click Next.
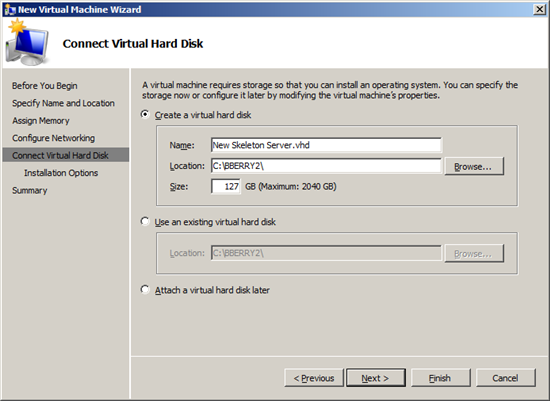
Create A New Virtual Hard Disk.
In the Size Field be sure to assign the proper Virtual Hard Disk Size, I selected 127GB, Click Next.
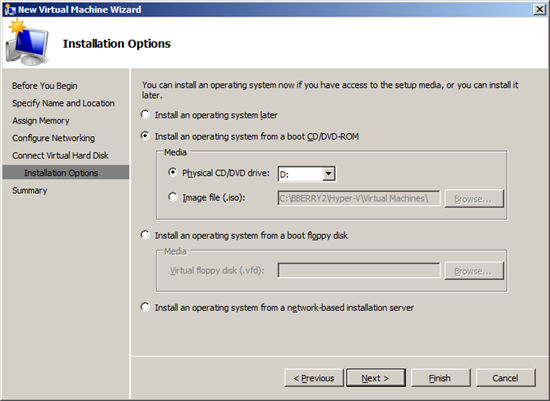
Here is where you want to select Install an Operating system from a boot CD/DVD-ROM, Click Next.
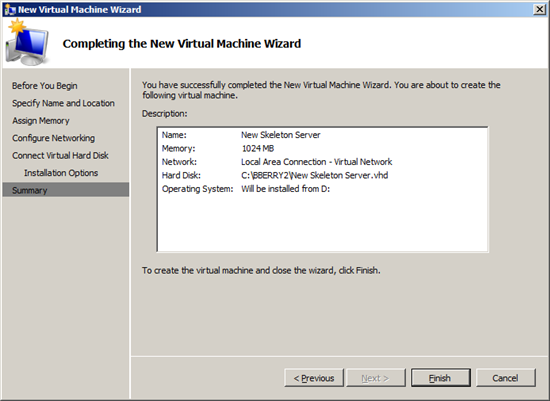
Review all of your settings and Click Finish.
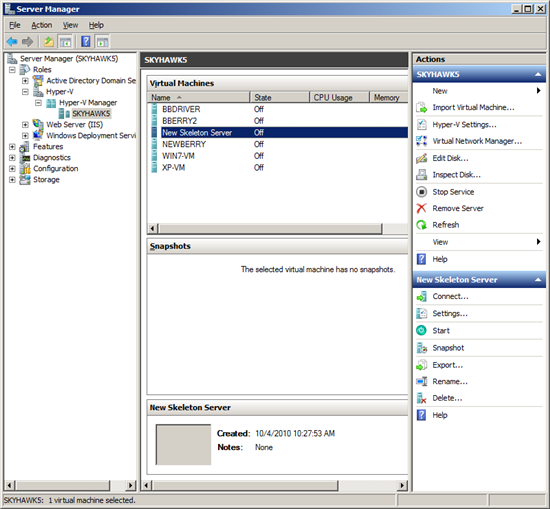
Notice the New Skeleton Server has been Created for you.
Now if you look on the right side of the Server Manager Screen, New Skeleton Server and menu choices show up.
Select the Settings under New Skeleton Server.
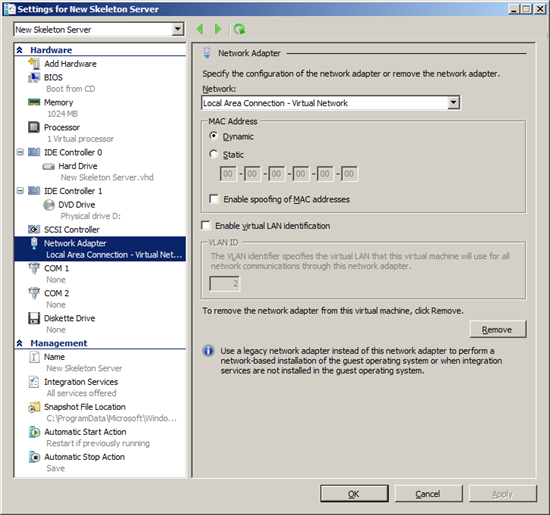
Highlight the Network Adapter and click on the Remove button just on the right .
That will remove the current adapter.
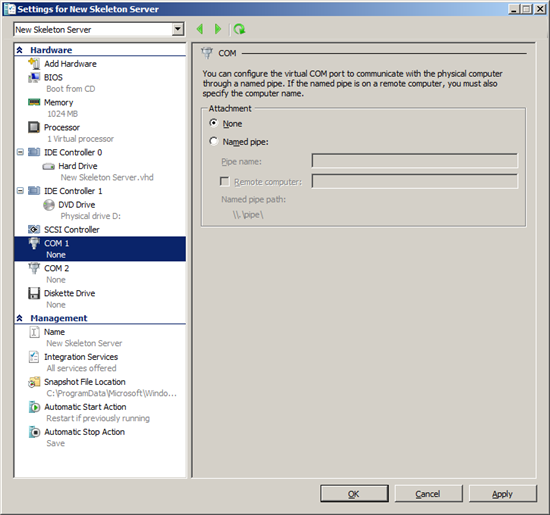
Now we will add the Legacy adapter we need.
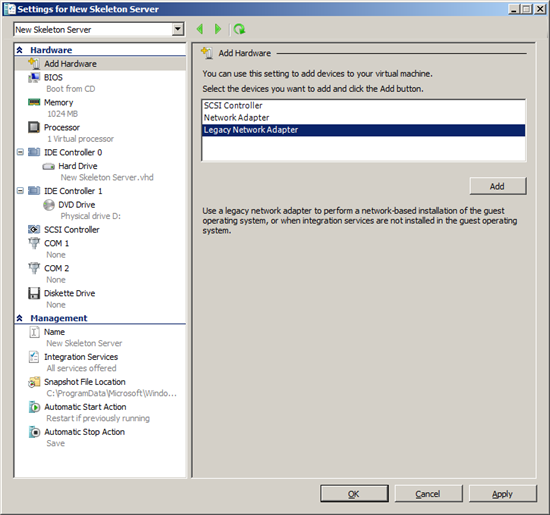
Click Add Hardware.
Select Legacy Network Adapter, click Add, and then click OK.
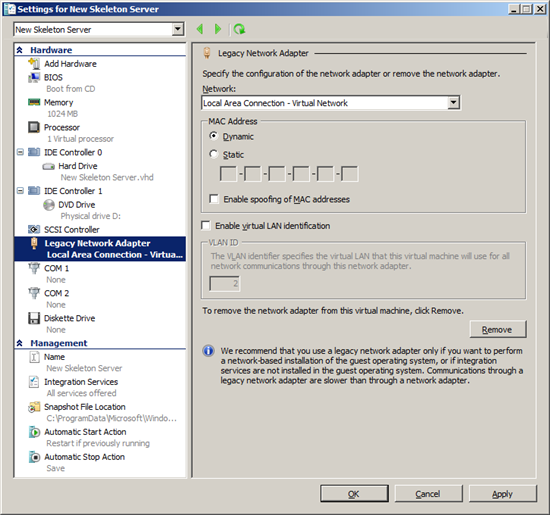
Highlight Legacy Network Adapter and be sure to specify Local Area Connection- Virtual Network, Click
Click Apply and OK.
This returns you to the Server Manager screen.
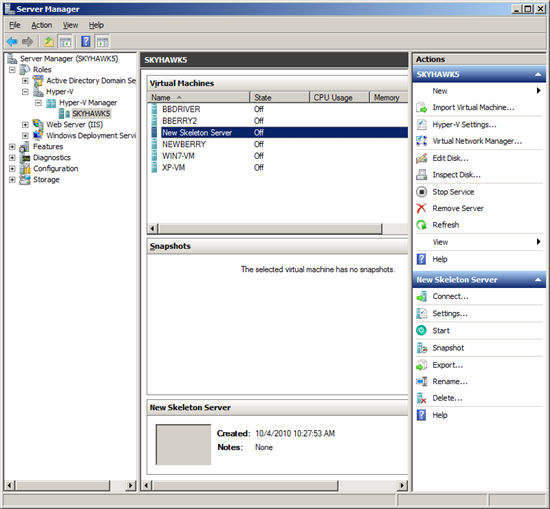
Now it’s time to Start up the new VM and install your Server 2000 CD.
You can just double click the New Skeleton Server Under Virtual Machines or Select Actions>> Start with the New VM selected.
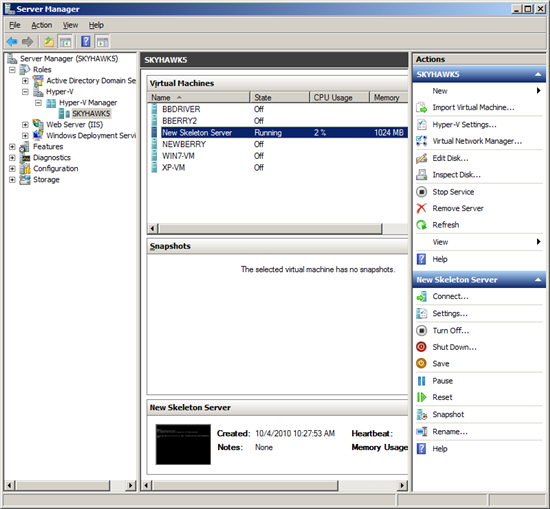
On the bottom of the screen, notice the black icon.
Your new Skeleton Server is waiting for a CD, double click on the Icon.
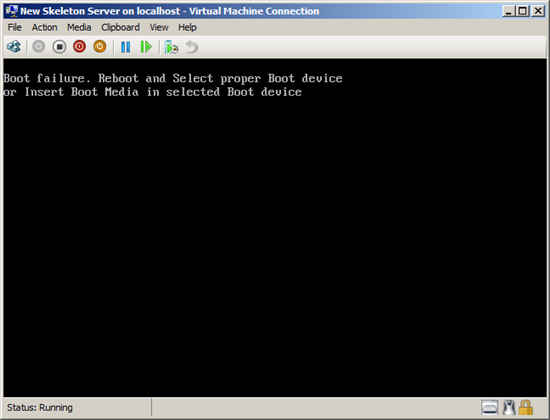
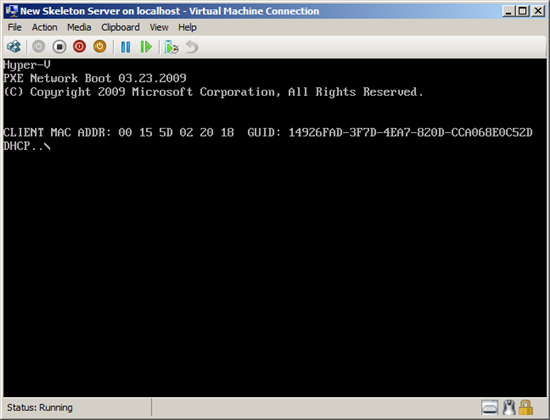
Just like a real machine,!, it’s asking for the Windows CD!
You may see the screen, Windows on the Host server is asking you what to do with the CD you just inserted.
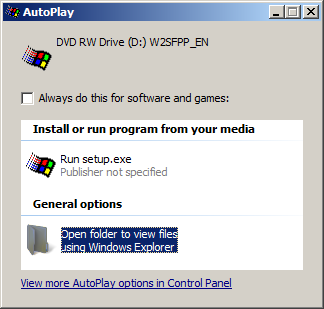
BE CAREFUL !!!, Just cancel this request.
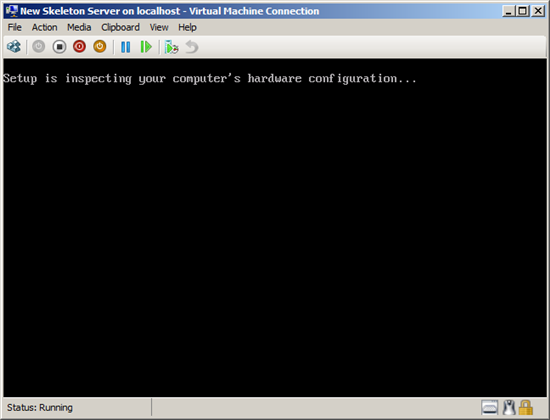
Things will now start to look familiar.
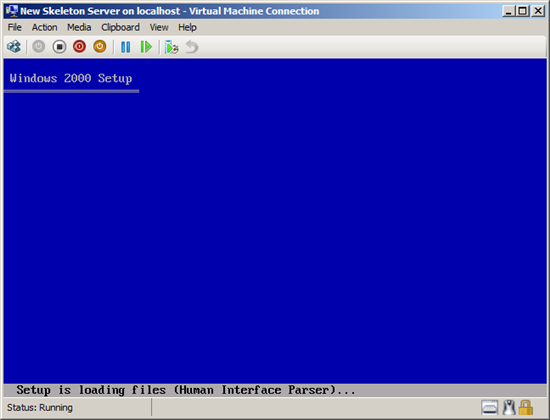
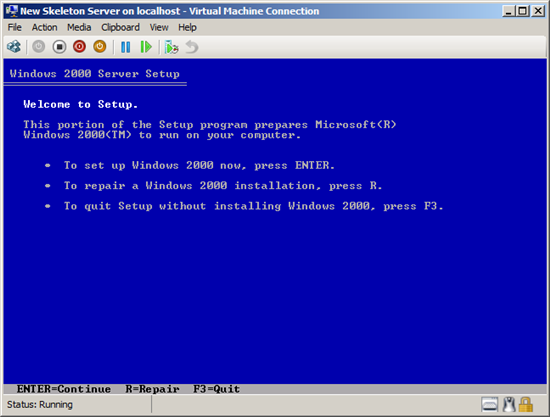
Here you press Enter, and continue with a normal 2000 Server install.
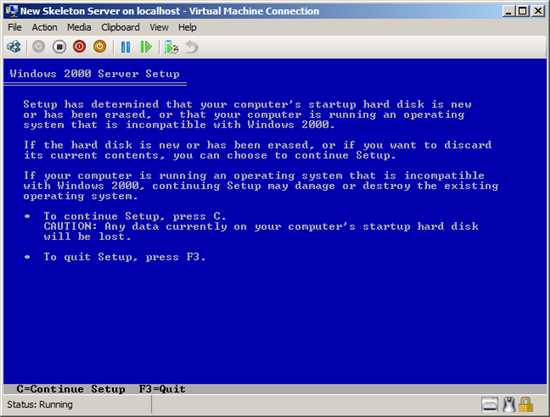
Install has noticed that you have a new hard drive, it’s your Virtual HD, press C to continue with the install.
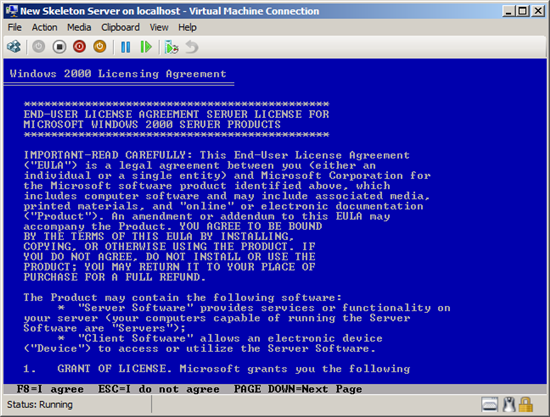
Press F8 to continue the install.
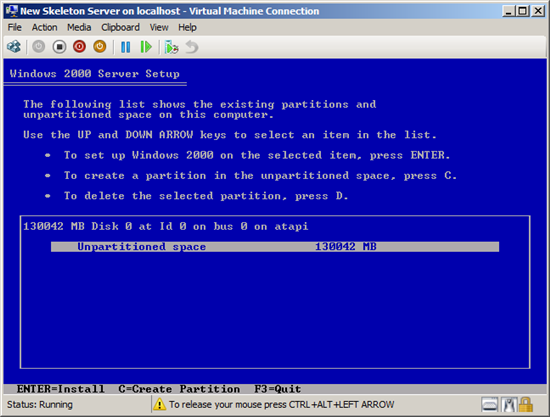
I pressed C because I just don’t have enough hard drive space.
Remember, once you select a size here, there is no going back, you would have to reinstall Server 2000 on the hard drive and re-create the partition, just like the real world .
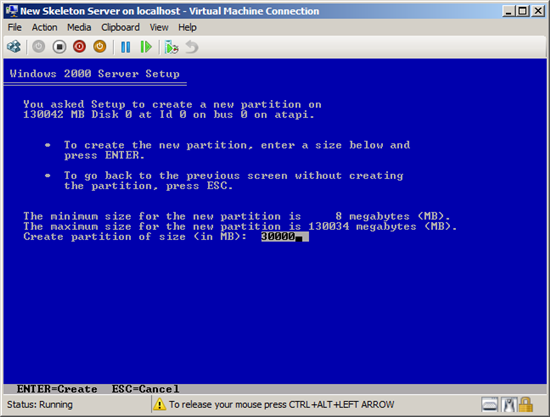
I chose 30 GB.
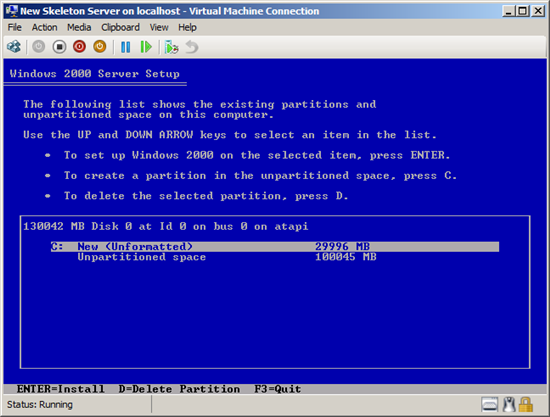
Make sure you are installing where you think you are installing.
Press Enter to continue.
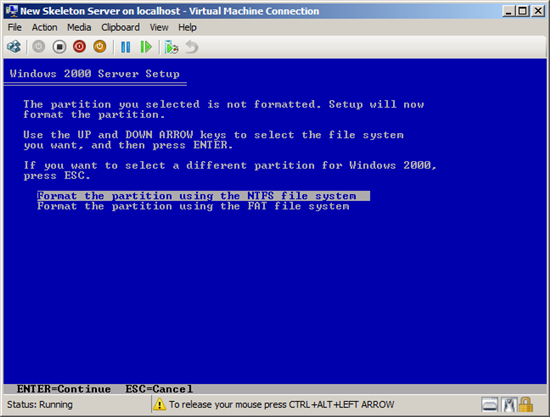
Press enter to continue.
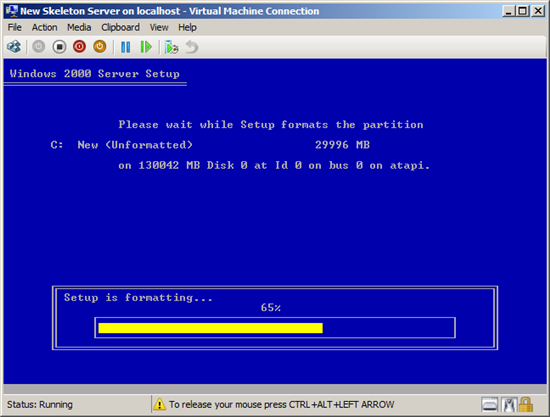
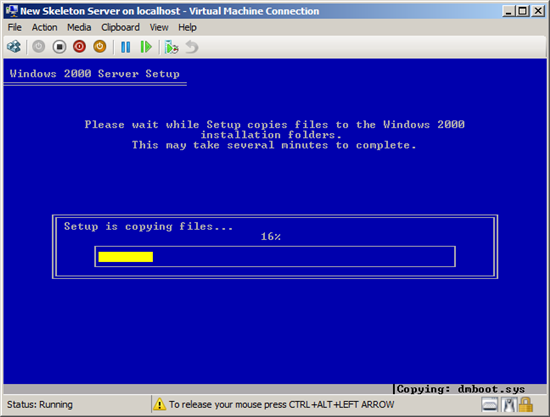
After the files copy, the system reboots just like the real world.
After the files copy, the system reboots just like the real world.
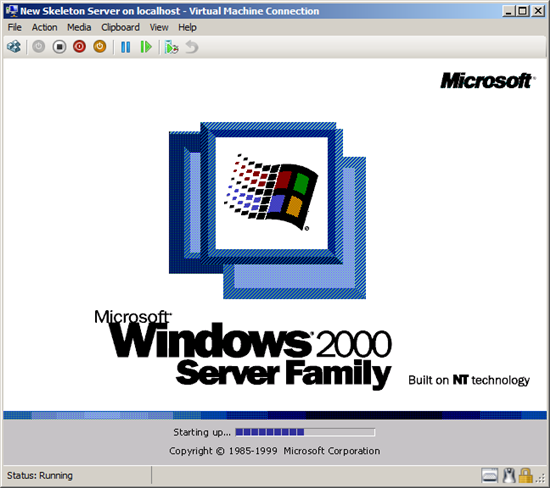
Now you set up Server 2000 just like normal.
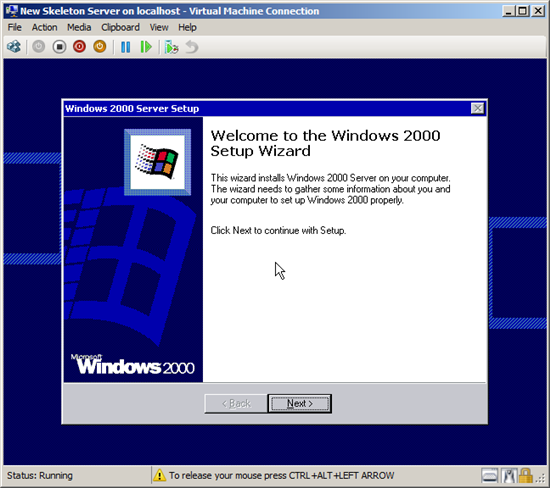
Click Next.
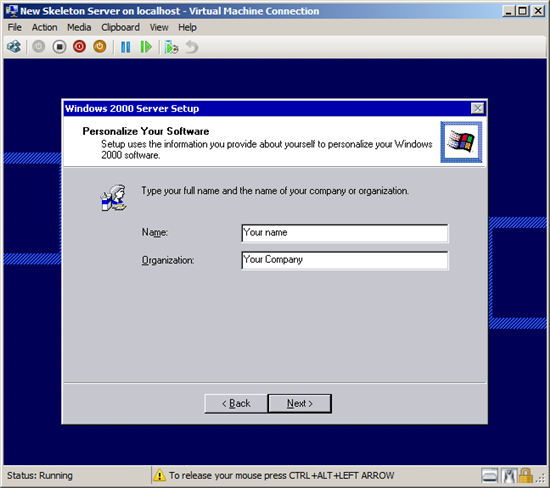
Input your Information, Click Next.
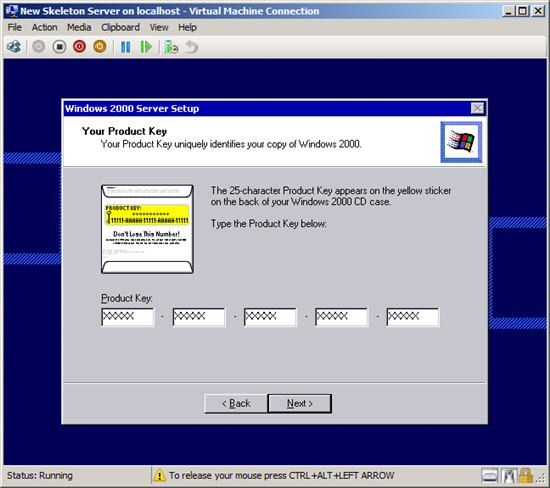
You will need you key from the 2000 Server jewel case.
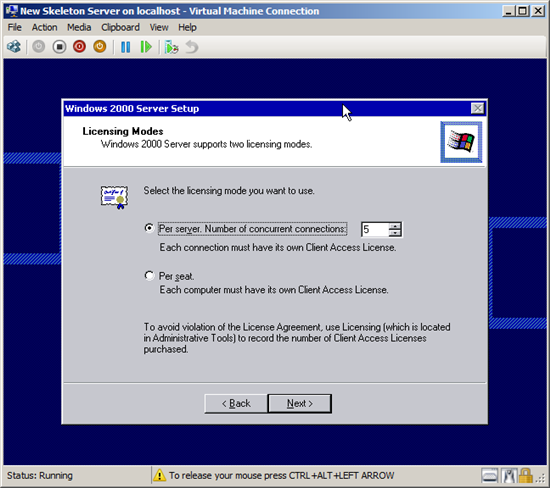
Click Next.
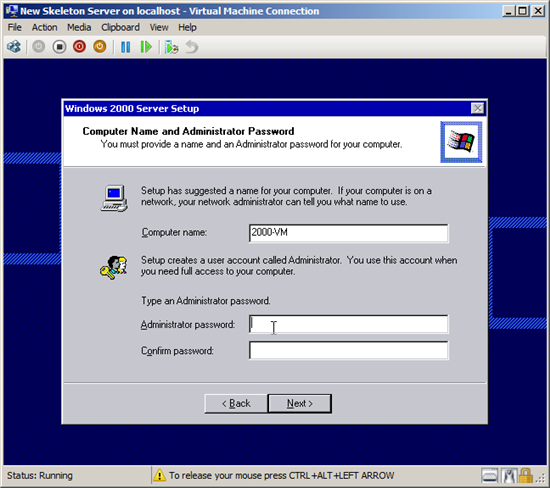
Input Your Computer Name, Click Next.
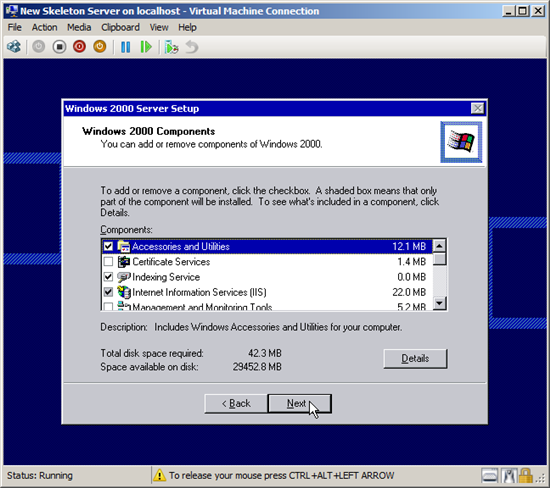
Take Defaults and click Next.
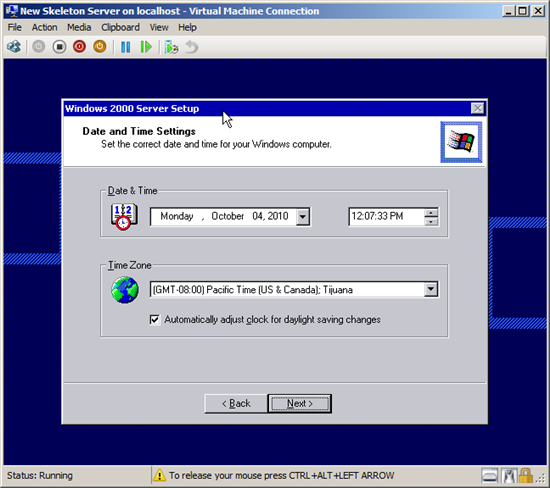
Check your time and zone and click next.
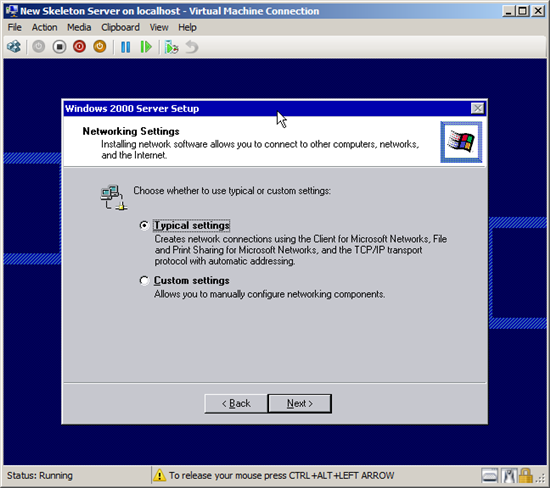
Select Typical Settings and click Next.
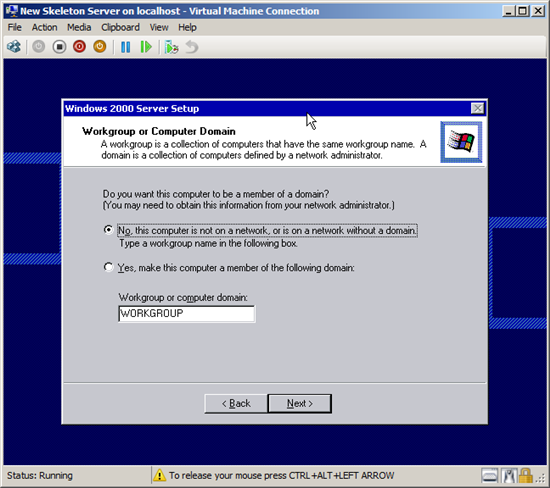
Keep the Default Workgroup, Click next
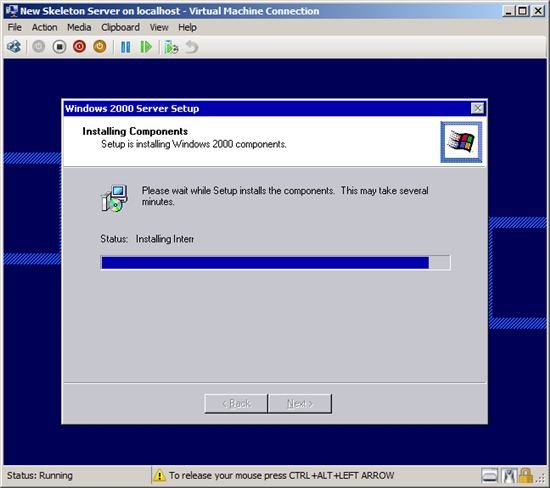
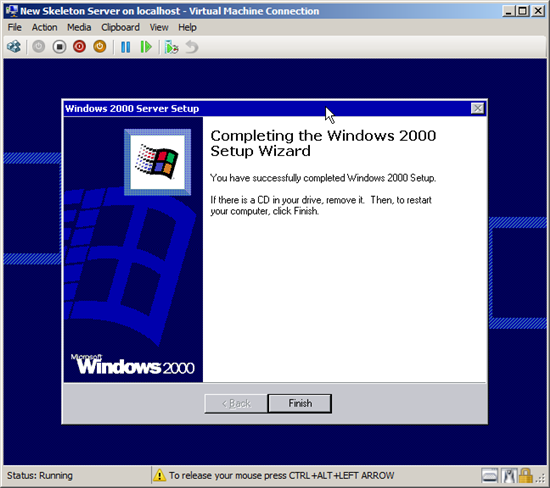
Click Finish.
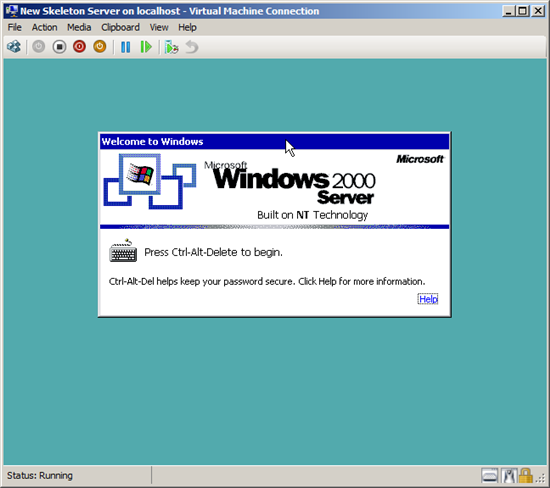
YOU HAVE TO PRESS Ctrl-Alt-END (Not Delete) here to get to the login Screen.
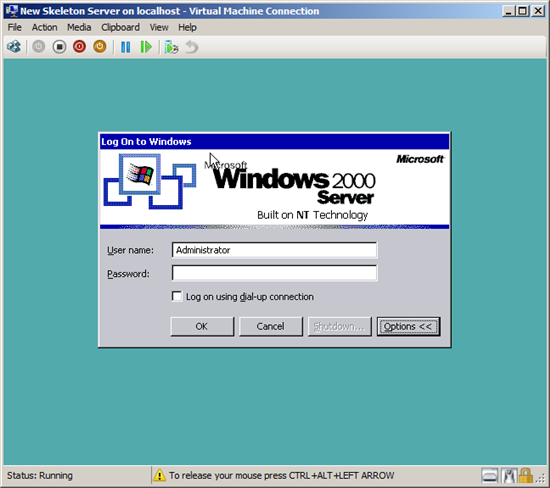
Login , Click Ok
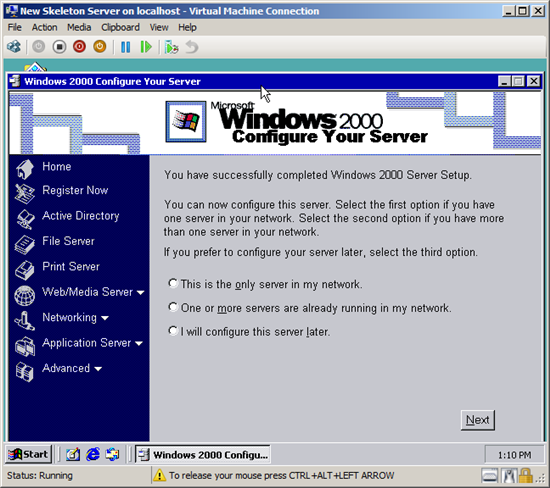
It’s working.
Keep in mind that the restore will over write everything, so we just need a working server to restore to.
Click Next.
Your Skeleton Server Is Operational.
Now You Need to Restore the Saved Image To Create The Virtual Machine.