IIS ARR + URL Rewrite for Lync 2010 Reverse Proxy
This is a brief Wiki on setting up IIS ARR + URL Rewrite for Lync Reverse Proxy. This is one of many solutions out there for you to utilize outside of Microsoft's TMG.
-You will want to make sure that IIS and .net are installed on the server you intend to use for Reverse Proxy.
-Download and Install ARR. 
-Once ARR is installed you can make sure it was installed properly by checking your installed programs. You should see the applications and modules below:
- Microsoft URL Rewrite Module for IIS.
- Microsoft Web Farm Management Version 1 for IIS.
- Microsoft Application Request Routing Version 1 for IIS.
- Microsoft External Cache Version 1 for IIS.
-Next you will want to add your SSL certificate (Public Cert) to your 443 Binding on your default website. You can access this under your default site on the right hand side under actions there is a bindings link. Select this and edit your 443 binding by adding your SSL Cert to the binding.
Now we will set up the Server Farm that will house the URL Rewrite Rules for Reverse Proxy.
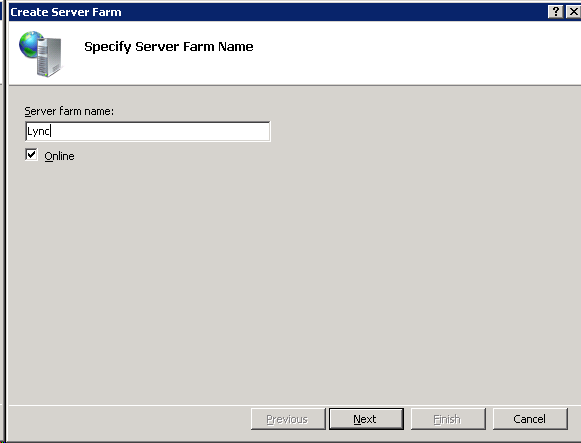
-In the Connections pane, expand the local server node, right-click Server Farms, and then click Create Server Farm.
-Next add your Front End Servers I**P Address **or FQDN. Under Advance Settings modify the ports to be 8080 and 4443.
You may encounter a prompt after you add the server to the server farm that states: "There are URL rewrite rules on other server farms that can conflict with the rule that you are about to create for this server farm. Do you want to create this rule?" If this prompt comes up click YES.
-Now that your Server Farm is created you will see the Server listed under the Farm. If you select your Server you will see a listing of application to select from. Select the Routing Rules App so we can begin creating the rules needed for Reverse Proxy to work properly.
-On the Routing Rules Page there is a URL Rewrite link on the right hand side under the actions pane. Select this to open the URL Rewrite section.
-Double click on the current URL Rewrite rule. Its name by default is ARR_Lync_loadbalance. This will open up the Edit page for the Inbound Rule. You will want to*** follow the screenshot*** below. Make sure yourRequested URL is set to **Matches the Pattern **using Regular Expressions. The pattern will be a wildcard and then we will set up conditions for our Reverse Proxy, Dialin, Meet, and Lync Mobile (lyncdiscover) FQDN's.
After you have set the Match URL, Conditions, and Action click APPLY in the upper right hand corner in theactions menu.
Your Reverse Proxy using IIS ARR + URL Rewrite is now configured.
One thing I found to do after the initial configuration is to set the time-out value to a higher value than the 30 seconds it is currently set to. If you leave this at the default 30 seconds users will have a disconnect/reconnect (time-out) every 30 seconds. Upon suggestion from another colleague I set the value to 3600.
-This setting is located under the Lync Server's applications in your Server Farm. Select the Lync Server and double click on Proxy. Under** Proxy** you will see the section call Time-Out (seconds). Change this value and click APPLY in the upper right hand corner in the** actions pane**.
I hope this was helpful to all users out there looking for alternative solutions to Reverse Proxy!


