Microsoft Azure : Installing Service Bus Server 1.0
In July 2012 Microsoft has for the first time published a piece of Windows Azure which is installable locally (On-Premise). It is Service Bus (currentlly in Version 1 - BETA) which is slightly adapted version of Windows Azure Service Bus. If you are aware of this product this post will help you to install it. If you are new to Service Bus Server (this is how some people call it) it is highly recommended to take a look on this article[.
](resources/0081.pic22.png)Before you start with installation go to following URL and download all required components from http://www.microsoft.com/en-us/download/details.aspx?id=30376. To install the Service Bus run servicebus.3f.3f.3fnew.exe. Another option to do that is to use Web Platform installer v4. Following picture shows two new components in Platform Installer. This post is related to installation of Service Bus 1.0. If you want to install Workflow 1.0 you will anyhow have to first install Service Bus.[
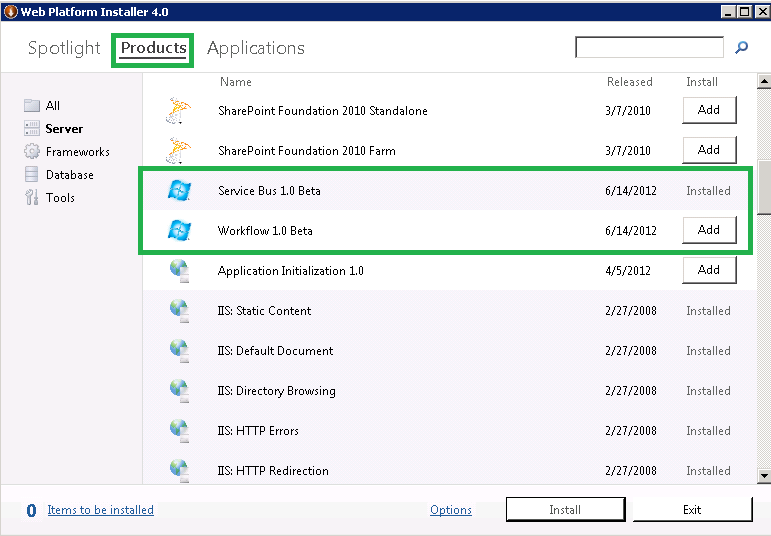 ](resources/0081.pic22.png)
After start of Service Bus Server setup following dialog appears:
[
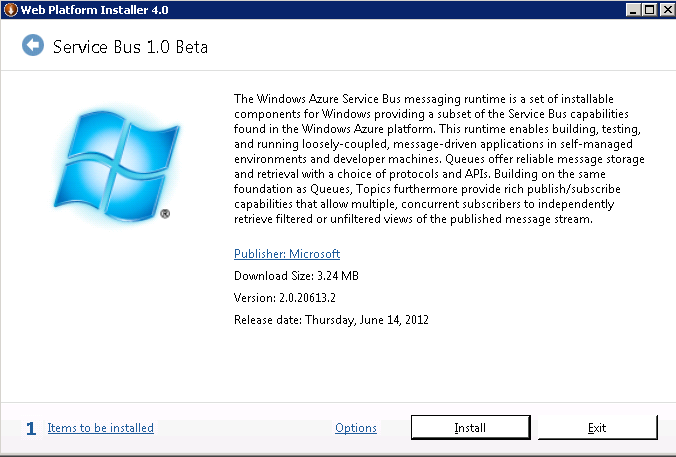 ](resources/1727.pic4.png)
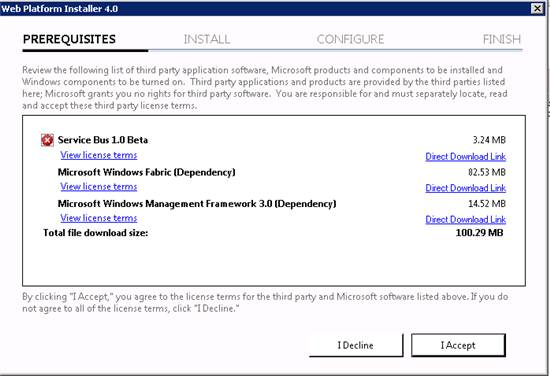
Immediately after start the list of missing dependencies will appear (see picture below). Please note that after installation restart will be required! Note that if you previously have installed Windows Fabric component you will have to uninstall it. Note that it is not necessary to go to direct link (shown below). Simply click "I accept" to proceed. Setup will automatically download and install required components.
.
After installation of Service management Components 3.0 you will have to restart the machine.
[
](resources/1581.pic17_2D00_9.png)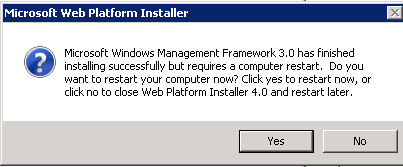
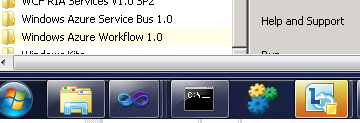
After restart the installation will proceed automatically. You can find installed bits in the start menu. If all is successfully installed the start menu will contain the node “Windows Azure Service Bus”.
[
 ](resources/1581.pic17_2D00_9.png)