Windows 2008 Server: Install the Active Directory Schema Snap-In
Operating System ** **
Windows 2008 server 32/64 bit
Solution
We need to manage the AD DS schema, which can include extending the schema, modifying existing attributes and classes.
To install the Active Directory Schema snap-in, perform the following steps:
1. Log on to a domain controller or a member computer.
2. Click Start, and click Command Prompt.
3. In the Command Prompt window, type the following command and press Enter:
* regsvr32 schmmgmt.dll*
4. You will receive a notification that schmmgmt.dll was registered successfully, as shown in Figure below. Click OK and close the Command Prompt window.
5. Click Start, click Run, type mmc /a, and click OK. On the File menu, click Add/Remove Snap-In.6. In the Add or Remove Snap-ins window, select Active Directory Schema under Available Snap-ins, click Add, and then click OK. The Active Directory Schema snap-in is added to the MMC console, as shown in Figure below.
7. On the File menu, click Save As. In the Save As window, type %systemroot%\System32\schmmgmt.msc in the File name field, and click Save.
8. Close the console. Right-click Start, and click Open All Users. Double-click Programs double click Administrative Tools. On the File menu, click New; then click Shortcut.
9. In the Create Shortcut Wizard, the Type the Location of the Item box, type schmmgmt.msc; then click Next.
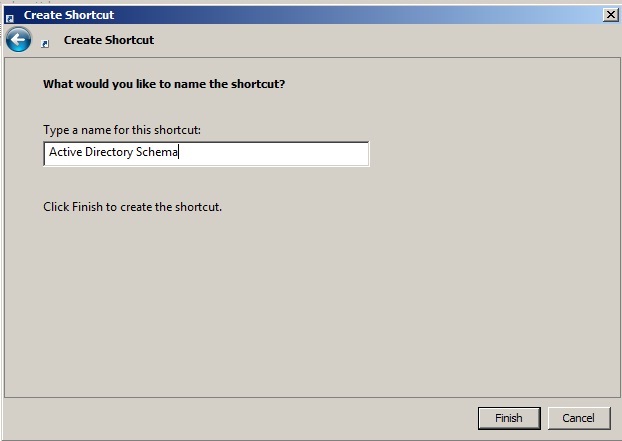
10. On the Select a Title for the Program page, in the Type a name for this shortcut,
type Active Directory Schema; then click Finish.
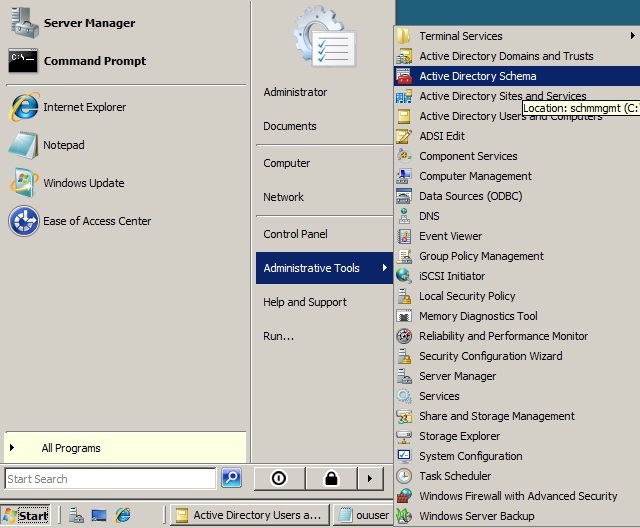
11. To verify that the Active Directory Schema shortcut was created successfully, click Start, click Administrative Tools, and verify that Active Directory Schema is listed, as shown in figure below


