Getting Started with Windows 10 Device Guard – Part 1 of 2
Hi, my name is Debs Turner, I’m a Premier Field Engineer in the Devices and Mobility team with Microsoft UK.
This article is the first in a two part series which I have produced to show how you can Deploy, Configure and Manage Device Guard in a lab environment. These are aimed at those who have a basic understanding of the Device Guard feature in Windows 10. If you’d like to learn more about Device Guard before continuing; please review our comprehensive Device Guard Deployment Guide - this provides detailed information on the prerequisite requirements and explains how virtualisation based security and code integrity policies work.
The aim of these two blogs is to simplify the process of testing Device Guard, by providing you with Step-by-Step Instructions, Screenshots and Automation Scripts that will help you test, evaluate and implement Device Guard.
In this first article, we will cover the following steps:
Create a code integrity policy from a "Golden computer"
Audit code integrity policies
Create a code integrity policy from audit capture in the event log
Merge code integrity policies
Enforce code integrity policies
In PART 2 – We'll cover creating and signing catalog files and code integrity policies.
Here’s a breakdown of my Lab Environment
Virtual Machines
1 x Windows Server 2016 which is the Contoso.local Domain Controller and Certification Authority.
1 x Windows 10 Enterprise Client - GOLD-MACHINE.contoso.local - this machine will be our "Gold Machine" that has all the software, drivers & updates that we want in our environment and on which we will configure Device Guard in Audit Mode.
File locations
C:\MyCIPolicy
C:\MyCatalogs
C:\MyCertificates
1 x Windows 10 Enterprise Client - TARGET-MACHINE.contoso.local - this machine will our Target System that we will target to enforce and test our policies.
Note The scripts pertain to my lab environment but feel free to tailor to yours.
Readiness
Note Before configuring Device Guard, it's important to check whether your hardware is compatible. You can do this by downloading the Device Guard and Credential Guard hardware readiness tool here Device Guard and Credential Guard hardware readiness tool.
Resources
Note If you'd like a ready made environment to test and deploy Device Guard; why not head over to our TechNet Virtual Lab which has been made available so that IT pros can deploy Device Guard in a VM environment without any additional software or setup TechNet Virtual Lab: Deploy Device Guard.
Create a Code Integrity Policy from a "Golden Computer"
The first thing we need to do is to scan our gold machine to generate our code integrity policy xml file.
Note Our gold machine will be GOLD-MACHINE.contoso.local and our target system will be TARGET-MACHINE.contoso.local.
Background Information A "gold machine" is a device that has your corporate build / image applied to it, plus all the applications and drivers that the machine will be permitted to execute in production. All applications that are installed on the machine at the time of the scan will be allowed to execute, anything else will be blocked. With regards to drivers, the scan will need to be run against every piece of hardware you intend to deploy in your environment, with drivers installed on the gold machine. Before you begin this procedure, ensure that the reference "gold machine" is clean and free from viruses or malware.
We will use PowerShell to create a new Code Integrity Policy at FilePublisher level of the C:\ Drive and enable UserPEs with the -Fallback Hash parameter.
Note The FilePublisher rule level is a combination of the “FileName” attribute of the signed file, plus “Publisher” (PCA certificate with CN of leaf), plus a minimum version number. This option trusts specific files from the specified publisher, with a version at or above the specified version number.
When you specify the -UserPEs parameter (to include user mode executables in the scan), rule option 0 Enabled:UMCI is automatically added to the code integrity policy. In contrast, if you do not specify -UserPEs, the policy will be empty of user mode executables and will only have rules for kernel mode binaries like drivers, in other words, the whitelist will not include applications. If you create such a policy and later add rule option 0 Enabled:UMCI, all attempts to start applications will cause a response from Device Guard. In audit mode, the response is logging an event, and in enforced mode, the response is blocking the application.
Note The -Fallback Hash parameter will allow internal, unsigned applications, adding the hash values of binaries that don't have a signing certificate.
For a list of Code Integrity Policy rule options visit:
For a list of Code Integrity Policy file rule levels visit:
Let's go ahead and create our new code integrity policy. On our gold machine, we will open an elevated session of PowerShell ISE
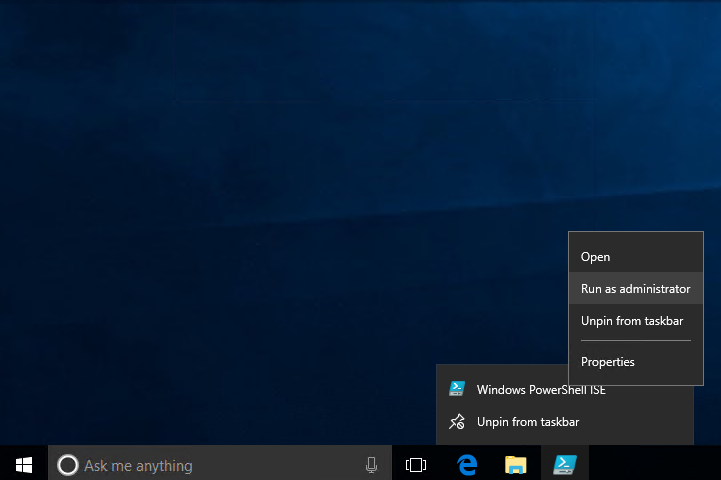
Accept the UAC prompt to continue 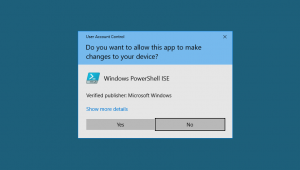
If not already configured; have the script pane showing by clicking View from the file menu and selecting ‘Show Script Pane’. 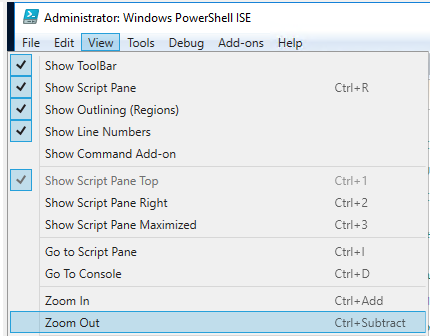
You can use variables in your scripts but for these articles I will be using full file paths.
New CIPolicy
To create our initial code integrity policy, we will run the following command.
New-CIPolicy -Level FilePublisher -FilePath C:\MyCIPolicy\My_Initial_CI_Policy.xml -ScanPath C:\ -UserPEs -Fallback Hash
A system scan has now been initiated. Please note that this may take some time depending on the location you are scanning and the content.
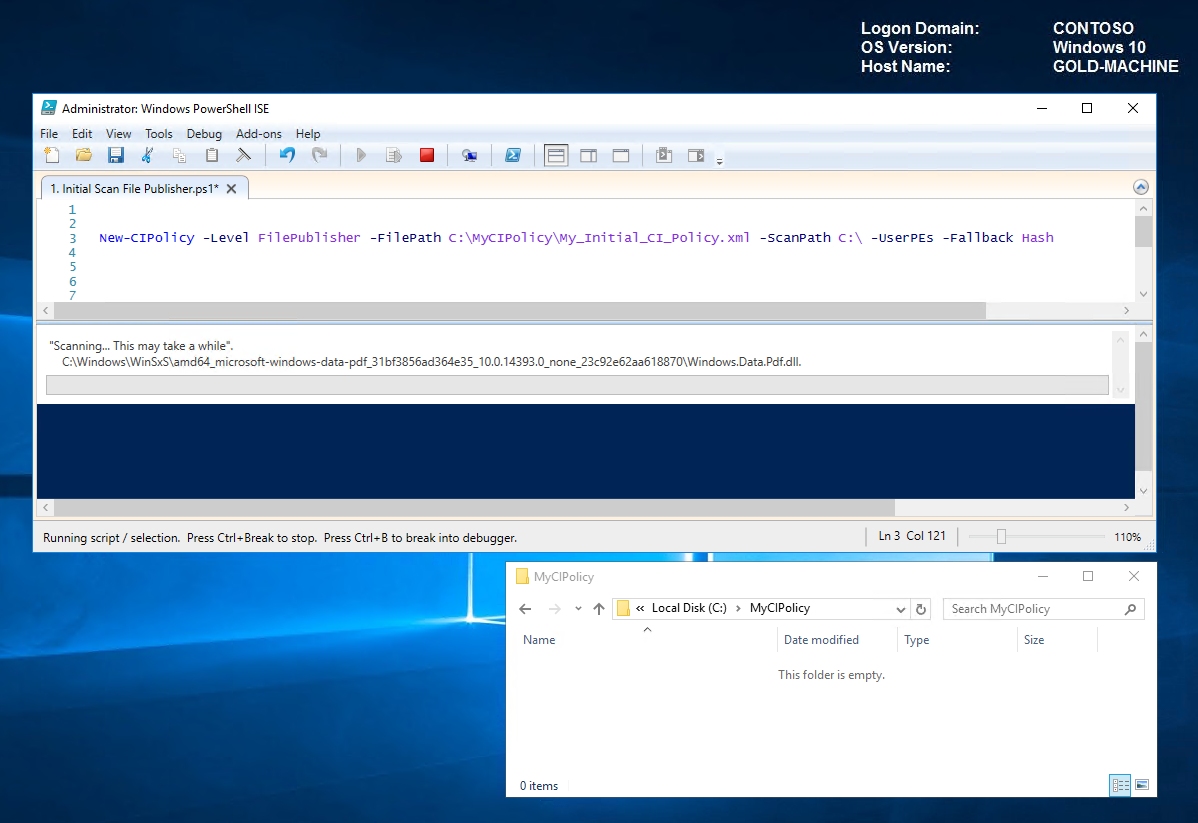
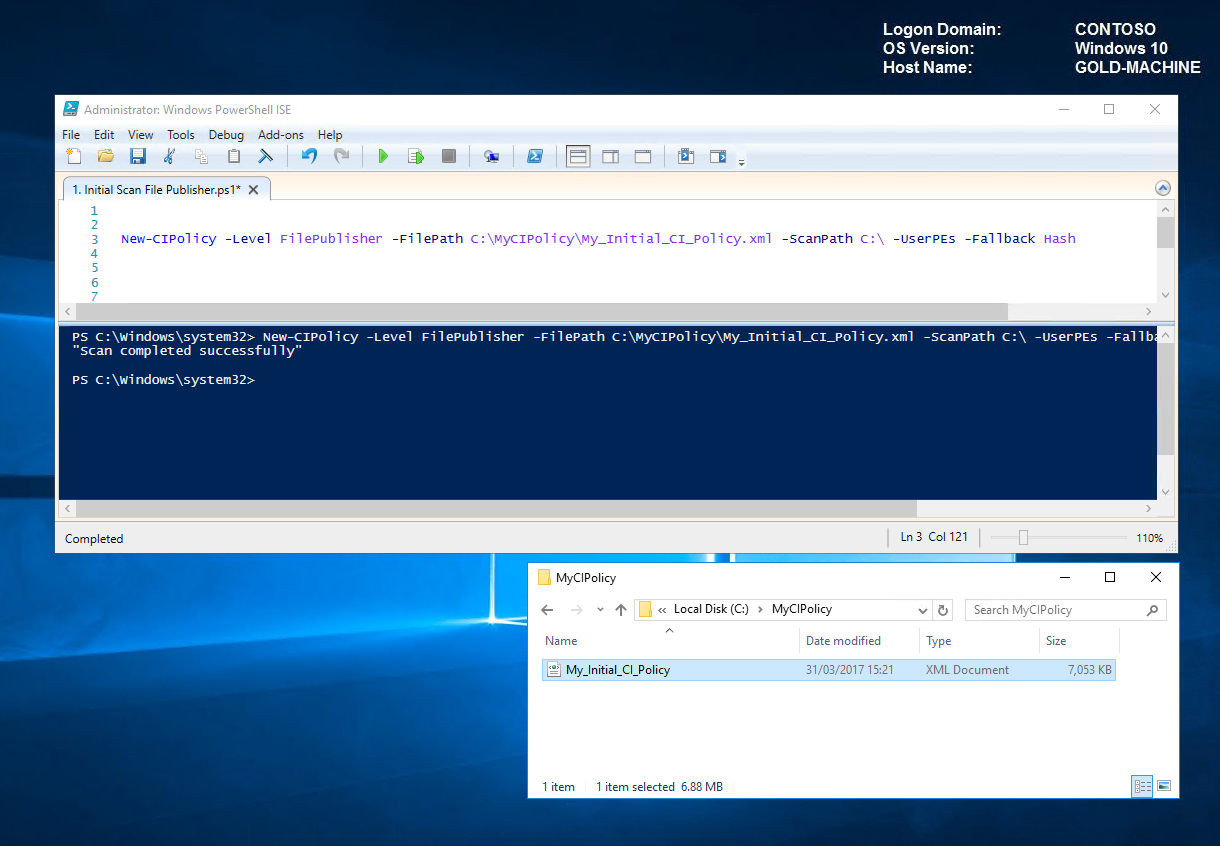
On completion of the scan, we can now see our new CI Policy "C:\MyCIPolicy\My_Initial_CI_Policy.xml".
Open the xml file, notice that Audit Mode is enabled by default if not specified otherwise (which we will cover in the enforce mode section).
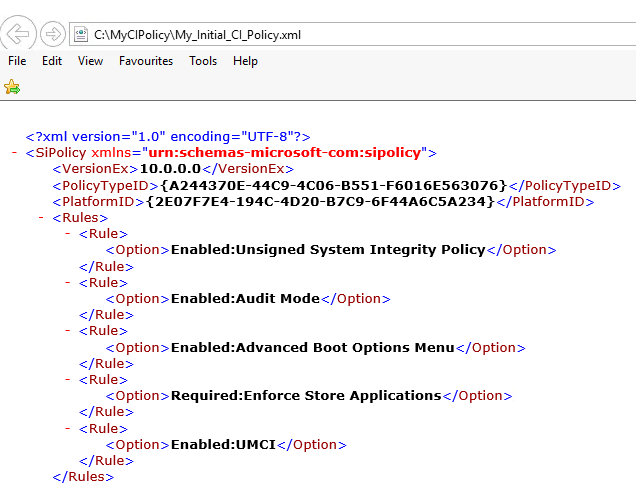
As our GOLD-MACHINE will be used to capture and monitor code integrity activity; we will leave the audit mode rule in place.
You can view all rule options by typing the following command.
Set Rule Option Help Set-RuleOption -Help 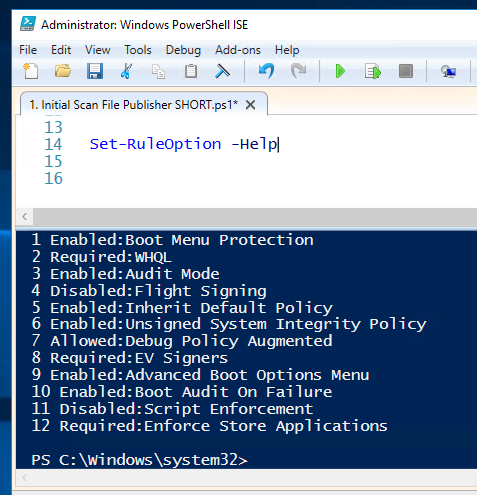
Convert CIPolicy to Binary
Before we can deploy this policy to computers; we need to convert it to binary. Convert the xml by running the following command.
ConvertFrom-CIPolicy -XmlFilePath C:\MyCIPolicy\My_Initial_CI_Policy.xml -BinaryFilePath C:\MyCIPolicy\My_Initial_CI_Policy_Audit_Mode.bin 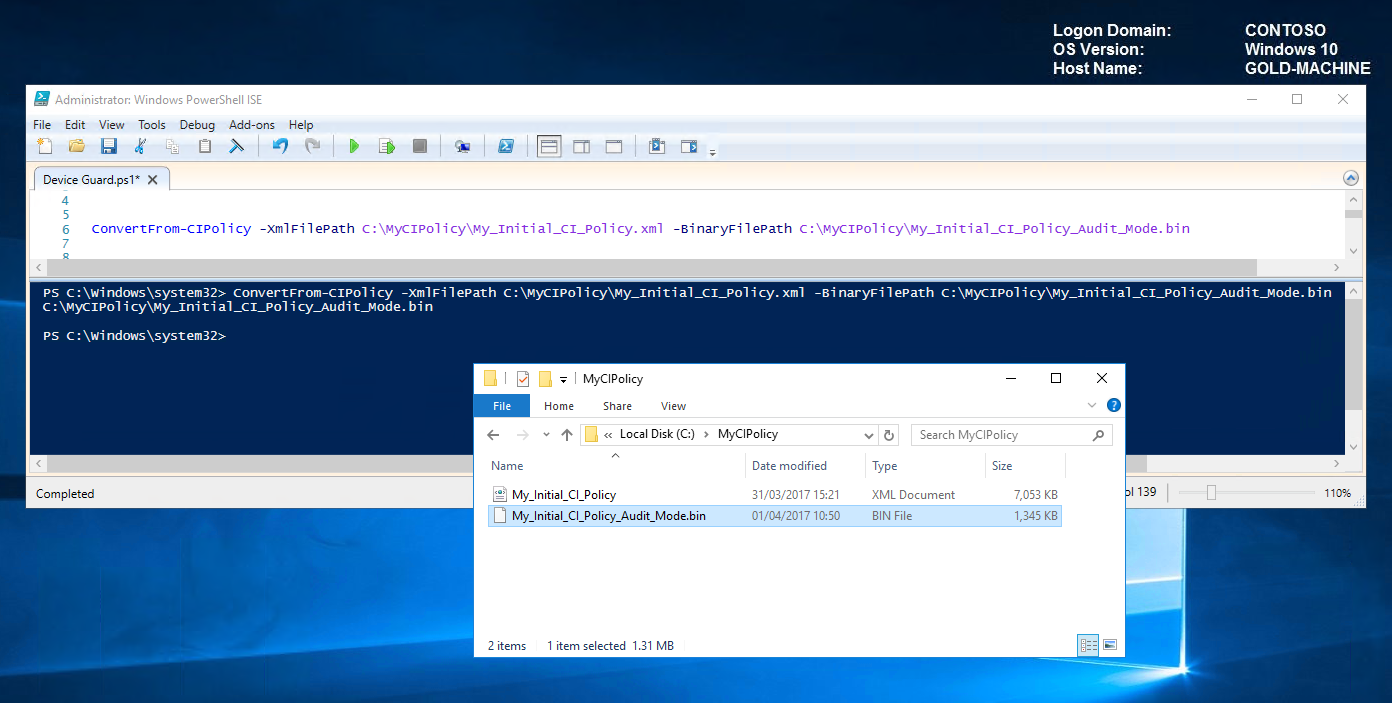
Above we can see the successful generation of our binary file "C:\MyCIPolicy\My_Initial_CI_Policy_Audit_Mode.bin".
Now that we have our binary file, we will deploy to our GOLD-MACHINE so we can audit code integrity events.
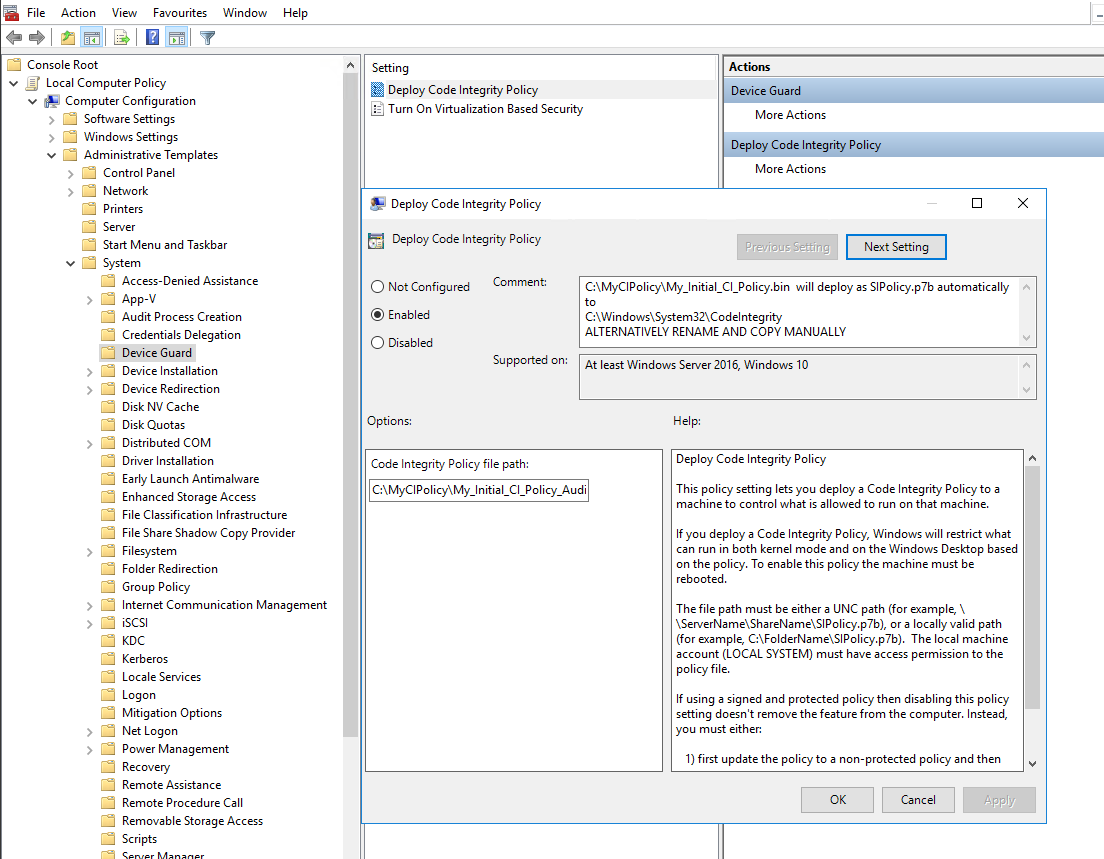
Open group policy editor and navigate to Computer Configuration\Administrative Templates\System\Device Guard
Enable Device Guard by double clicking on ‘Deploy Code Integrity Policy’ and specifying the binary file location as per screenshot below "C:\MyCIPolicy\My_Initial_CI_Policy_Audit_Mode.bin". Enabling this policy will convert/rename the bin file to "SIPolicy.p7b" and store in the default folder of C:\Windows\System32\CodeIntegrity. For future reference and for demo purposes; we will manually convert/rename and store via the scripts.
Note You also have the option to turn on virtualisation based security which although not required, is recommended for further security hardening. For further detail; check out https://technet.microsoft.com/en-gb/itpro/windows/keep-secure/deploy-device-guard-enable-virtualization-based-security.
If we navigate to the code integrity file location, we can verify that the SIPolicy.p7b file exists.
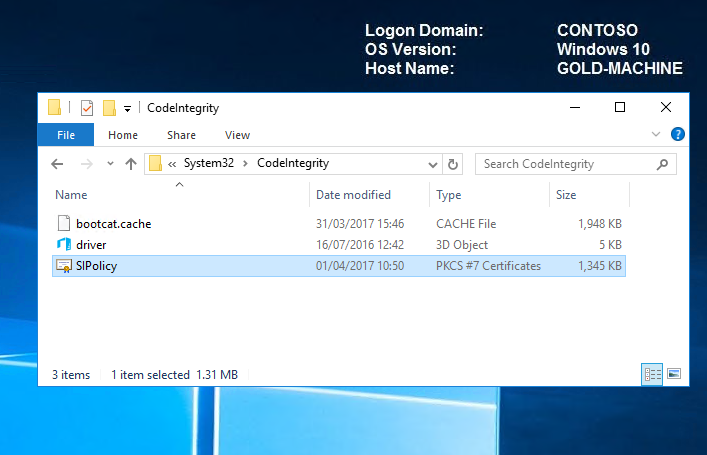
The gold-machine must now be rebooted for the policy to take effect.
That’s it; we've configured our GOLD-MACHINE in Audit Mode and are now ready to capture code Integrity activity in preparation for tailoring to our environment. In the real world, you may want to target a specific group of computers to include different hardware types (drivers) and run over a period of time so that data can be collected on what users are running.
Audit code integrity policies
When code integrity policies are run in audit mode, it allows administrators to discover any applications that were missed during an initial policy scan and identify any new applications that have been installed and run since the original policy was created. Whilst a code integrity policy is running in audit mode, any binary that runs and would have been denied had the policy been enforced is logged in the Applications and Services Logs\Microsoft\Windows\CodeIntegrity\Operational event log. When these logged binaries have been validated, we can easily add them to a new code integrity policy. When the new exception policy is created, we can merge it with our existing code integrity policies.
On our GOLD-MACHINE that is currently running in audit mode, let's install an additional application that wasn't on the system when the original scan was taken and which otherwise would have been blocked if the policy was enforced.
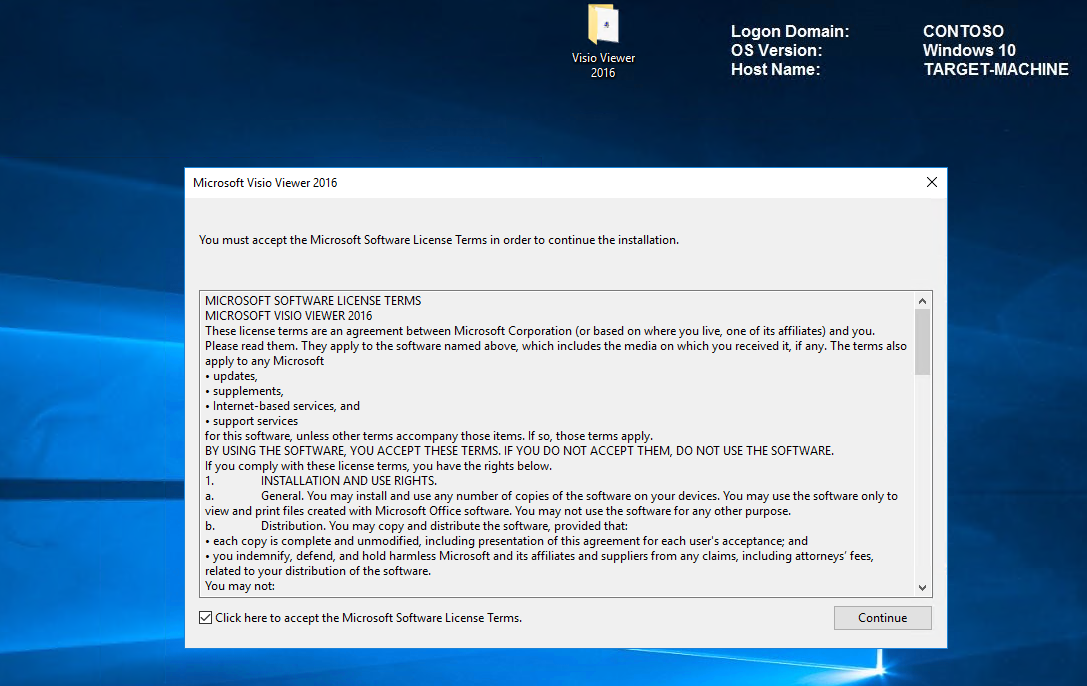
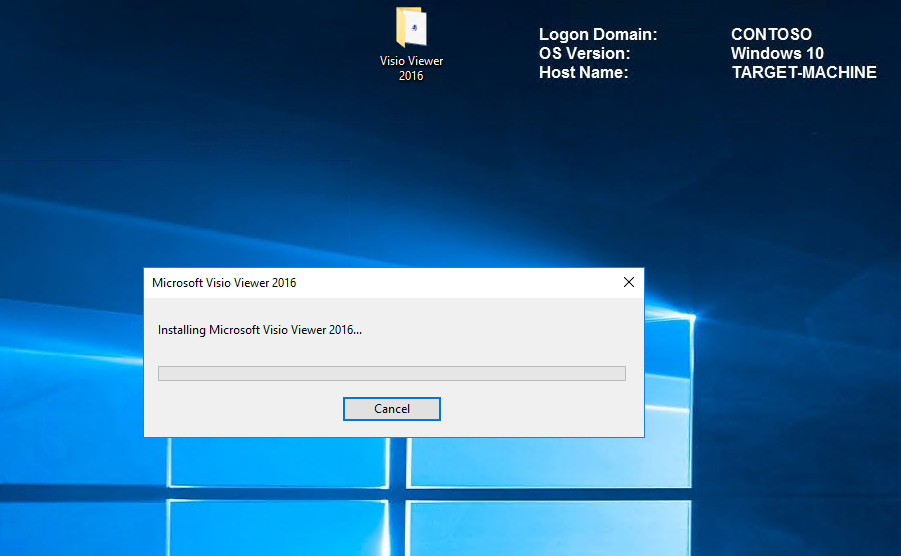
For this demo; I will install Visio Viewer 2016. It's important to copy the installer to the local machine before running so that every component is captured.
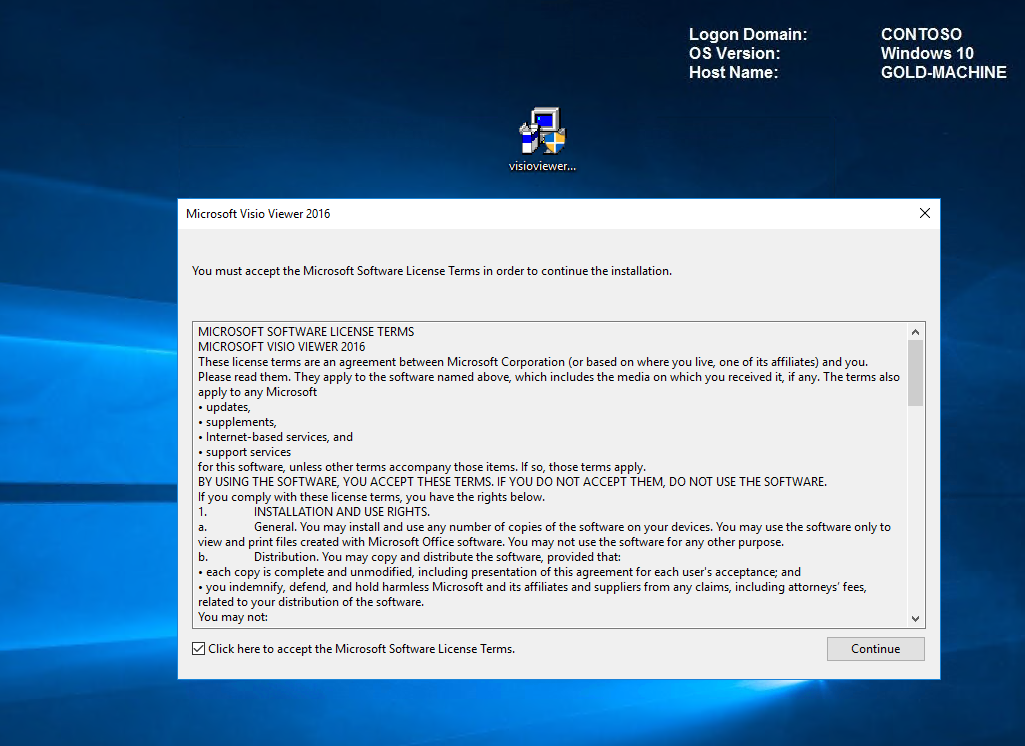
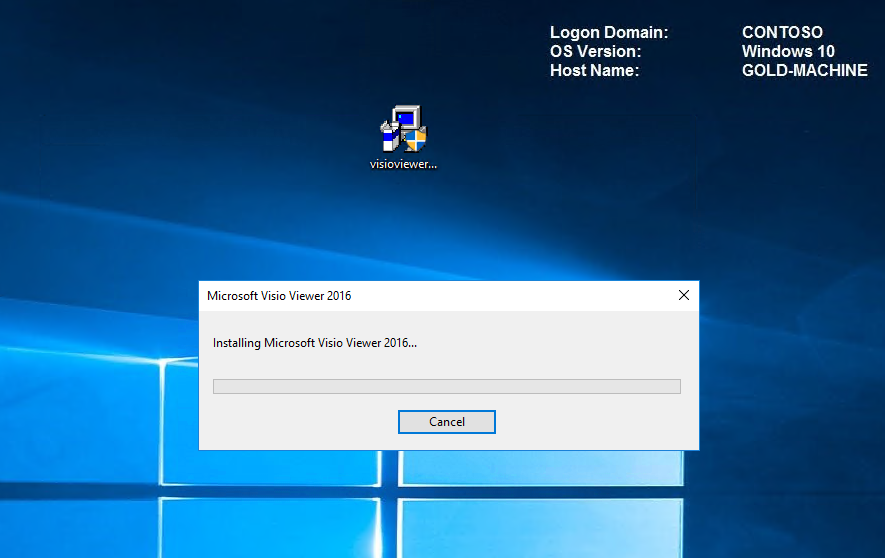
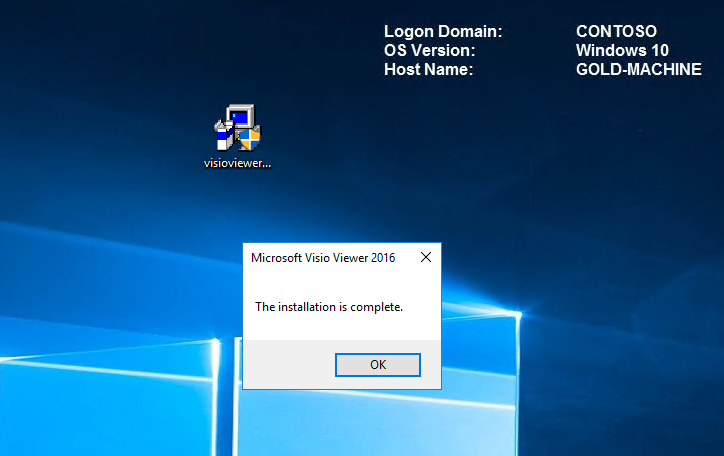
Note Once your software is installed, it is important that you launch and configure so that all activity is captured. Failing to do this will result in your software being allowed to install but not to run! Also ensure that you have all the latest updates.
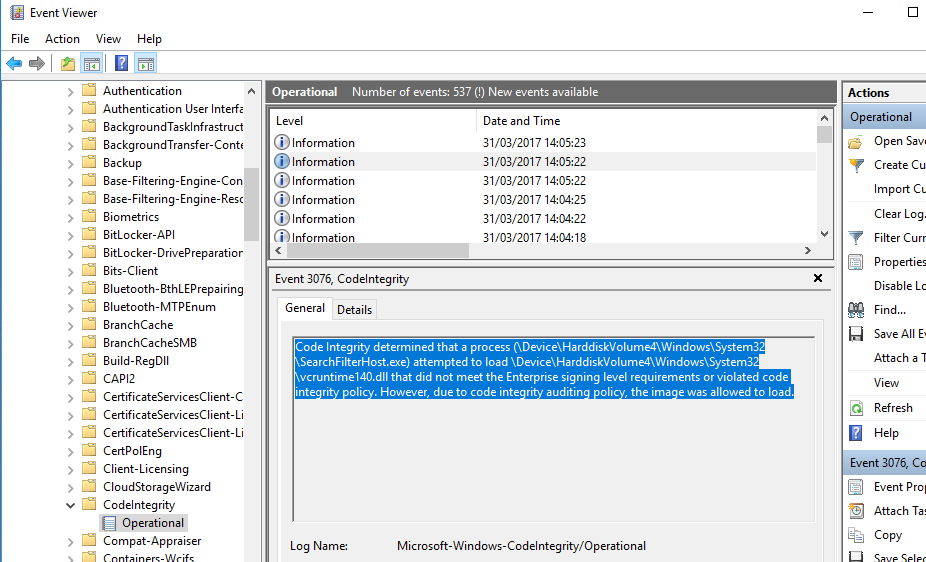
All code integrity activity is captured in the \Application and Services Logs\Microsoft\Windows\CodeIntegrity\Operational event log. In the screenshot below, we can see that our installation of Visio Viewer 2016 generated code integrity logs. Code Integrity detected that a process attempted to load that did not meet the Enterprise signing level requirements or violated code integrity policy. However, due to code integrity auditing policy, the image was allowed to load."
Create a code integrity policy that captures audit information from the event log
Let's say that we now want to allow Visio Viewer 2016 in our environment but don't want to spend another couple of hours creating a whole system scan on our gold machine. An easier way is to create a CI Policy from our gold machine Audit Logs which as we saw in Event Viewer now has all the required entries for Visio.
To create a code integrity policy from audit logs; on the GOLD-MACHINE we will run the following command.
Create CI Audit Policy New-CIPolicy -Audit -Level FilePublisher -FilePath C:\MyCIPolicy\MyAuditPolicy.xml -Fallback Hash 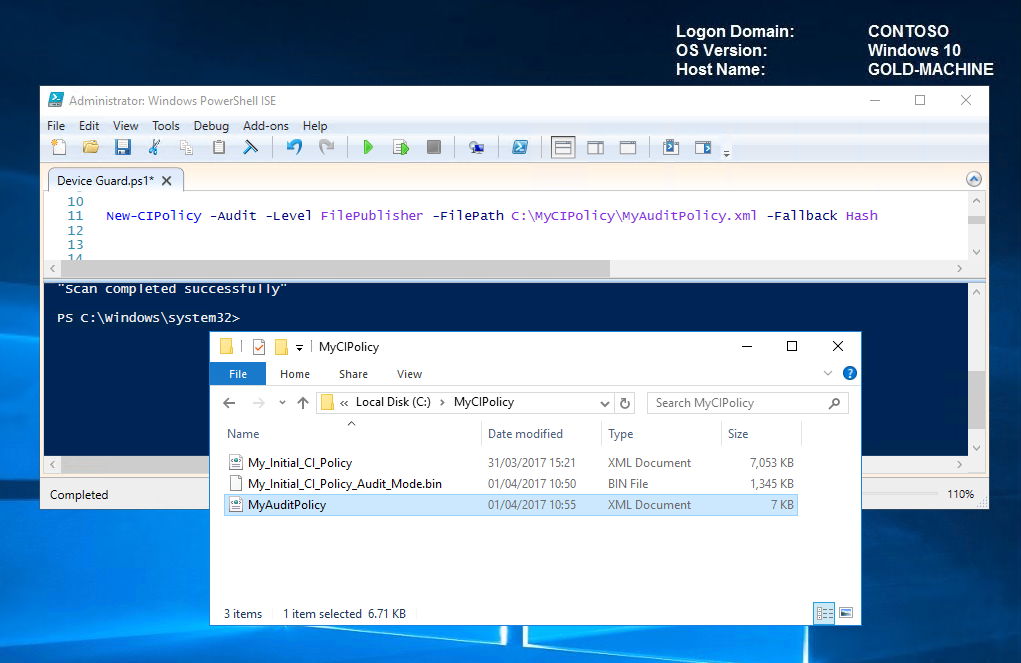
Note The hash rule level is being used as a fallback to add the hash values of binaries that don't have a signing certificate.
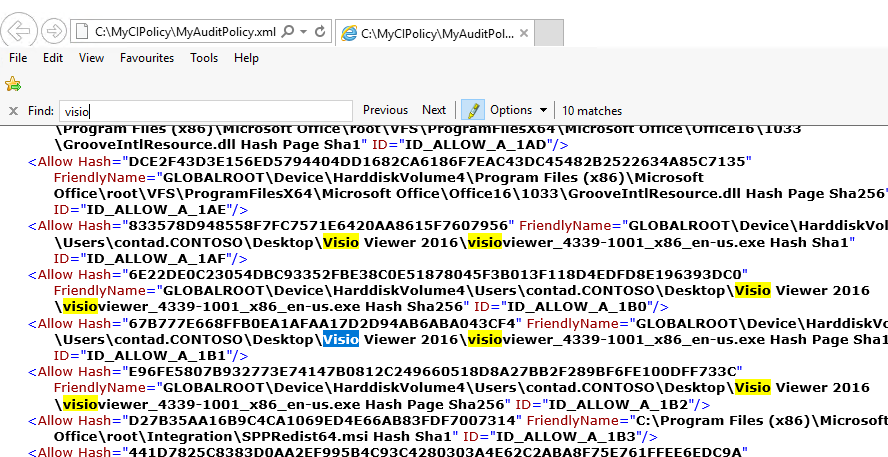
On opening the audit policy, you can see several entries for Visio Viewer.
Now that we have our audit policy, we are ready to merge with our initial policy to create what we will define as our default policy.
Merge code integrity policies
Merging our initial policy with our audit policy will allow additional software to run (in our case Visio Viewer 2016). To merge our policies, we will run the following command.
Merge Policy Merge-CIPolicy -PolicyPaths C:\MyCIPolicy\My_Initial_CI_Policy.xml,C:\MyCIPolicy\MyAuditPolicy.xml -OutputFilePath C:\MyCIPolicy\MyMergedPolicy.xml 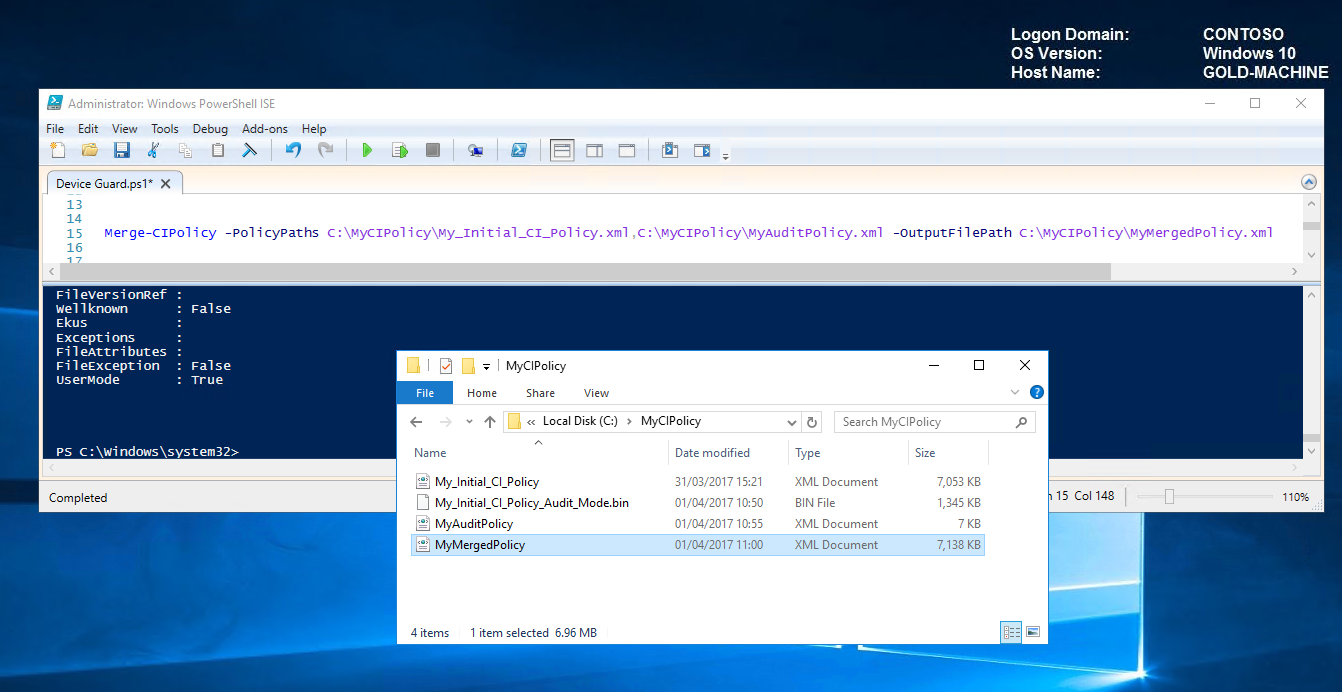
Merged Policy created successfully.
Enforce code integrity policies
Code integrity policies include policy rules, which control options such as audit mode or whether UMCI is enabled in a code integrity policy.
To enable code integrity policy in enforced mode, we need to delete the Audit Mode policy rule from the xml file shown here.
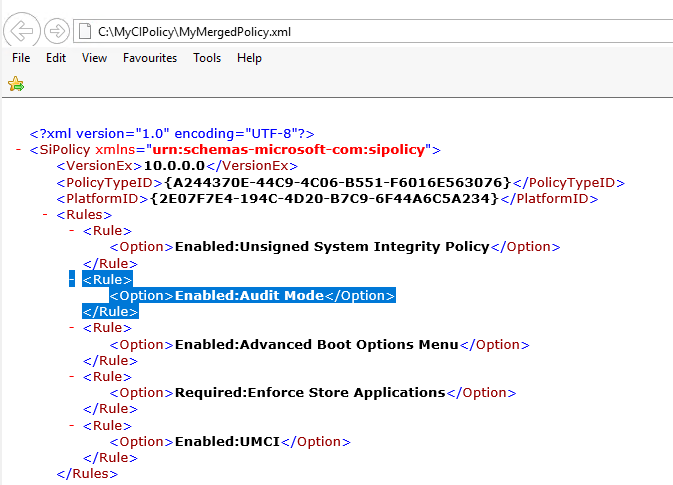
To ascertain which rule to delete to enable enforced mode. Run the following command to bring up the list.
Set-RuleOption -Help
We can see that we need to delete rule option 3.

Delete option 3 by running the following command:
Set-RuleOption -FilePath C:\MyCIPolicy\MyMergedPolicy.xml -Option 3 -Delete 
Open the merged xml file to verify that the Audit Mode rule option has been deleted and that it will now operate in enforced mode when deployed.
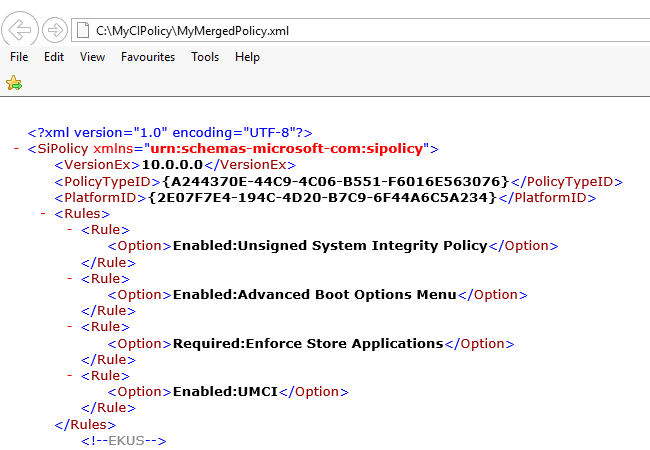
Note:
BEFORE we deploy our new default (merged) policy to our TARGET-MACHINE. Let's see what happens when we try to install Visio Viewer 2016.
IT'S BLOCKED.
This is because our TARGET-MACHINE currently has the policy that was created from 'My_Initial_CI_Policy.xml' being applied in enforcement mode which was from the initial scan and so did NOT allow for Visio Viewer 2016.
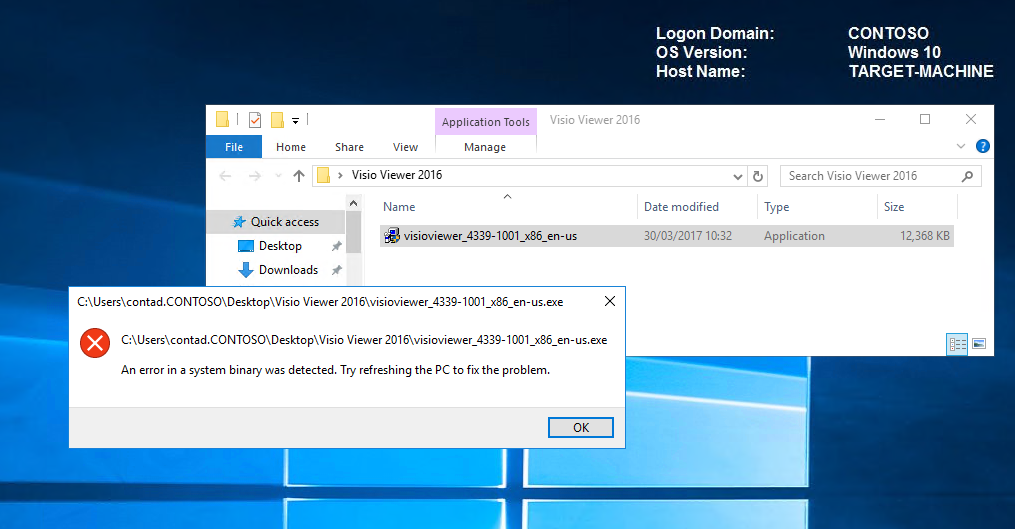
Let's now go ahead and allow Visio Viewer 2016 on our TARGET-MACHINE by deploying our new default (merged) policy. We'll give it a reboot it before re-testing the behaviour when attempting to install Visio Viewer 2016.
Run the following command to convert to it to binary.
Convert CIPolicy (we will rename it as our default policy) ConvertFrom-CIPolicy C:\MyCIPolicy\MyMergedPolicy.xml C:\MyCIPolicy\MyDEFAULTPolicy_Enforced.bin 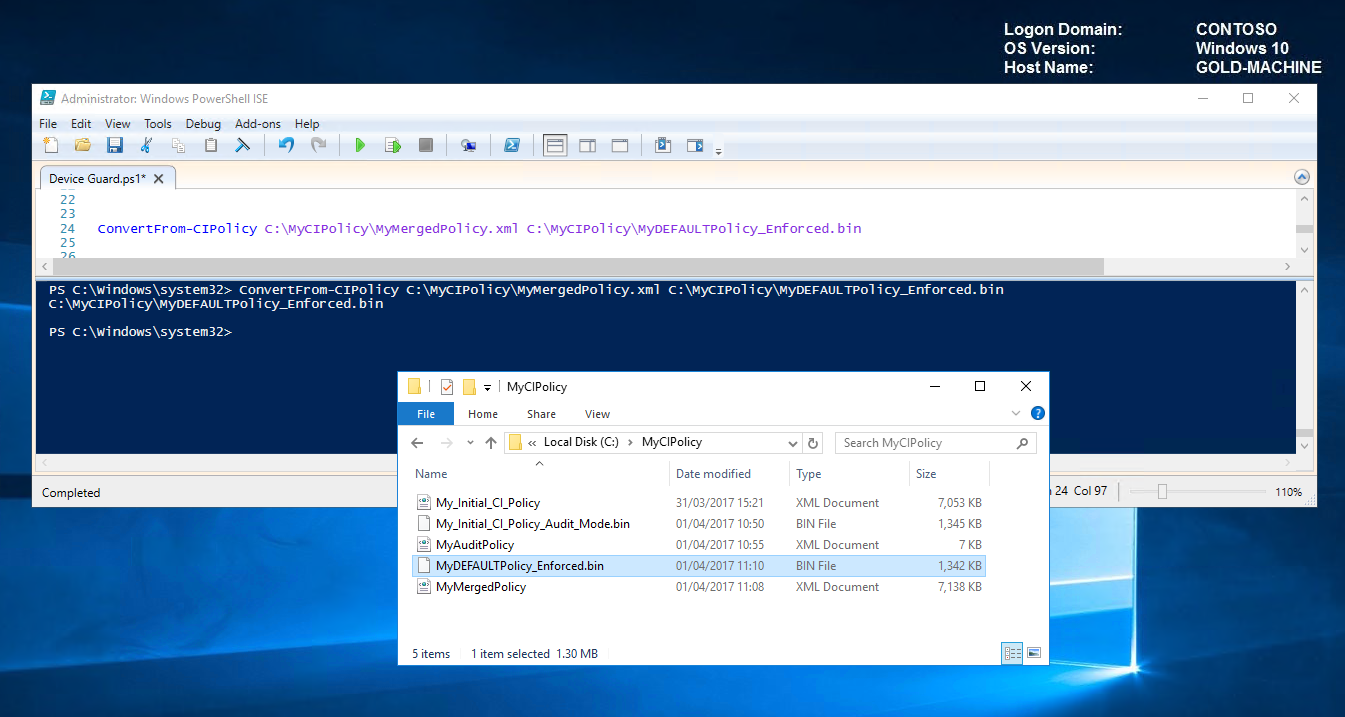
Earlier, we leveraged group policy to deploy our policy, this time we will copy it over to the default location on the TARGET-MACHINE and rename it to default of SIPolicy.p7b.
Copy Default Policy, Rename and Place in Code Integrity Folder on the TARGET-MACHINE Copy-Item C:\MyCIPolicy\MyDEFAULTPolicy_Enforced.bin \\TARGET-MACHINE\c$\Windows\System32\CodeIntegrity\SIPolicy.p7b 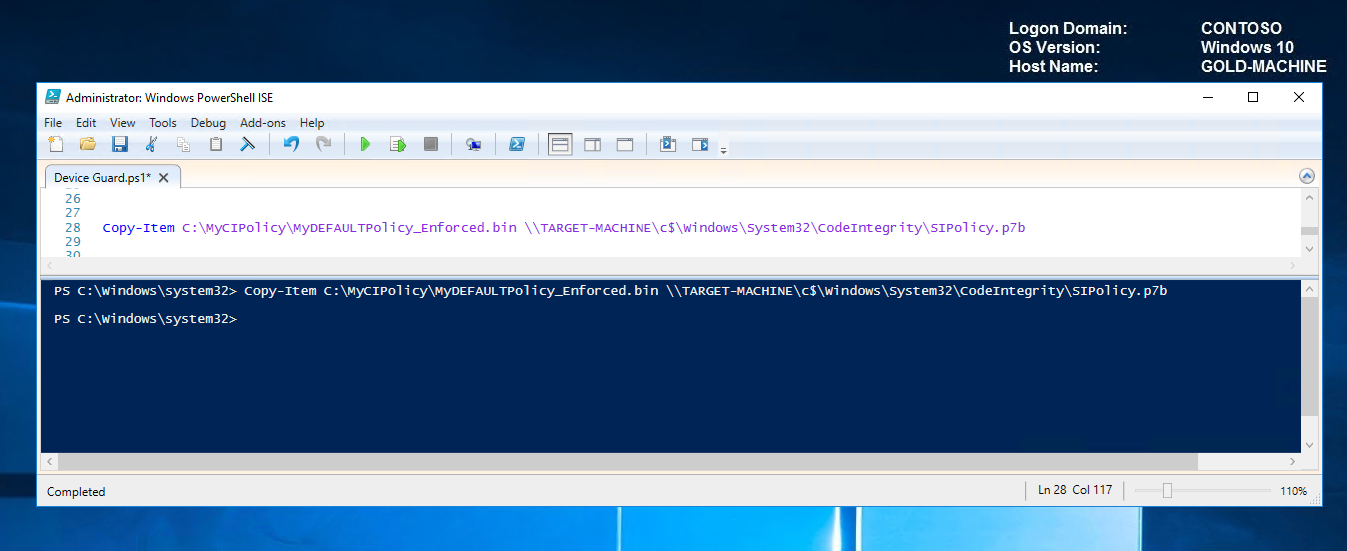
Now when we look in the code integrity folder on the TARGET-MACHINE, see how the timestamp has changed which means our default policy is now being applied.
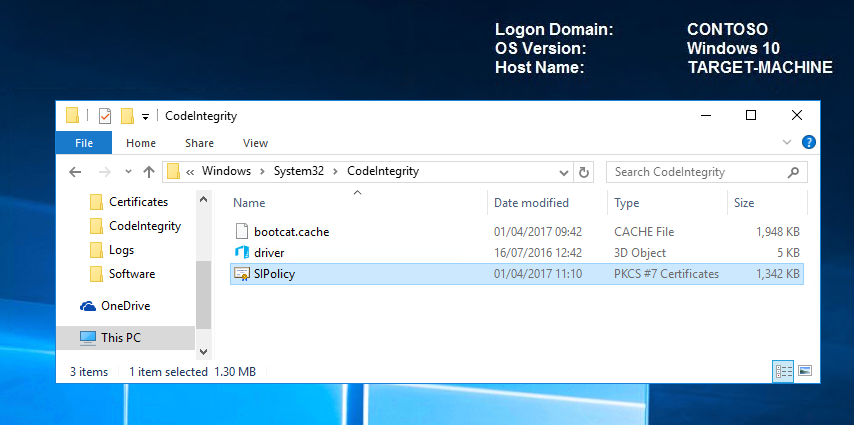
We need to reboot the TARGET-MACHINE for the default policy to take effect.
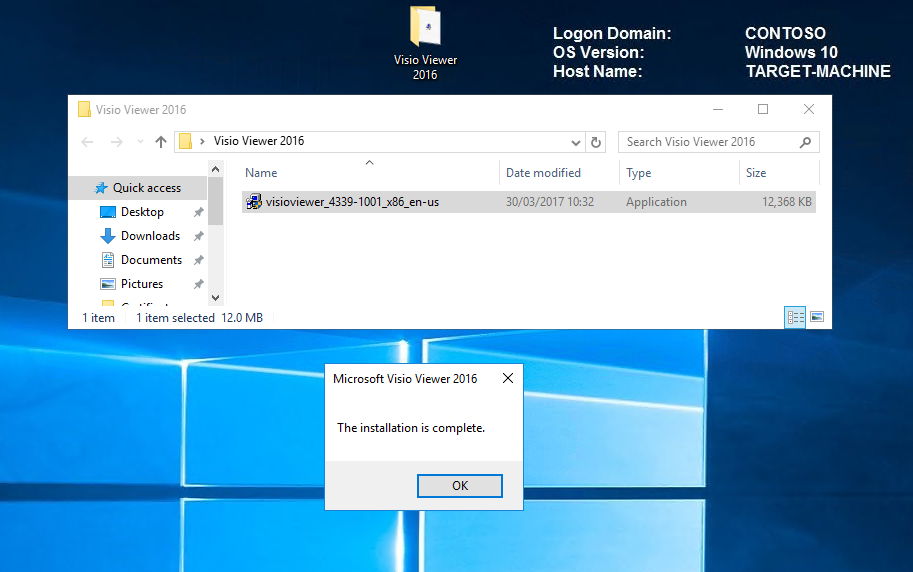
After the reboot, let's try and install Visio Viewer 2016 on our TARGET-MACHINE, It works!
That’s it for this post; I hope you found it useful.
Check out PART 2 – Creating and signing catalog files and code integrity policies.
Please feel free to add any comments / give star ratings if you did find it useful or have any suggestions or questions.
Comments
- Anonymous
April 25, 2017
This is great! Looking forward to Part 2 :)- Anonymous
April 25, 2017
That's good to hear, part 2 is on it's way! :) - Anonymous
May 04, 2017
Here's Part 2 :) https://blogs.technet.microsoft.com/ukplatforms/2017/05/04/getting-started-with-windows-10-device-guard-part-2-of-2/
- Anonymous
- Anonymous
May 04, 2017
Great post, Debs! - Anonymous
August 07, 2017
Very good article but Device Guard/Code Integrity Policy is garbage from deployment and administrative perspective. It's like from 90's or Linux/Unix systems. Same thing about Just Enough Administration. The Idea was brilliant but you can't use it on daily basis. It feels like Microsoft is going back when it comes to improve administration experience.- Anonymous
August 13, 2017
Thanks for the comment binary and for the feedback. I agree to an extent that Device Guard and JEA are more involved to set up and use, however they are still relatively new technologies and will likely mature more over time and hopefully deployment will become easier. That being said, these technologies can be deployed with careful planning and consideration. They should also be integrated into a well defined security workflow for certain machines and areas. They aren’t necessarily options to be rolled out in full to your user population or help desk but can and should be used on devices such as Privileged Admin Workstations (see http://aka.ms/cyberpaw) where the security requirements are tighter. Just because something is more difficult does not mean it should not be done, when we are talking about protecting privileged credentials then this becomes really important. I do concede however that it is more overhead to implement the technology, but then the security benefits should be a good trade off. - Anonymous
August 30, 2018
Looks like you're into fancy administration consoles as they show in Hollywood movies! Then maybe this is not for you. But if you're concerned more about security, this is gold! Thanks Microsoft.
- Anonymous
- Anonymous
November 28, 2017
Hi ThereGood article, however I cannot get device guard it to work as planned. what seems relatively simply (forget the overhead of setting it up)my policy even after reboot keeps giving event ID7010 - reboot required on my windows client, and it is not auditing anything, so I can install and use other software with no entries in my log file.The lab is exactly what you run/specified at the top of the doc, and my devices are produced from an SCCM CBB installed in the lab also - I would like to produce a gold device (from sccm) and scan it, lock it down and deploywin10 1709 x64 golden device, all servers 2016.everything fully patched, latest admx in ad, from central policy store. all running on hyperv(server2016)why or what am I missing here debs.- Anonymous
November 29, 2017
Hi Obwain,A few things you can check…What does your XML policy look like with regards to rules? Do you have the rule options enabled for Audit Mode and UMCI? Enabled:Audit Mode Enabled:UMCIWhen you convert your policy to binary and deploy to your gold machine; can you physically see that “C:\Windows\System32\CodeIntegrity\SIPolicy.p7b” exists?To ensure that you have full capability for Device Guard, you can take advantage of the Device Guard and Credential Guard hardware readiness tool, https://www.microsoft.com/en-us/download/details.aspx?id=53337, which also provides default Windows policies that you can compare against and/or leverage.Hope this helps with initial diagnosis.Debs- Anonymous
November 30, 2017
yep - its all in place. I have now been trying for about 6 days and numerous attempts in the lab, all of which are time consuming and never work. I am ruling this technology out as too much admin / hard work / break-likely.will come back to this when MS have either: finished it or made it less of a headache.Thanks for your help though debs- regards, obwain- Anonymous
December 01, 2017
Hi Obwain,I'm sorry to hear that you're having problems. As you're using SCCM, I thought you may be interested in the following post which talks through creating Device Guard policies with Configuration Manager:https://docs.microsoft.com/en-us/sccm/protect/deploy-use/use-device-guard-with-configuration-managerI have this setup in my lab also where I can deploy policies to my collections via the UI.Debs :)
- Anonymous
- Anonymous
- Anonymous
