Using Data Protection Manager 2007 SP1 to Complete an Exchange 2007 SP1 Database Recovery
This blog post will walk you through the process of restoring Exchange Server 2007 SP1 Storage groups that have been previously backed up by using Microsoft’s Data Protection Manager 2007 (MS DPM 2007).
These steps and screenshots are provided from the following environment:
DPM Server
- Hyper-V Guest
- Windows Server 2008 R2 Enterprise
- 2 GB of Physical Memory
- Microsoft Data Protection Manager Version 2.0.8861 Post SP1 Rollup 6 KB976542
Exchange 2007 Server
- Hyper-V Guest
- Windows Server 2003 SP2 Enterprise x64
- 1 GB of Physical Memory
- Microsoft Exchange 2007 Version 08.01.0393.001
Exchange Recovery Storage Group Creation
To perform a database restore you must first create an Exchange Recovery Storage Group
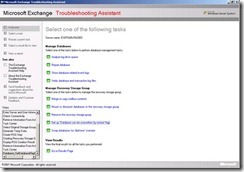
1. Open the Exchange Management Console. Select the Toolbox on the left hand side. On the right hand pane select Database Recovery Management. |
|
2. Enter the Server and User information. For our purpose the information was prefilled. Select the “Next” link |
|
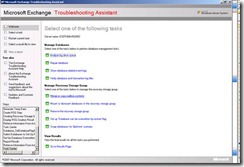
3. In the Task Center select “Create a recovery storage group”. |
|
4. Select the Original Storage group to link the Recovery Storage group to. For demonstration we are linking to the First Storage Group. Select Next. |
|
5. The Create the Recovery Storage Group page shows the pathing information of the original and the recovery storage groups. You will want to note the Recovery database path. Click “Create the recovery storage group link”. |
|
6. Verify that the recovery storage group was created successfully. Click “Go back to task center” link. |
|
7. In the task center select the “Mount or dismount databases in the recovery storage group” link |
|
8. Select the Mailbox Database to Mount and select the “Mount selected database” link |
|
9. Verify that the database mounted successfully. This will create the Recovery database and log files. Select the link to “go back to the task center” |
|
10. Select the “Mount or dismount databases in the recovery storage group” link |
|
11. Select the Mounted Database and click on the “Dismount selected database” link |
|
12. Verify that the database has been successfully dismounted. Click the link to “Go back to the task center” |
|
13. Select the “Set up ‘Database can be overwritten by restore’ flag” This will allow DPM to overwrite the database with the backup. |
|
14. Select the Database where you would like the overwrite flag to be set. Select the “Next” link |
|
15. Verify that the ‘Database can be overwritten by restore’ flag has been set. Select the “Go back to task center link” |
|
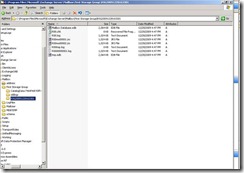
16. In Windows Explorer browse to the Recovery Storage Group location noted in step 5 above. |
|
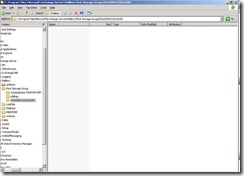
17. Select all files in the Recovery Storage Group folder and delete them. *Note the Recovery Storage Group naming convention consists of RSGyyyymmddhhmmss Example: RSG20091228163301 If you get a sharing violation you have not dismounted the database from the Exchange System Manager |
Data Protection Manager Exchange Database Restore
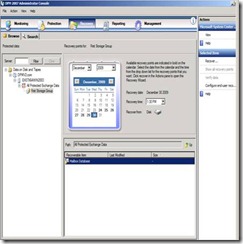
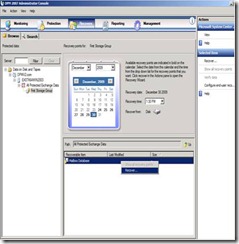
1. In the Data Protection Management Console, Select the Recovery Tab. Drill down to the storage group that you want to recovery, make sure that this is the same storage group that you linked the recovery storage group to. |
|
2. Select to highlight the Database under “Recoverable Items” right click and select “Recover”. |
|
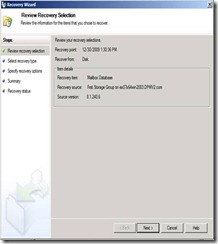
3. Review the Recovery information. And click “Next” |
|
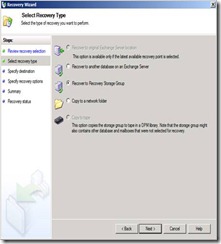
4. Select the Recovery type. In this step we are restoring to the Recovery Storage Group. Select “Recover to Recovery Storage Group” Click “Next” |
|
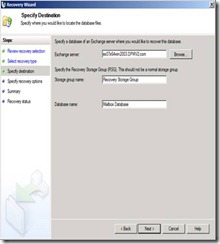
5. Click Browse to enter the Exchange server. Enter the name of the storge group which will be “Recovery Storage Group” and enter the database name. This needs to match the original database name. Click “Next” |
|
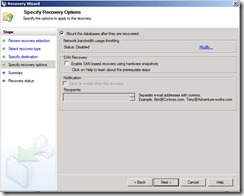
6. You can keep the defaults which are to “Mount the databases after they are recovered”. Click “Next” |
|
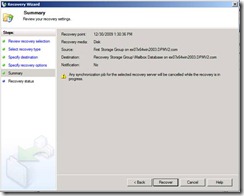
7. Verify the recovery settings. Click “Recover” |
|
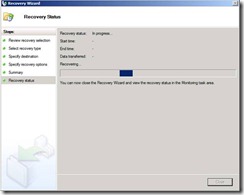
8. Recovery Status |
|
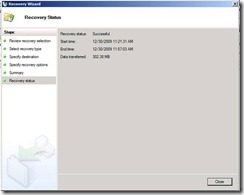
9. Verify that the Recovery was successful. |
Exchange Mailbox Merge
1. Once the database has been restored you can used the Exchange Management Console to “Merge or copy the mailbox contents”. Select the “Merge or copy mailbox contents” link |
|
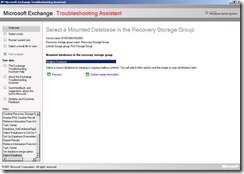
2. Make sure that the mounted database is the database that you would like to merge into the linked storage group. Click on the “Gather merge information” link |
|
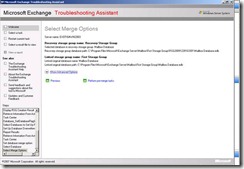
3. Click on the “Perform pre-merge tasks” link |
|
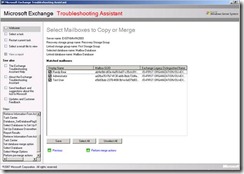
4. The mailboxes that can be merged are listed. Select the mailboxes that you want to merge/copy the data to. Select “Perform merge actions” |
|
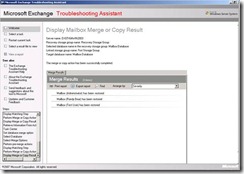
5. Verify that the Mailbox data has been restored successfully. |
This post is a joint effort by Lisa Conley and myself, in the coming weeks we will be working on the same guides for Exchange Server 2003 and 2010! Stay Tuned!


