Walkthrough – Upgrading TFS 2013 RTM to TFS 2013 Update 2 (RTM)
With the last week release of TFS 2013 Update 2 (RTM) many people would like to upgrade their server to TFS 2013 Update 2. The steps below is from doing an in place upgrade from TFS 2013 RTM but same steps can be tried if you upgrading from any version of TFS 2010 or higher.
Before you start the upgrade process make sure that you have taken backup of your existing TFS. You can refer to https://msdn.microsoft.com/en-us/library/ms253070.aspx
Also, ensure that you have schedule proper down time as upgrade process would take time. And in case you are doing a Production upgrade it would be ideal if you can perform a test upgrade beforehand.
Permission required for upgrade:
These permissions are required for the account which would be performing the upgrade.
- TFS Application Tier – Local Admin
- SQL Server – SysAdmin
- SharePoint – Member of SharePoint Central Admin Group
The steps are similar to upgrading an earlier version of TFS.
In the below example I would be upgrading my TFS 2013 RTM server which has SharePoint Foundation 2013 with SQL 2012 SP1. All on single server.
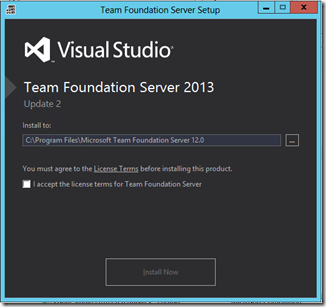
Install TFS 2013 Update 2
Once the upgrade is complete, it would launch TFS Configuration Wizard. We need to select “Upgrade option”
Specify the SQL instance which are has our TFS databases. (Please ensure that you have taken backups)
Provide the account which would be used as TFS Service Account (it would already has your old service account but it can be changed if you want)
Now we would get a brand new feature which is introduced in TFS 2013 Update 2, Location of TFS Cache folder. Something that we can always manage from web.config file earlier but now we can do it from the upgrade/install wizard and from TFS Admin Console post configuration.
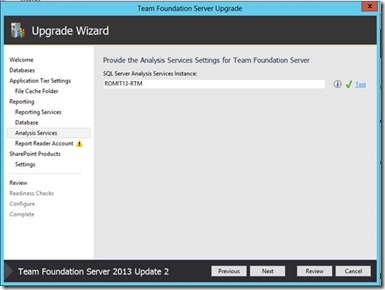
You would have below option checked if you had Reports in your earlier server, if you did not had reports earlier this would be disabled.
TFS Reports Reader Account
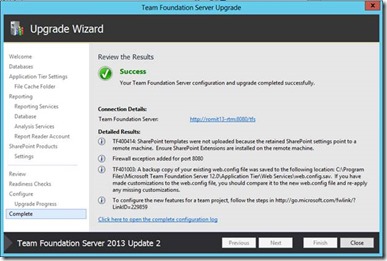
Now we have a successful upgrade and as you can see we have option to change Cache Folder now from TFS Admin Console
Content Created by – Romit Gulati


