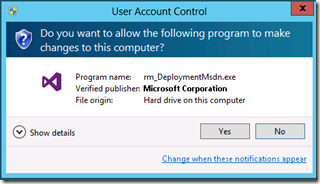
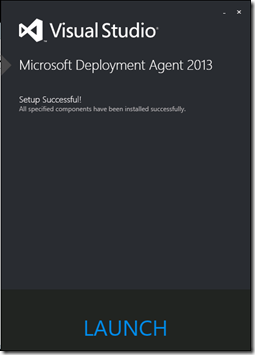
Walk-through 3 for Release Management – Installation of Release Management Deployment Agent for Visual Studio 2013.
This is in continuation with my earlier blog post on installation of Release Management for Visual Studio 2013 Server. In this I would be walking you thru the installation of Release Management Deployment Agent for Visual Studio 2013.
Please review the installation guide to confirm that we are meeting the hardware and software requirement to install Release Management Client.
Link for Installation Guide.
Permission required to install: Make sure that you are a local administrator on the machine where you are installing the deployment agent.
Once installation is complete you can launch the Deployment Agent UI
In the configuration screen, we need to specify the account which would run the Deployment Agent Service and the URL for Release Management
I am using Network Service account here
In case you want to configure Release Management across un-trusted domains or with workgroup environment you can refer to below article.
Configuring Release Management to work across un-trusted domains
https://blogs.msdn.com/b/visualstudioalm/archive/2013/12/12/configuring-release-management-to-work-across-untrusted.aspx
Content Created by Romit Gulati


![clip_image001[4] clip_image001[4]](https://msdntnarchive.z22.web.core.windows.net/media/MSDNBlogsFS/prod.evol.blogs.msdn.com/CommunityServer.Blogs.Components.WeblogFiles/00/00/01/26/82/metablogapi/5282.clip_image0014_thumb_45CA81D8.png)
![clip_image002[4] clip_image002[4]](https://msdntnarchive.z22.web.core.windows.net/media/MSDNBlogsFS/prod.evol.blogs.msdn.com/CommunityServer.Blogs.Components.WeblogFiles/00/00/01/26/82/metablogapi/4505.clip_image0024_thumb_650FB95C.png)
![clip_image003[4] clip_image003[4]](https://msdntnarchive.z22.web.core.windows.net/media/MSDNBlogsFS/prod.evol.blogs.msdn.com/CommunityServer.Blogs.Components.WeblogFiles/00/00/01/26/82/metablogapi/3482.clip_image0034_thumb_7CC98173.png)

