eDiscovery & Legal Hold in Microsoft Teams
Introduction:
When a new Team in Microsoft Teams is created, it automatically creates an Office 365 Group and because Office 365 Groups exist within Office 365, they can be subject to Security and Compliance policies in Office 365. In addition content posted in Microsoft Teams, can also be subject to these policies and enables organizations to perform Content Search and eDiscovery along with Legal Hold on this stored content. This article will walk an administrator through how to perform eDiscovery and Legal Hold on content within Microsoft Teams.
Disclaimer: This article is not an extensive nor exhaustive "how to" for eDiscovery and Legal Hold in Office 365. The purpose of this article is to demonstrate the simplicity of performing eDiscovery and Legal Hold on Microsoft Teams content but we will not go in-depth into the process. For more information on the in-depth process, please refer to the documentation referenced in the hyperlinks above.
Environment Setup:
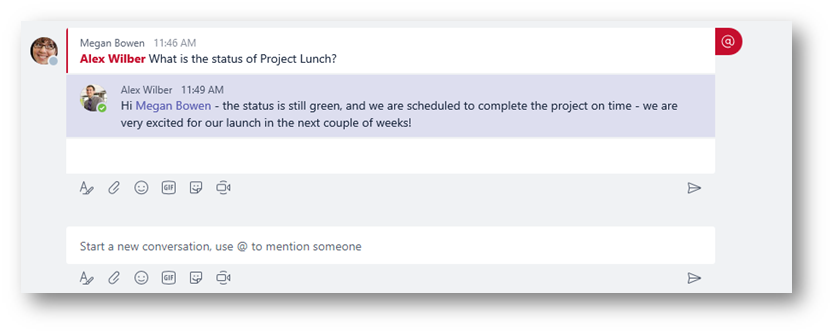
Within Microsoft Teams, I have created some content in the conversation of a Team called Finance Auditors Team. This content will pertain to a confidential company project of Contoso's that we will refer to as "Project Lunch". In addition, two files have been created under the Files tab of the Team; "Project Status Report" and "Project Plan".

Step 1: Create a new eDiscovery Case in the Office 365 Security & Compliance Center
Browse to the Office 365 Security & Compliance Center at www.protection.office.com. On the left pane, expand Search & Investigation and click eDiscovery 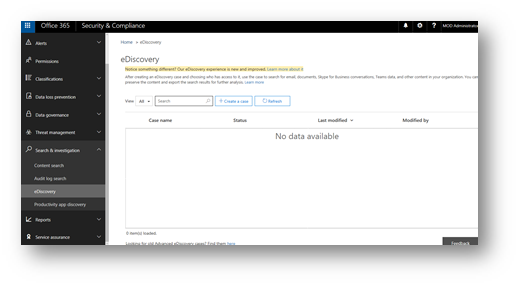
Click the button Create a case. In the flyout on the right side, give the case a name and a brief discription then click Save. 
Step 2: Configure & Run the eDiscovery Case
On the eDiscovery screen, click Open next to the case you just created

On the new window that opens for the case details, click the Search tab
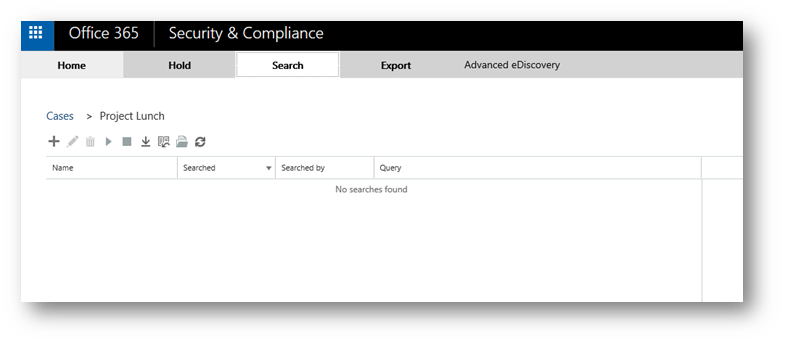
Click the + (plus) sign to launch a new window to configure the keyword search. In the details, give the search a name and configured the searching locations. For my example, I will select Search Everywhere then click Next 
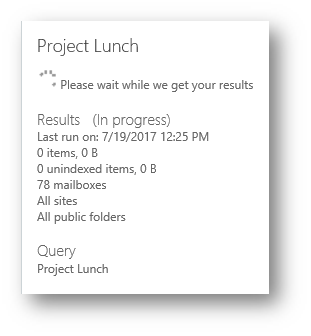
In the What do you want us to look for step, enter a keyword. For my example I will enter Project Lunch and then click Search. Note the dialog box will close and the search will immediately start to execute.

Note The dialog box will close and the search will immediately start to execute. This process may take a few moments to run.
Step 3: Review the results
Once the search is finished running, click the hyperlink Preview Search Results (Note: A new window called "Preview Search Results" will launch, and you may be prompted to authenticate).

Within the Preview Search Results window, you will notice on the left pane the search results where the keyword "Project Lunch" appears. In this example, Project Lunch was returned in a PowerPoint, Word document, and two IM conversations (Microsoft Teams).
Important: All the items in the search results, were in the Finance Auditors Team within Microsoft Teams
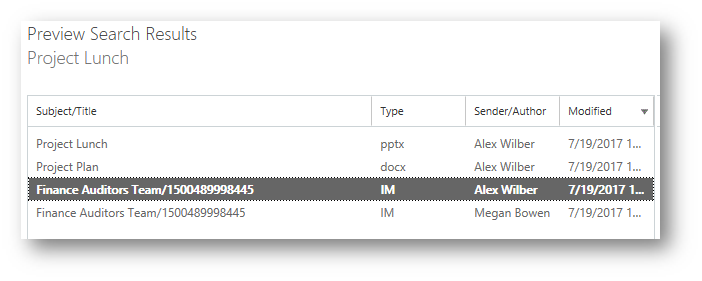
Clicking on an item in the left pane, will display the detailed results on the right pane. Notice you can click Download Original Item and it will allow you to download the original document where the keyword was discovered. In this example, a Word Document (docx).

I'm going to click on the IM item titled Finance Auditors Team/1500489998445. This will display the message on the right pane and enable you to also download the original conversation. Close the window when finished. Note, Microsoft Teams conversations will appear as IM type when doing the content search.

Step 4: Place on Legal Hold
Within the eDiscovery center, click the tab Hold at the top. Then click the Plus (+) sign to create a new hold case (this will launch a new window).
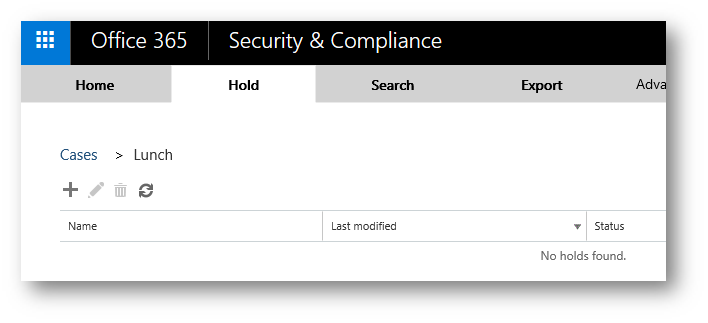
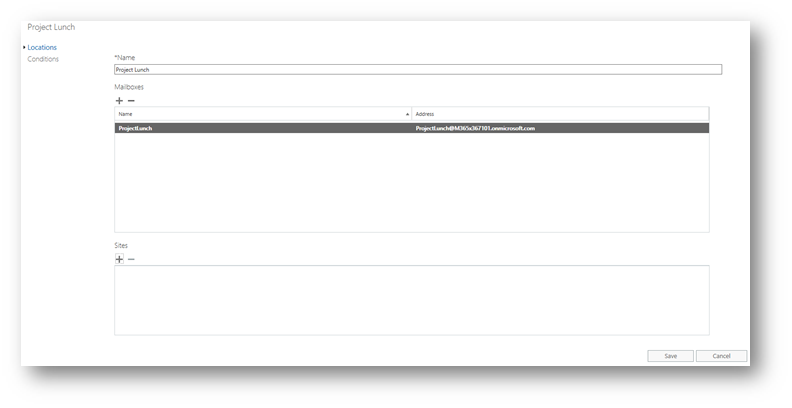
Within the Create a new hold window, give the hold case a name, for this example we will use Project Lunch. Next, select the group mailbox that is associated with the team by clicking the Plus (+) sign.

In the search field, type the name of the mailbox that is associated with the Office 365 Group (aka the team name), in this case Project Lunch and press Enter. Next highlight the display name of the mailbox and click Add then click OK.
Note: This will place chat conversations that occur in the Microsoft Team on hold

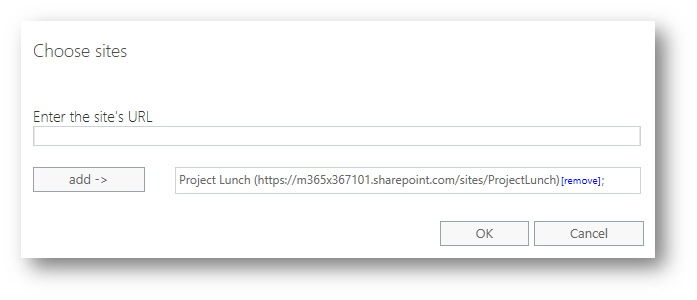
Back on the Create a New Hold dialog box, click the Plus (+) sign under Sites:
Type in the URL of the Office 365 Group that is associated with the team and click Add then click OK.
Note: This will place content created such as Planner, Files, etc within the Office 365 group that's associated with the team on hold.
On the next screen, in the What do you want to look for? (optional) fields for keywords, leave blank to hold the entire mailbox and click Finish 
Conclusion:
At this point, further actions can be taken to export the content or used Advanced eDiscovery for preparing a more detailed search if needed. Note, if the team is deleted the content is still on hold and can be accessed. Stay tuned as I will continue to write future articles on additional Security & Compliance topics for Microsoft Teams!
--Matt Soseman
Comments
- Anonymous
August 30, 2017
Great topic Matt. Great getting started stuff for our friends in the Legal department. In my Teams research I found this great blog about compliance in Teams. https://www.petri.com/teams-compliance-story