Cluster Upgrade (SQL Server 2008 R2–> SQL Server “Denali”)
In this blog, I will cover how to upgrade a SQL Server 2008 R2 cluster to the next version of SQL Server called “Denali”. The version of Denali that I am using is a build before the final CTP3 release. The process and dialogs should most be unchanged when the final version of Denali releases. These steps are meant to illustrate the best practices and the Setup user interface flow on how to perform the upgrade. For detail information on how to perform a SQL Server cluster rolling upgrade or SQL Server cluster patching process, review the following references:
- SQL Server 2008 Upgrade Technical Reference: https://www.microsoft.com/downloads/en/details.aspx?FamilyID=66d3e6f5-6902-4fdd-af75-9975aea5bea7&displaylang=en
- SQL Server 2008 failover cluster rolling patch and service pack process: https://support.microsoft.com/kb/958734
My Environment:
- Operating System: Windows 2008 R2 SP1
- SQL Server: SQL Server 2008 R2
- Two node cluster:
- VSQLPOD119-0206 - Passive node
- VSQLPOD119-0207 – Active node
- Instance: default (MSSQLServer)
Here is the Failover Cluster Manager in Windows 2008 R2, showing my nodes and clusters services.
A) Upgrade the passive node first
As a best practice, upgrade the shared components, install the required prerequisites, and address any rules failure. In my example here, VSQLPOD119-0206 is my passive node.
1. Launch Setup and select “Upgrade from SQL Server …” on the Installation Center
2. Review the “Setup Support Rules” for failures. If no failures, click OK.
3. Product Update and Install Setup Files
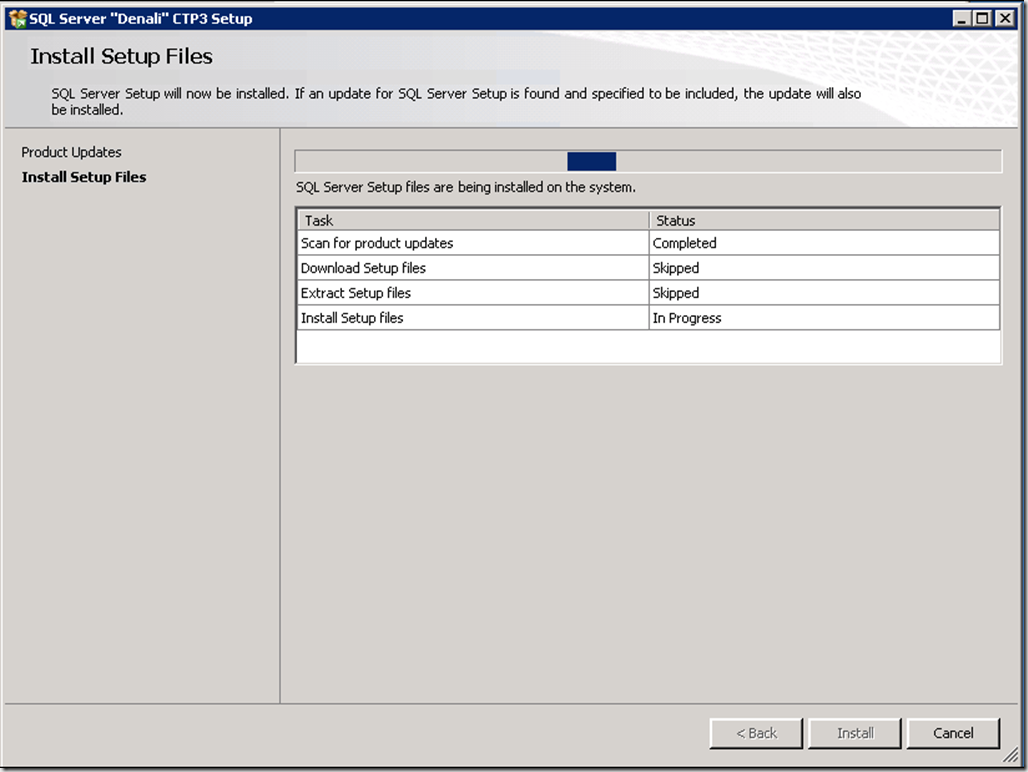
On the Product Updates dialog Setup will scan for applicable updates. Since no updates were discovered, Setup automatically continued to the Install Setup Files dialog and started to install the required Setup files. After Setup completes this installation, Setup will automatically continue.
4. Review the Setup Support Rules. If there are not any failures, click Next to continue. If there are failures, resolve before continuing.
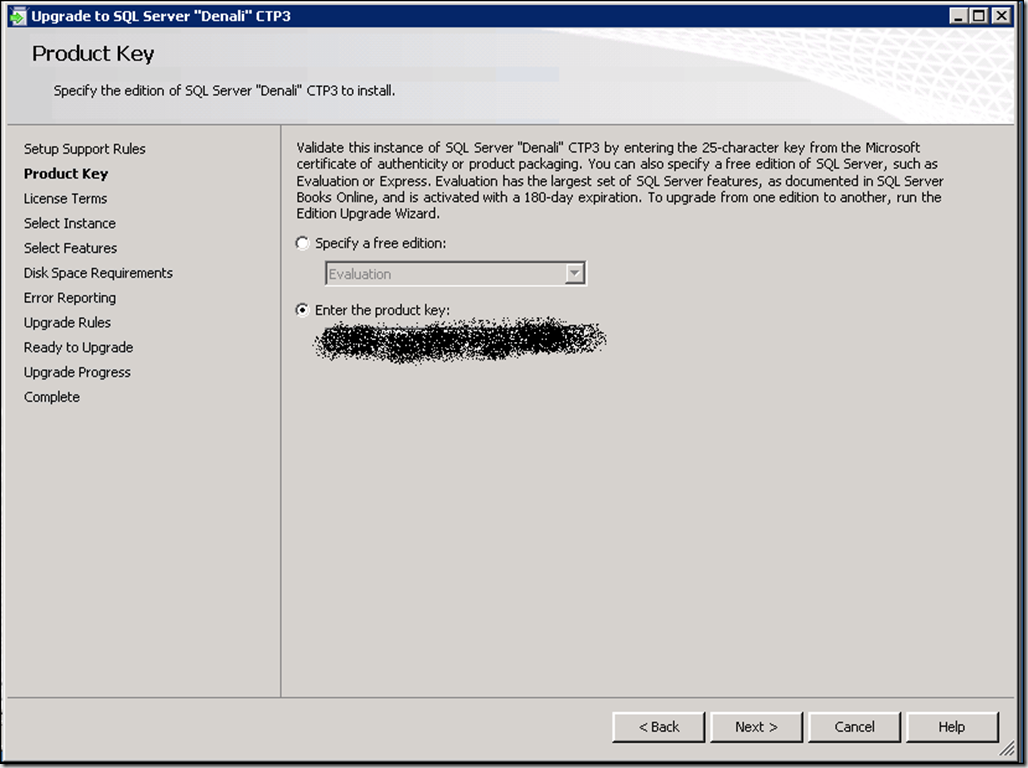
5. Enter your Product Key:
I will be upgrade from SQL Server 2008 R2 developer edition to Denali developer edition.
6. Accept the License Terms, and click Next.
Help us improve SQL Server by selecting “Send usage data to Microsoft…”
7. Select to upgrade the shared features only
As a best practice, it is recommended that you upgrade the shared features first on both nodes before upgrading the instance. We’ll upgrade the instance shortly.
8. Review the features to be upgraded and click Next.
You cannot add features during upgrade. To add features, perform an install after the upgrade process has completed. In my example, I will be upgrade the Management Tools.
9. Error Reporting
Help Microsoft improve SQL Server by selecting to Send Windows and SQL Server Error Reports to Microsoft. Click Next to continue.
10. Disk Space Requirements
If there aren’t any issues, click Next to continue.
11. Review the Upgrade Rules and click Next to continue.
If there are any rule failure, they need to be addressed before continuing.
12. Ready to Upgrade
Review the upgrade options. This is where you can capture the configuration file that Setup has generation based on your environment and upgrade options.
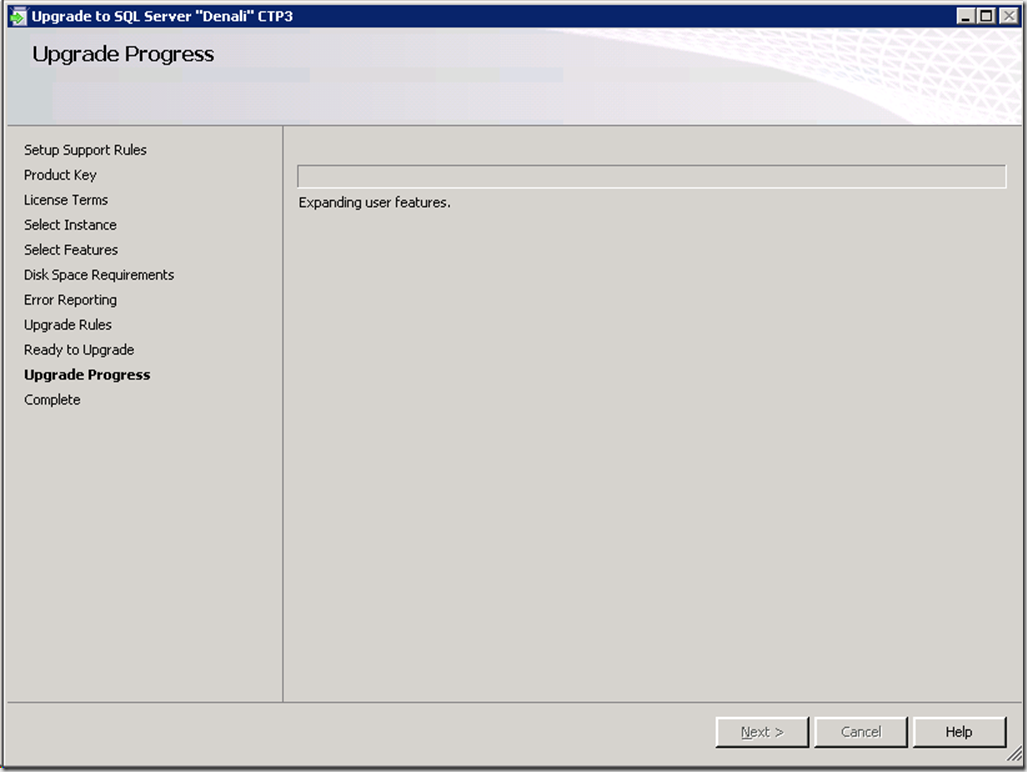
13. Upgrade Progress
After click Upgrade, Setup starts to upgrade the selected features.
14. Upgrading of the Shared features is now complete
B) Fail over to upgraded node
In my example, I have moved the service over to the node with the upgrade tools (VSQLPOD119-0206)
1. Repeat the steps on the passive node (VSQLPOD119-0207) to upgrade the shared features. Now all of the tools and Shared Features have been upgrade to “Denali”
C) Upgrade an Instance now on the passive node
On the passive node (VSQLPOD119-0207), run Setup again to upgrade the Instance features.
1. Launch Setup and select “Upgrade from SQL Server …” on the Installation Center
2. Review the “Setup Support Rules” for failures. If there aren’t any rule failures, click OK.
3. Product Update and Install Setup Files
On the Product Updates dialog Setup will scan for applicable updates. Since no updates were discovered, Setup automatically continued to the Install Setup Files dialog and started to install the required Setup files. After Setup completes this installation, Setup will automatically continue.
4. Review the Setup Support Rules. If there aren’t any failures, click Next to continue. If there are failures, resolve before continuing.
5. Enter your Product Key:
6. Select the instance to upgrade and then click Next to continue.
I am going to select my default instance (MSSQLSERVER)
7. Review the features under the instance that will be upgraded and click Next to continue.
8. Review the Instance information and click Next to continue
9. Review the disk space requirements
10. Review the service account information and then click Next to continue.
11. Select how you would like to upgrade the Full-Text indexes
12. Review and select Error Reporting options and then click Next to continue
Help Microsoft improve SQL Server by selecting to Send Windows and SQL Server Error Reports to Microsoft. Click Next to continue.
13. Upgrade Rules
Ensure all of the upgrade rule are passing. Review any warnings and fix any rule that has failed. Click next to continue.
14. Cluster Upgrade Report
15. Ready to Upgrade
Review the upgrade options. This is where you can capture the configuration file that Setup has generation based on your environment and upgrade options.
16. Upgrade Progress
17 Cluster Upgrade Report
On the Cluster Upgrade report, you can see the node has been upgrade and is offline.
17. The default instance (MSSQLSERVER) upgrade has completed successfully
D) Upgrade the remain node
On the VSQLPOD119-0206, current active node, run Setup to upgrade the default (MSSQLSERVER) instance. Once again, select “Upgrade” on the Installation Center.
Continue the wizard like before, ensure you select the instance to be upgraded. On the Cluster Upgrade Report dialog, Setup informs you that it will move the SQL Server resource group to the node (VSQLPOD119-0207) that has already been upgraded. The fail over will take 1 to 2 minutes, while the fail over happens and the databases are upgraded.
After choosing to upgrade, the Cluster Upgrade Report is displayed again. The node is now upgrade. Notice how the Instance State has switched.
That’s it!
Comments
Anonymous
September 24, 2013
Crisp clear explanation. Amazing. ThanksAnonymous
November 21, 2013
thanks - will try this this weekend. finger crossedAnonymous
December 16, 2013
Very good one indeed. But it would have been better if some notes were added on top the steps here like 1- how the log-in issues will be sorted (it looks no log in issue) 2- that there is no going back and we must have a back up of all the DBs in case the process does not succeedAnonymous
January 16, 2014
The comment has been removedAnonymous
December 11, 2014
The comment has been removed


