Continuous deployment with Web App for Containers using Azure Container Registry – Part 3
This Post is in continuation of Post : https://blogs.msdn.microsoft.com/paraspatidar/continuous-deployment-with-web-app-for-containers-using-azure-container-registry-part-2/ and it is Part 3 of the thread.
To start Over , please begin from Here
Our next steps are from Setting up Azure Container Registry section .
7. Create an Azure Container Registry:
by Refering here : /en-us/azure/container-registry/container-registry-get-started-portal
Login to azure portal and create a Azure Container Registry over there from market place & get the ID and password for Azure Container Registry as per documentation link above.
Please enable the Admin User option .
Please note that Login Server name , which is <registoryname>. azurecr.io
From here onward for example purpose we shall user the registoryname as myregistry considering you have created the registry using this name.
Also note the Username and password.
8. Login to Azure ContainerRegistry from docker.
Run this command on CLI
docker login myregistry.azurecr.io -u xxxxxxxx-xxxx-xxxx-xxxx-xxxxxxxxxxxx -p <password>
Now my CLI / Local docker si connected with Azure ContainerRegistry.
9. Map the Tagged container image with Azure ContainerRegistry account with a repository name and tags.
docker tag nginx myregistry.azurecr.io/samples1/php
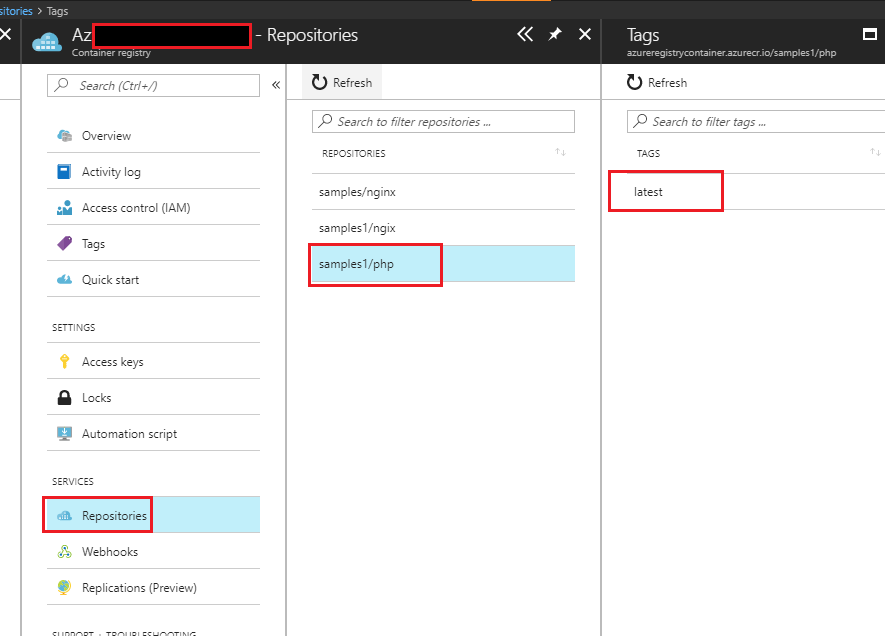
by using above command , I am instructing that my local image named nginx should be mapped with my azure container registry end point myregistry.azurecr.io/samples1/php which is actually creating a repository Image with name samples1/php .
we will see this repository in Azure Portal, once we push the image in next step.
Please note : don’t get confused with tag here , the tag in step 5 is the tag for image and we can have multiple tags and default tag is “latest”.
But Tag command here is kind of mapper between your image and registry end point.
10. Push the local docker image to Azure Container Registry.
docker push myregistry.azurecr.io/samples1/php
 issuing this command , will push my image which I have already tagged/mapped in step 9 and this will create a repository on azure container registry.
Now in Next Post we will go through Setting up Azure Web app for container for that Image section here :
continuous deployment with web app for containers using azure container registry -part-4
