How to Switch Channels for Office 365 ProPlus using GPO
One of the most common scenarios that we generally encounter is switching channels for Office 365 ProPlus. Below are the steps which outlines the process to be followed to switch channels for Office 365 ProPlus.
Add a Group Policy to specify the Branch
- Download Office 2016 Admx Template : https://www.microsoft.com/en-in/download/details.aspx?id=49030
- Extract the template file (*.admx files and en-us folder) and copy to the %systemroot%\policyDefinitions folder
- Open Group Policy Editor (gpedit.msc)

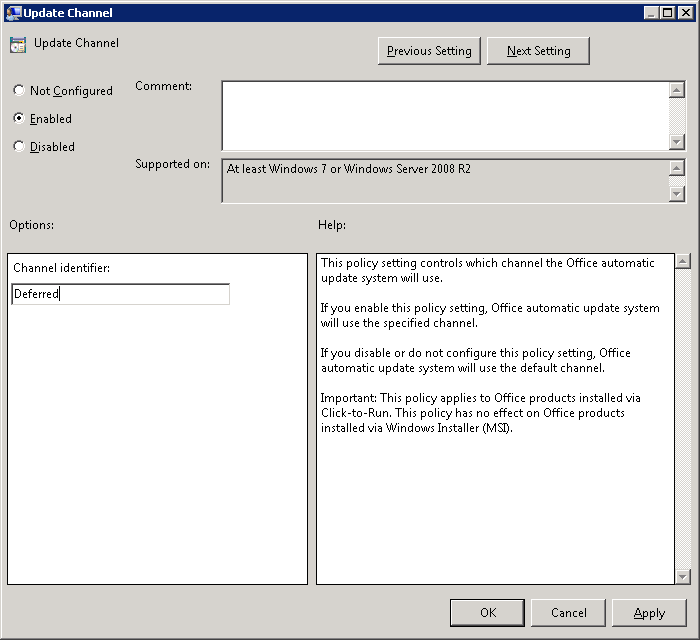
4. Enable policy: Computer Configuration\Administrative Templates\Microsoft Office 2016\Updates\Update Channel.

(Below are the inputs for the Channel Identifier: Current, Deferred, FirstReleaseDeferred, FirstReleaseCurrent). Source: https://technet.microsoft.com/en-us/library/jj219426.aspx
5. Ensure that the group policy is updated on the client machine, you can run gpupdate /force or gpupdate /sync command
6. After enabling the above policy when the scheduled task (Office Automatic Updates) gets triggered, the update process will start and updates will get downloaded & applied.

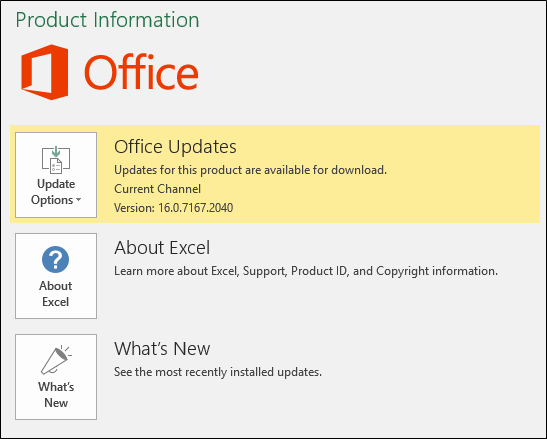
7. Once, the updates are applied, you can check the Office version and the channel name in the Office backstage.

We hope the above information helps in switching channels. please share the feedback in the comments section in the blog for any queries.