10 Days for Office 2010: Organize Your Content Logically in PowerPoint 2010
Editor’s note: The following is a guest post by PowerPoint MVP Glen Millar as part of the MVP Award Program Blog's "10 Days for Office 2010" Series. You can read more of MVP Glen Millar’s tips on his blog https://www.pptworkbench.com/wordpress
Sections are a new and powerful way to organize your slide content into logical groups within PowerPoint 2010. These logical groups may be by topic, author, or product.
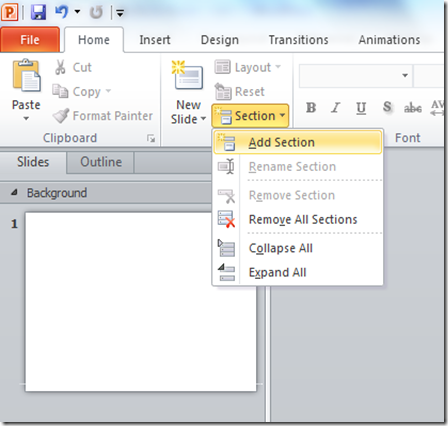
Sections can be added in the Slides Pane view, either from the Ribbon (Add Sections button,) or by right clicking below an existing slide. Sections can be renamed by menu item, or by the <F2> keyboard shortcut. They can also be deleted or moved up or down within other Sections.
Let’s look at some examples.
A presentation author wants to group slides by:
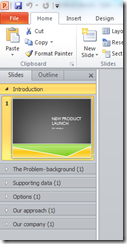
· The topic, allowing different authors to work on that content individually (image 1).
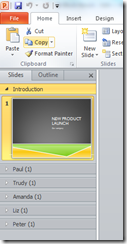
· The author of that part of the presentation (image 2), or
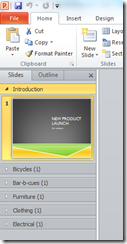
· The product being promoted (image 3).
Importantly, Sections can be printed. Unfortunately, Sections cannot be set up as a Custom Slideshow. However, Sections of slides can be quickly selected and Hidden (Right click on selected slides within a Section and click Hide Slides).
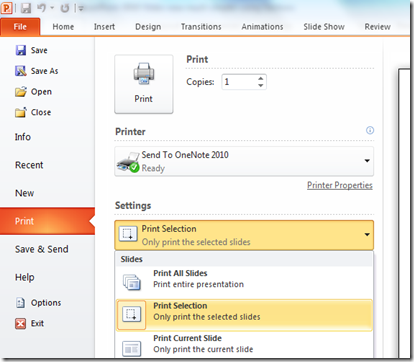
To print a Section, Select the File button, Print and choose the appropriate Section option.
Sections can be part of distributed corporate templates and will help keep people on topic and on track! It’s a new feature of PowerPoint 2010 I love!
------------------------------------------
Cross Posted on The Office Blog
To hear more from Microsoft MVPs about the Office 2010 products,
watch these video interviews
from the 2010 MVP Summit, including one about PowerPoint
sections with MVP Sandra Johnson.
Comments
- Anonymous
May 12, 2010
Great post. I wrote an in depth overview about using sections in PowerPoint to organize slideshows. http://www.gilsmethod.com/the-complete-guide-to-using-sections-in-powerpoint-2010 Gil, MVP
