Note
Access to this page requires authorization. You can try signing in or changing directories.
Access to this page requires authorization. You can try changing directories.
Please note that 3rd party virtualization software(s) for Windows 2016 Nested Virtualization feature is not supported. Only Hyper-V is currently supported.
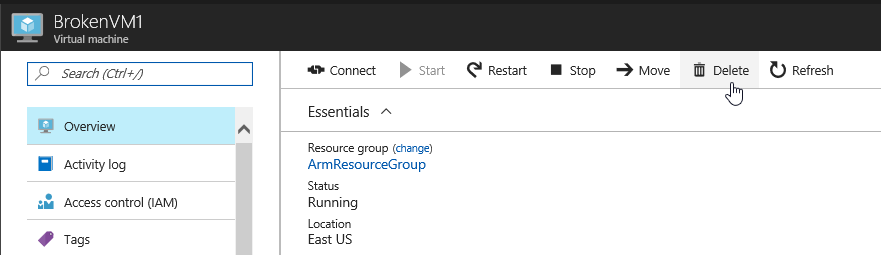
- Delete the Broken Virtual machine
- Create a new Recovery VM
- OS: Windows Server 2016 Datacenter
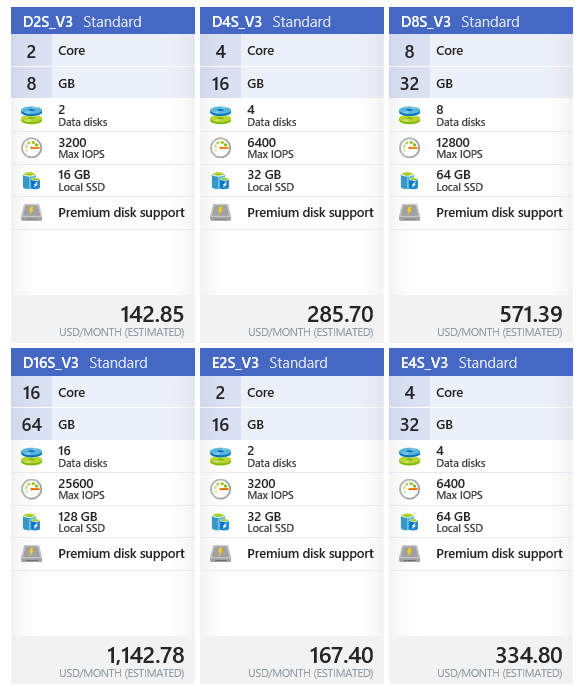
- Size: Any V3 series with at least 2 cores
- Same Location, Storage Account and Resource Group as the Broken VM
- Select to not use Managed Disks
- Once the Recovery VM is created select it in the Portal
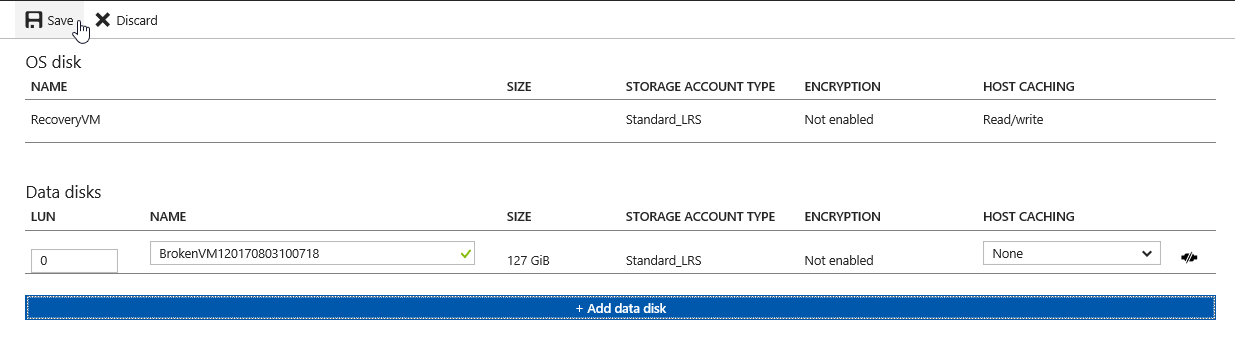
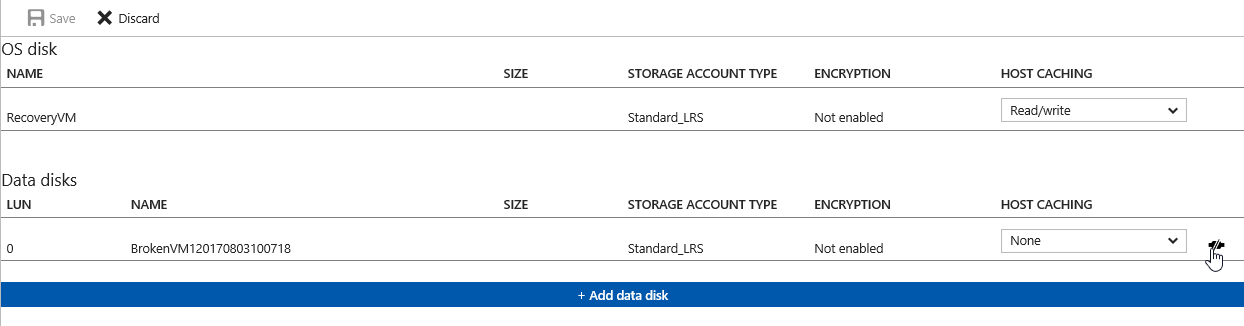
- Select Disks
- Add Data Disk
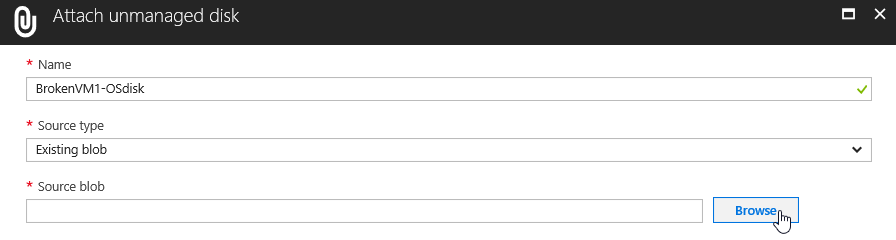
- Select Source Type Existing Blob
- Browse to the location of the Broken VMs VHD
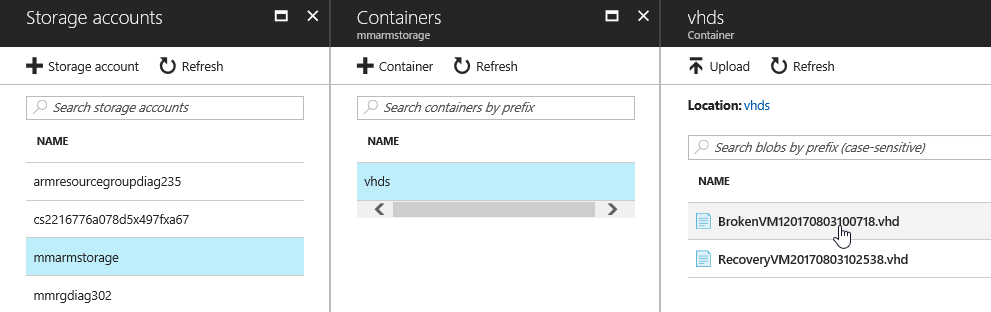
- Select the Broken VMs VHD and click OK
- Save the Changes
- Once the disk has successfully attached RDP to the Recovery VM
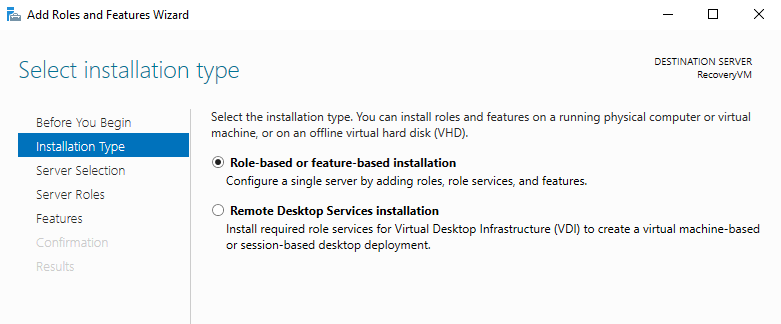
- In Server Manger select Manage -> Add Roles and Features

- For Installation Type select Role-based or feature-based installation
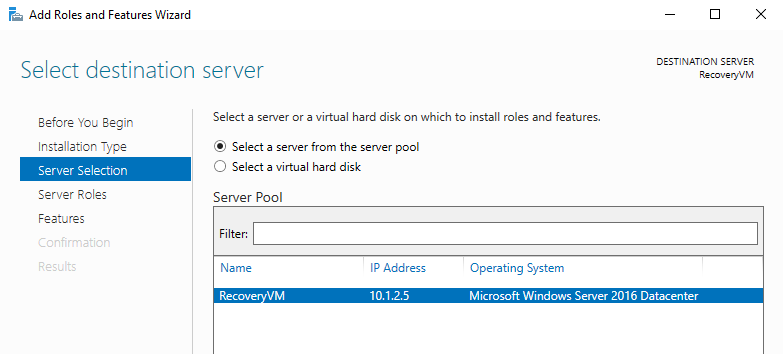
- Ensure the Recovery VM is selected
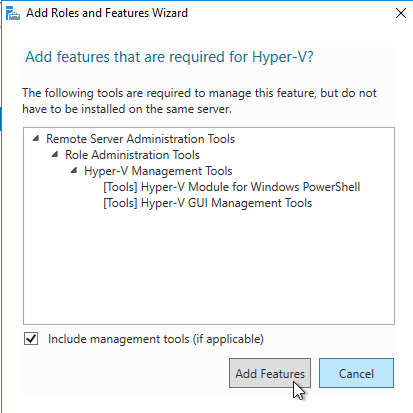
- Select the Hyper-V role

- Select Next on the Features Screen.
- If a Virtual Switch is available, select it and continue. Otherwise select Next and continue without a switch

- If a Virtual Switch is available, select it and continue. Otherwise select Next and continue without a switch
- On the Migration Page select Next
- On the Default Stores Page select Next
- Check the box to restart the server automatically if required
- Select Install
- Allow the Server to install the Hyper-V role. This will take a few mins and the server will reboot automatically. You can monitor the reboot cycle using the Boot Diagnostics Tab in the Azure Portal
- Once the VM starts back up RDP back into it
- Open Disk Management and ensure the VHD of the Broken VM is set to Offline

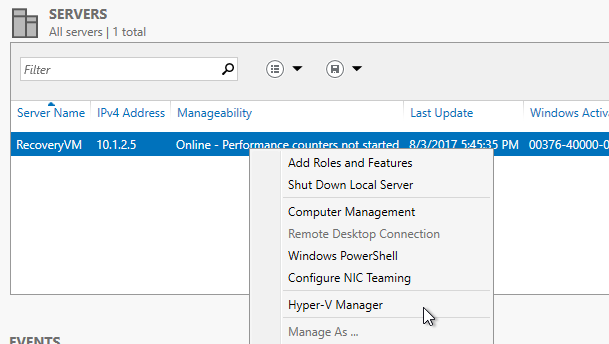
- In Server Manger select the Hyper-V role
- Right click on the server and select the Hyper-V Manger
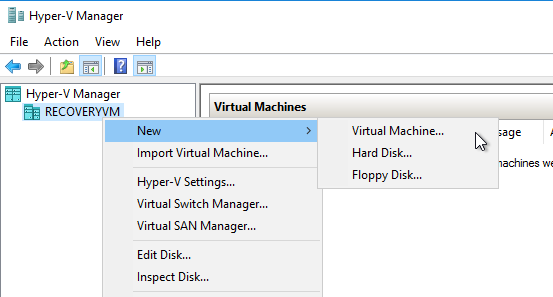
- In the Hyper-V manager right click on the Recovery VM and select New -> Virtual Machine
- Select Next
- Name the Virtual Machine and select Next
- Select Generation 1
- Leave the startup memory at 1024MB unless your VM requires more.
- If applicable select the Hyper-V Network Switch that was created. Else just move on to the next page
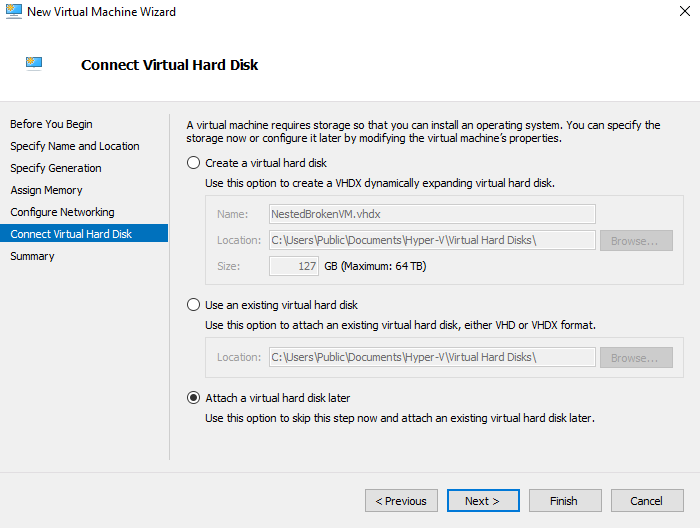
- Chose the option to Attach a Virtual Hard Disk Later
- Select Finish and the VM will be created
- Right click on the VM we just created and select Settings

- Select IDE Controller 0
- Select Hard Drive and click Add

- Under Physical Hard Disk select the VHD of the broken VM we attached to the Recovery VM
- If you do not see any disks listed it is because the VHD attached to the Recovery VM is set to Online. Refer back to step 22

- If you do not see any disks listed it is because the VHD attached to the Recovery VM is set to Online. Refer back to step 22
- Select Apply and OK
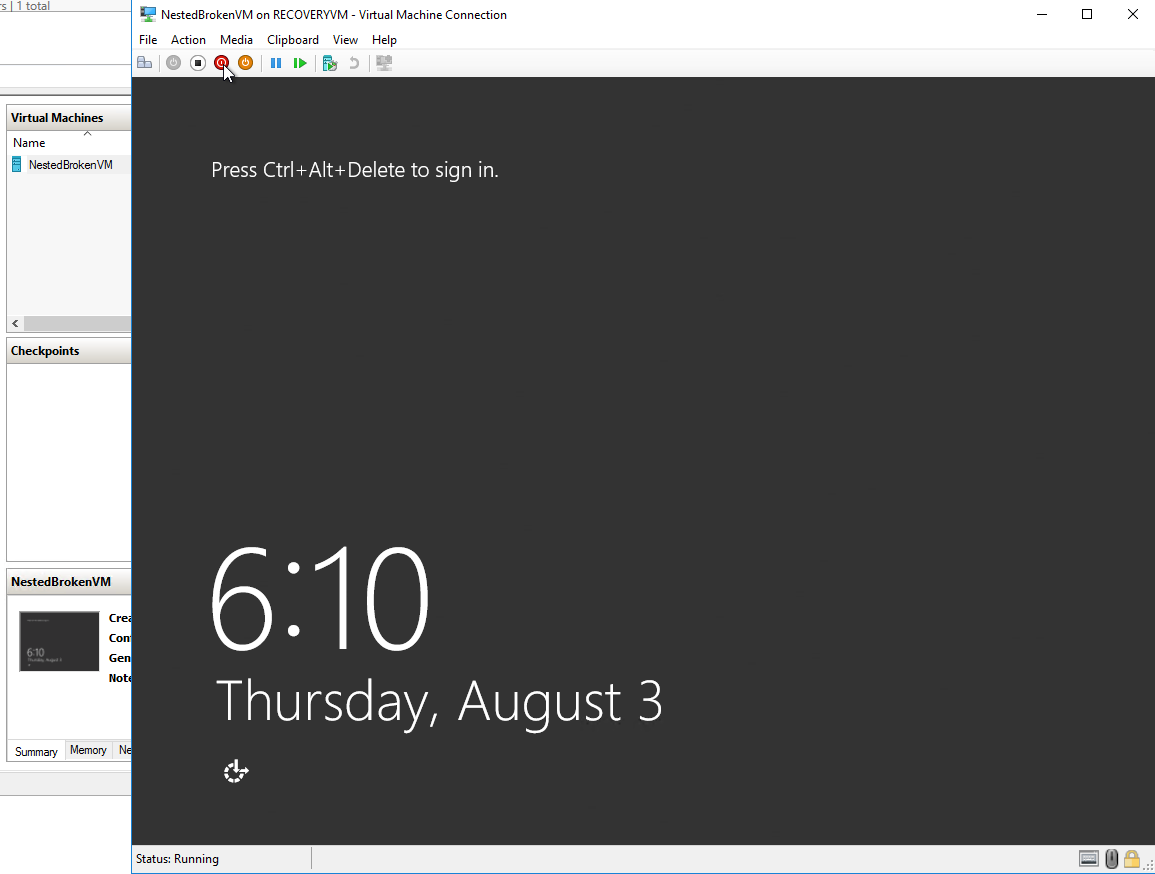
- Double Click on the VM and Start it

- Depending on your scenario, apply any troubleshooting/ mitigations steps now that you have console access
- Once you get the VM back online shutdown the VM in the Hyper-V manager
- Go back to the Azure Portal
- Select the Recovery VM
- Select Disks
- Select Edit and remove the now fixed VHD from the Recovery VM and save the changes
- Proceed to rebuild the now fixed VM. Refer to How to Rebuild an Azure VM from an Existing Disk OS disk
Comments
- Anonymous
August 14, 2017
This procedure work with Broken Azure Classical VMs?- Anonymous
August 14, 2017
Hi Christian. Yes, I have an article for how to do it in regards to RDFE machines. You can find it here: https://blogs.technet.microsoft.com/mckittrick/troubleshoot-broken-azure-vm-using-nested-virtualization-in-azure-rdfe/
- Anonymous