Customizing email templates
One of my personal favorite features in ILM “2” is that you can customize the outgoing email messages. Customers often have business needs to add branding, disclaimers, special instructions, and so on to approval mails or notification mails. ILM “2” gives you complete control of the HTML.
ILM “2” exposes email messages as Email Template objects. Creating and editing these objects is like creating and editing any other ILM object. Different than previous posts which focused on web services, we are going to show Email Templates through the portal UI. First we will show how to specify email templates and then we will edit a template.
How Email Templates are used
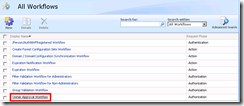
When you configure an approval activity, for example, you need to specify which templates to use for different messages. You also would specify which template in notification activities. First, let’s get to the approval workflow. In the workflows page select “Owner Approval Workflow”.
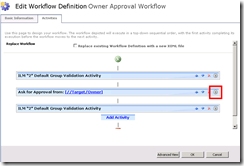
Notice the activity to ask the target’s owner for approval. Expand this activity.
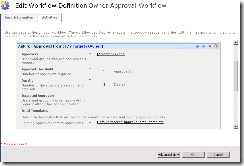
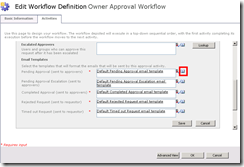
This is the approval activity expanded. You can see features like number of approvers required, expiration times, etc. Scroll down to the list of mail templates.
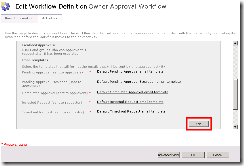
Here you see the list of mail templates you can configure for this activity. Notice there is escalation and completion to account for those scenarios. Click Edit to edit the activity.
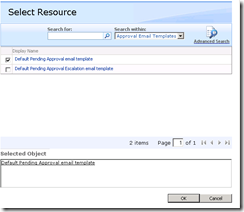
Click the browse button to see the available email templates for pending approval mails. The pending approval mail is the standard scenario you see demoed of ILM “2”.
Picking which template to use is a matter of searching for the desired email template object. To add another template to this list, you must simply create another Email Template. It would be picked up by this object picker dialog.
Editing an Email Template
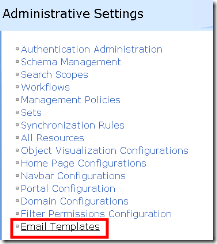
To make a new template available, you create a new Email Template object. For the purpose of this demo, let’s just edit the existing object. Go to the Administration page and select Email Templates. Now let’s edit the template.
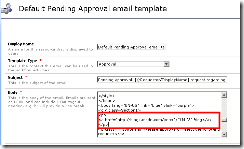
Select the template which we have configured for our owner approver workflow.
In the body of the email we add a link to this blog. Notice this is simple HTML consumed by Outlook. As popular as this blog may be, I can assure you that ILM will not come configured to include the link.
Andreas designed an XPath-like grammar for the body and subject to get at instance data of requests. For example, you can do [/Target/DisplayName] to resolve the group name or person name when adding them to the group. You can get any attribute on the Request and Target objects including the display names, manager, creation time, etc. The only limitation is that we don’t support recursive expressions. For example, /Target/Manager/Manager wouldn’t resolve correctly. Plus, since this is HTML that Outlook renders, there are many ways you can customize the look and feel of these messages.
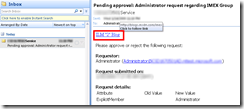
After saving the email template object we trigger the owner approver scenario. We add the administrator to the IMEX Blog group. The Administrator, who is configured as the owner of the group, gets the approval email in Outlook:
Notice the link as the first item. Cool, huh?
In conclusion
Email Templates are a great example of ILM’s platform. They show how we the feature team use custom ILM objects to accomplish real customer scenarios. If you needed customization for your AuthZ or Action workflows, storing the data in ILM as objects is a very compelling choice. We store our data there! I hope this blog post shows you it is possible to customize outgoing email – approval mails, notification mails, add to group mails, error message mails – and make them work for customers.
Technical note: Error messages and Add-To-Group messages were not enabled for RC but are included in the RTM version. These screenshots are from a recent build, so there may be slight differences. Also, in RC we converted all guids to nice display names. In RTM we will expose the request object’s guid so you can construct links to the portal. The most common use of these links are non-Outlook clients wanting to approve requests.
Comments
- Anonymous
June 15, 2009
PingBack from http://einternetmarketingtools.info/story.php?id=7138
