How to configure Code to connect to Visual Studio Online
In this quick article I am going to walk through the process of getting Visual Studio Code (Code) to connect to Visual Studio Online(VSO). Visual Studio Online allow us to build our team, without borders, and help us manage versioning, source control, and so much more. As for my customer and I, we will use it for CSR in SharePoint and write a few PowerShell scripts to help manage the SharePoint farm.
@Code, from twitter, helped me get started on the right track and I also used the following documentation to get me started:
/en-us/vsts/git/share-your-code-in-git-cmdline
I did not, however, follow it completely as I ended up doing a few things differently and in a different order. However, I thank those guys for giving me something to follow.
There are a few assumptions that i make. One, that you have downloaded and installed Code, that you have installed the Visual Team Studio Services Extension, and that you have a subscription to VSO. I will not be going into those subjects here.
So let's get started!
Create New Project
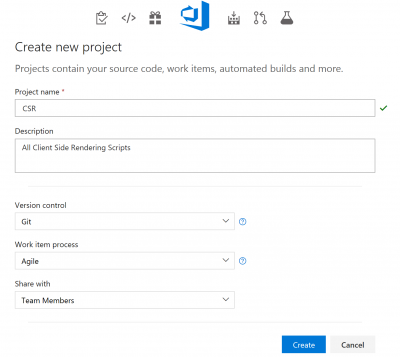
The first thing you should do is navigate to VSO, login and head over to Projects. Once there, click on "New Project", wait for it to load and create a new Git Team Project. Make sure you select Git as the Version Control as it is a requirement for this article. Once you have filled in all the information click on "Create".
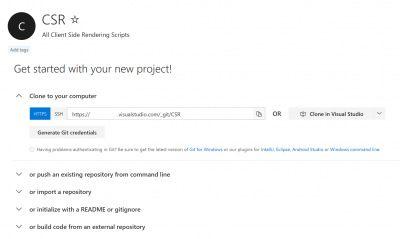
The image below is of a newly created project in VSO. While here, you are going to need the URL of your project repository. Save it somewhere or just copy it into a text file and save it to your desktop for later use.
Now we need to make sure that you have Alternate Authentication Credentials configured in VSO. This is so that Git can access the repository. Git cannot login to VSO like you are able to, with email and password. Because of this, we need to configure Alternate Authentication Credentials.
The need to configure Alternate Authentication Credentials has nothing to do with Code or how it connects to VSO. This is simply so that Git can connect to VSO and replicate your repository locally to your computer.
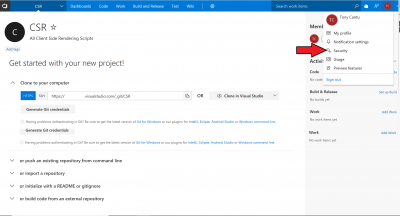
- In VSO, mouse over your profile avatar and click on "Security"
- Fill out the information if it is empty. Make sure you log these new credentials somewhere. We will need it shortly in the tutorial.
Download and Install Git
First, what is Git and why do I need it?
Git is a version control system. It helps you manage small and large projects. For us, it is what allows us to communicate with VSO and most importantly it allows Code to communicate with VSO.
Download and install Git from: https://git-scm.com/download/
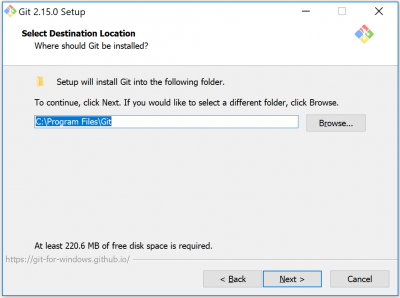
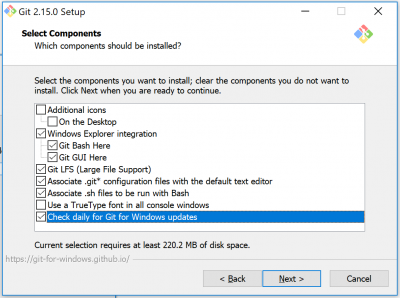
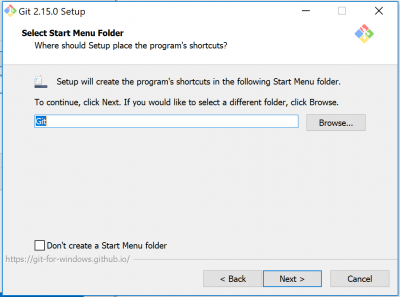
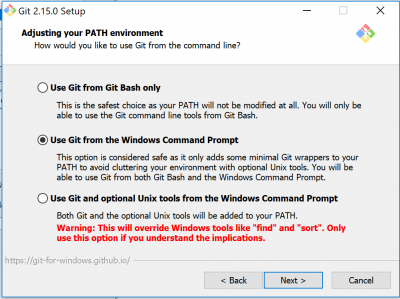
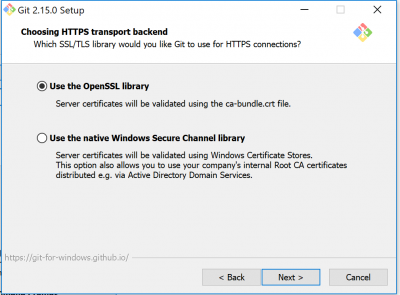
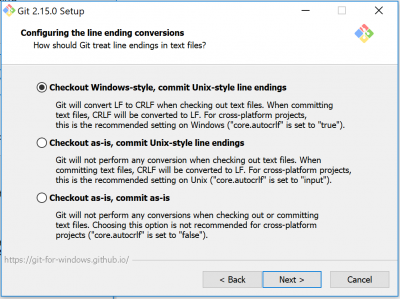
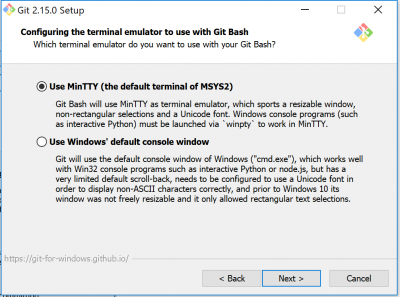
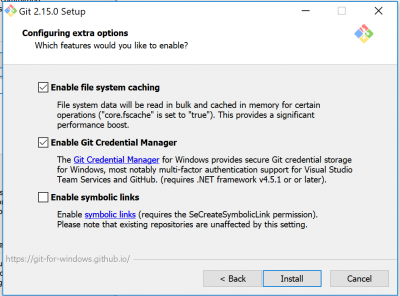
Once downloaded, double click the downloaded file to start the installation. For this installation, I selected the default settings for just about every step in the installation process (with one exception). You can modify the installation however you want or just follow along.
You should now have Git installed on your computer. Let's get it communicating with our VSO project, shall we?
Setup Git Locally
Create a folder on your local hard drive. You can use the Git terminal to create the folder structure but for simplicity I used File Explorer. If you are following my example, I used C:\Scripts. Now open, if it isn't already, the Git Bash Terminal and navigate to the newly created folder by typing the following command (notice that I have removed my computer name from the image. Yours will be prefixed with your computer name):
cd c:\Scripts
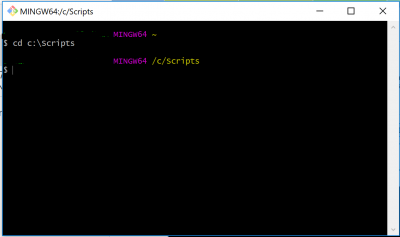
Now that we are in the folder that we want to be working on we want to clone our VSO Repository into it. Run the following commands:
-
git init- This initializes Git in the folder you are currently in. If you navigate to that folder after running the command, in my case c:\Scripts, you should see a new ".git" folder.
-
git config --global user.name "Your Name"- This is the information you created in the steps above where you set up Alternate Authentication Credentials.
-
git config --global user.password "your password"- This is sent to VSO using SSL in the step below
-
git clone <URL to your repository>- This will clone your VSO repository to your local machine. Specifically in the folder you are currently in. In my example I was in "C:\Scripts". My VSO Repository is "CSR". To make sure it all worked correctly navigate to C:\Scripts and make sure you now have a new folder with the name of your VSO Repository. What mine looks like: c:\Scripts\CSR.
Test the configuration in Visual Studio Code
Launch Code and open the folder that holds your VSO Repository. In my case I am opening "CSR" in "C:\Scripts". If you have the Visual Studio Team Services extension installed in Code it will immediately recognize the repository and give you the functionality you need to use VSO with Code.
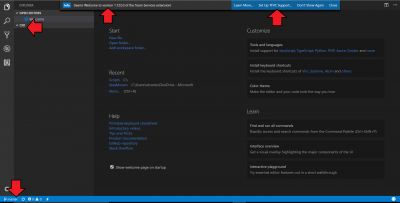
It is all looking good if Code is working for you like it is for me. Now I believe it is time to test this idea of using VSO with Code. Notice in the screenshot above there are no files in the "CSR" folder. We will create a new .js file and move it over to VSO.
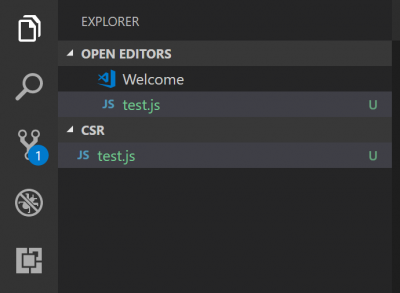
Let's start by creating the file. I will name mine "test.js". Yes, very original. Notice that Code immediately recognizes the file is not being tracked. This means that the file has neither been committed locally or pushed to VSO. The "U" on the far right stands for "Untracked" (image below).
Now open the "Command Palette" from the ribbon in Code. Go to View --> Command Palette. In the Command Palette box enter "team" and select "Team: Signin" to sign in to VSO (image below).
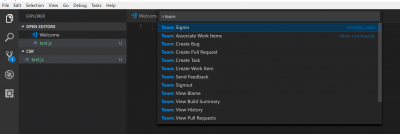
At this point you are presented with two options to login to your VSO subscription:
- Option 1: Provide an access token manually (current experience)
- If you already have an access token, use this option. Using this options means that you got your Access Token from VSO. I won't go into much detail here but if you look up a few steps, to where you set up the Alternative Authentication Credentials you will see the option to create an Access Token.
- Option 2: Authenticate and get an access token automatically (new experience)
- If you do not have an Access Token yet, select this option and follow the instructions. Code will walk you through the entire process.
Make sure to follow the directions completely. Code will give you a random access token that will be required in the next few steps. If you go away from Code during any point in this process you will have to start again as the token will fail to exist.
After copying the random code highlighted in blue, hit enter. A browser window will open up where you will have to enter the code.
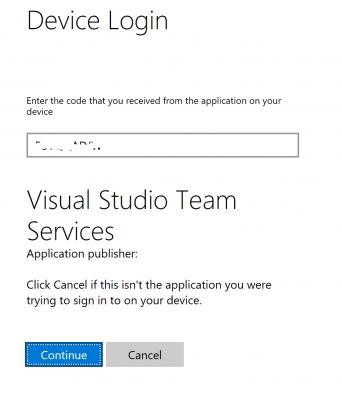
Enter the code in the form field. This will display two new buttons.
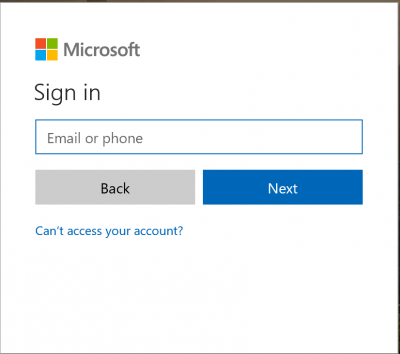
Click on Continue. After you click on continue you will have to login to VSO. This is where you enter your email and password to your VSO subscription.
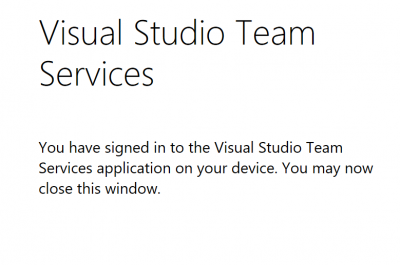
At the end, you will receive a confirmation that you have successfully logged into VSO and in doing so have bridged together Code and VSO.
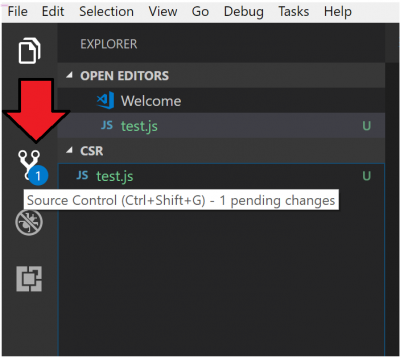
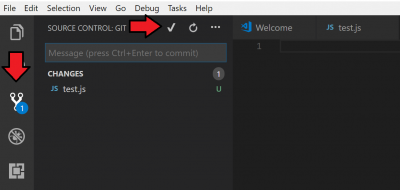
Once you are signed in, go back to Code and try to commit the new file that was created. Click on the Source control icon. In our example, I am pointing at it with a red arrow.
Then Commit the changes.
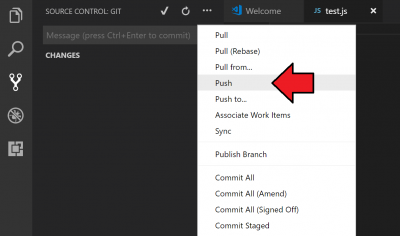
Now "Push" the changes to VSO by clicking on the three dots (...) and click on "Push".
The file, in our case "test.js" will shows up in VSO.
We have successfully connected VSO with Code.
If you have any questions or need clarification on any of the steps, feel free to reach out to me.
Thanks!
Comments
- Anonymous
November 24, 2017
https://code.visualstudio.com/
