CRM Online Client Side Agent - Twitter Agent
One of the advantages of cloud based computing is that you don’t have to manage the hardware and software of the system. Unfortunately , a disadvantage is that you don’t have complete access to the server. In the blog, I’ll describe what I call a client side agent (csa). A CSA allows you to execute code from your client machine that can do computations and update/create records. A CSA can be run manually or automatically. It can be run from a server or a client machine. It can have a user interface or run hidden, like a windows service. If your familiar with the Email Router, that is the same model.
Twitter Agent
The purpose of the Twitter agent is to allow you to analyze responses to your tweets and have an easy means to send tweets from CRM to alert your followers about your business news.
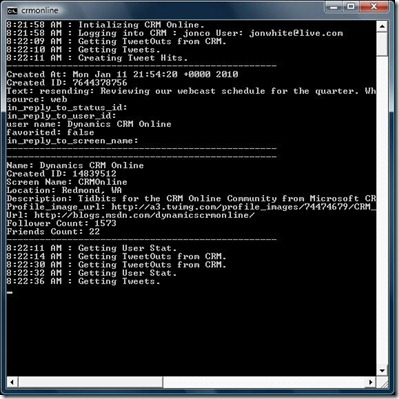
The Twitter Agent is a client side agent that runs as a console application. The Twitter Agent will allow you send and receive tweets from your CRM Online instance. The agent will also keep you up to date on the number of followers and friends you have on Twitter.
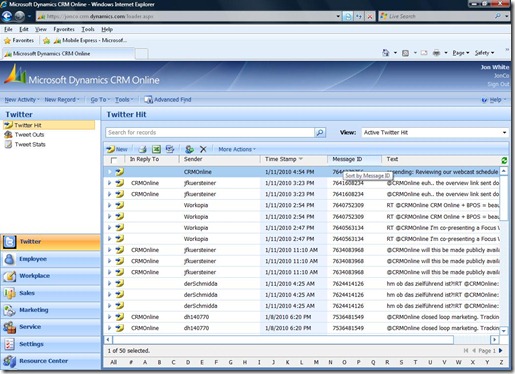
There are 3 custom entities added to the CRM instance to support the Twitter Agent.
Twitter Hit shows the tweets that are in reply to your tweets.
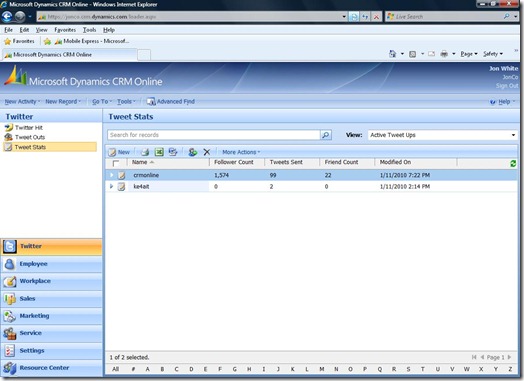
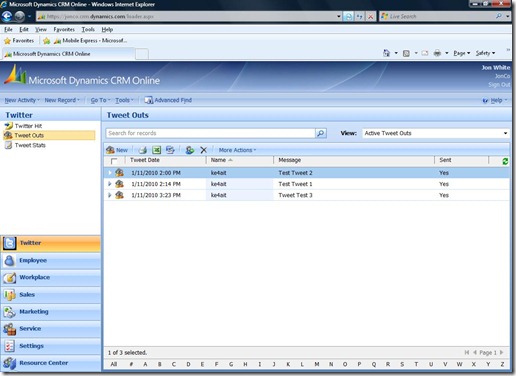
Tweet Outs allows you to send a tweet by simply entering an item in the list. The agent will ‘see’ that you created a new message and send it for you. Tweet Stats shows you the friend and follower count.
The Name field should contain your Twitter username and should match up to the Twitter name that you configure the Twitter Agent with. For most uses, I imagine that one twitter account for a company is reasonable. However, you can run as many instances of the Twitter Agent that you need to for each Twitter user.
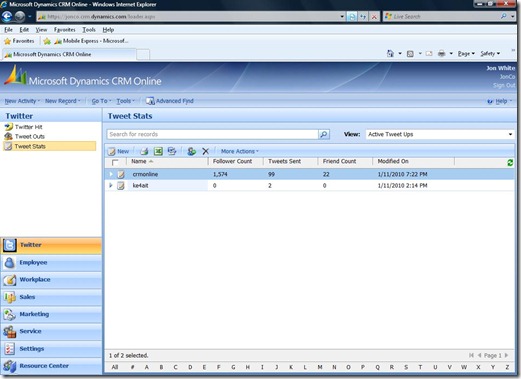
You can also keep tabs on the number of follower and friends you have on Twitter.
Installing and Running the Twitter Agent
Running the Twitter Client Side Agent is simple. Just click and run or you could schedule to run on at regular time using the Windows scheduler. technet.microsoft.com/en-us/appcompat/aa906020.aspx . The agent is a Windows Console Application that uses an xml settings file to instruct it’s behavior. The CSA is built using Visual Studo.net and uses the MS CRM Online web services to update and create records in CRM.
You’ll need to import some customizations and you can modify your sitemap to group the Twitter Entities. Of course, you could build other views as well to sort and view the data accordingly.
How to modify a site map <www.democrmonline.com/SitemapCustomization/>
There are a lot of additional computations and custom functionality you could do in a CSA. The CSA model gives you the ability to leverage all of the cloud services to build out additional functionality. The CSA models utilizes easily, readily available, and free computing resources.
Setup
1. Unzip the Twitter Agent in a file directory. ( Not as desktop folder.)
2. Import Twitter Customization File to add the new Twitter entities.
3. Add security rights to custom entities for user role. Create/Update specifically.
By default, the entities will show in the Settings Area.
Optionally, you group to an area by adding the following to your sitemap.
<Area Id="Twitter_Area" Icon="www.jonrwhite.com/twitter2424.gif">
<Titles>
<Title LCID="1033" Title="Twitter" />
</Titles>
<Descriptions>
<Description LCID="1033" Description="SkyDrive Documents" />
</Descriptions>
<Group Id="Extensions" ResourceId="Group_Extensions">
<SubArea Id="jrw_twitterhit" Entity="jrw_twitterhit" />
<SubArea Id="jrw_tweetout" Entity="jrw_tweetout" />
<SubArea Id="jrw_tweetup" Entity="jrw_tweetup" />
</Group>
</Area>
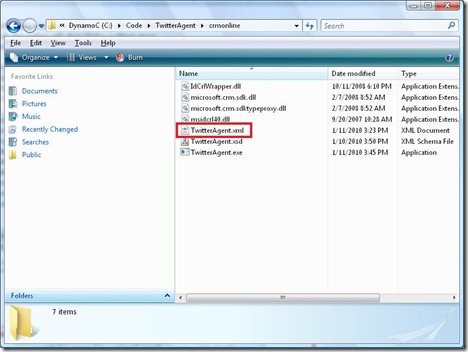
2. Open and edit the TwitterAgent.xml file in the directory you installed the agent.
< Setting>value</Setting>
<?xml version="1.0" encoding="utf-8"?>
<TwitterAgentSettings xmlns="www.TwitterAgent.com">
<Setting id="TwitterUser">Your Twitter Name</Setting>
<Setting id="TwitterPassword">Your Twitter PW</Setting>
<Setting id="crmUserName">Your Windows Live ID</Setting>
<Setting id="crmPassword">Your Windows Live PW</Setting>
<Setting id="crmOrgName">Your Org Name</Setting>
<Setting id="SendTweets">30</Setting>
<Setting id="UserStat">60</Setting>
<Setting id="GetTweets">30</Setting>
<Setting id="LastID"></Setting>
</TwitterAgentSettings>
The SendTweets,UserStat,and GetTweets values are used to indicate how many seconds in between
the send,get, user stat updates.
The LastID is used to store the ID of the last tweet received. This keeps the agent from getting the replies that you already have.
If you want to reload all of the replies, remove the value of the setting.
*You can get the unique orgname in customizations-Download Wsdl screen
Start the TwitterAgent.exe program
To end the program, close the Window.
You can download at Twitter Agent
* This example is intended to be for demonstration purposes to show the possibilities and not for production code. Be advised that the passwords and user names are stored in plain text file in the directory.
cheers-
jonw
