Deploying to HockeyApp from VSTS
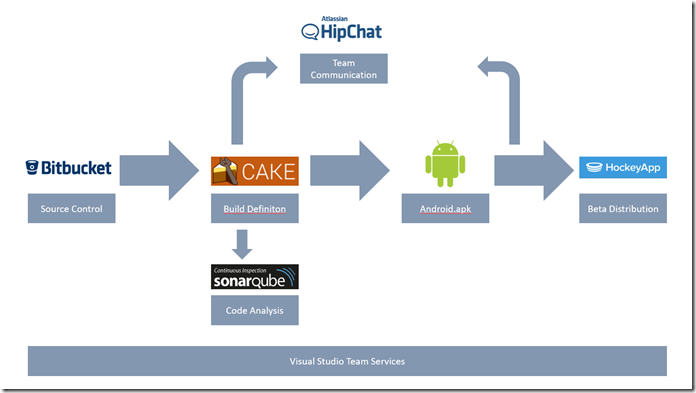
As already discussed in previous posts one of our customer wanted an fully automated end-to-end experience based on VSTS using a bunch of different 3rd party tools as shown in the picture below. Read the full story in the previous post.
In this post I will cover the last missing step: Deployment of the Android APK to HockeyApp.
Preparing HockeyApp
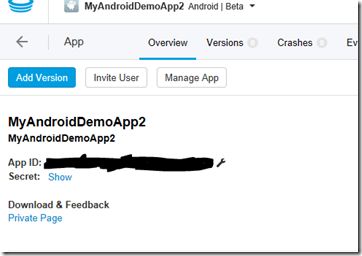
First of all we need a HockeyApp account. You can get it on https://www.hockeyapp.net/ .When logged in create a new App in the HockeyApp portal. You can do this by clicking “New App”. I chose to create the app manually in the upcoming dialog. You can choose the platform then. For our scenario I chose Android. However you can see that you could also use HockeyApp for iOS and other operation systems. Specify title and package name and save it. In the following dialog you’ll find an App ID. You’ll need it later, write it down somewhere.
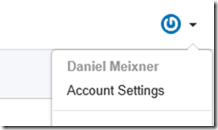
However that’s not all. You also need an API Token to be able to talk to HockeyApp at all. To get the token open the account settings of HockeyApp.
In the lower left corner click “API Tokens” and generate an API token. You can choose to create a token for all apps or just one and you can also select the right according to our needs. What you will get is once again one of those lengthy strings. Keep it and don’t mix it up with the App ID you created before. You will need both.
The AppID will be used to identify which app on HockeyApp you are going to deploy. The API token will be used to set up a connection from VSTS to HockeyApp. That’s what we are going to do right now.
Setting up a Service Endpoint to HockeyApp from VSTS
In VSTS we once again click the gear on the upper right:
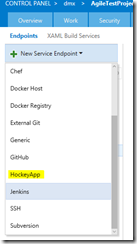
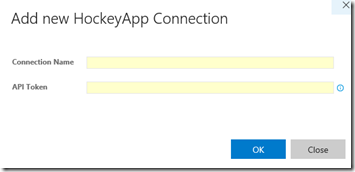
We create a new endpoint again. This time we choose “HockeyApp”.
We provide a name for the connection – this is just for us to recognize it later. And of course we provide the API token here. Just to be clear: We are setting up the connection to HockeyApp so we don’t specify the AppID here for the moment.
Create a release definition to deploy to HockeyApp
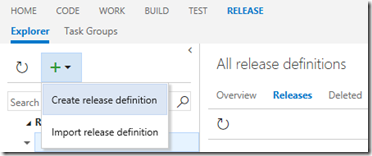
Now we create a new Release Definition. To do this we go back into our team project where we defined the build definition before. However this time we create a new release definition.
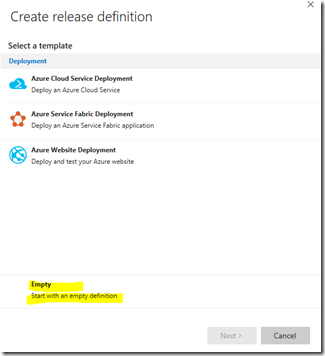
We’ll start up with an empty definition.
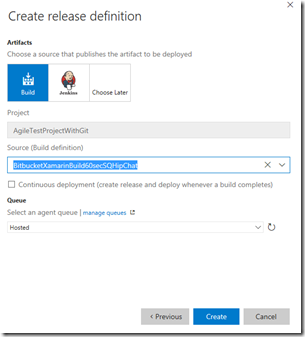
A release definition is mostly somehow related to a build definition. So we choose the build definition we created before. Why is this important? Because this way we can make sure that the release process is triggered whenever there’s “something new” coming from the build.
If you have already run your build successfully you will automatically find the artifacts of your build in the artifacts tab. If not you can add them manually.
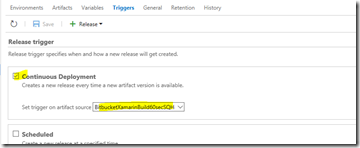
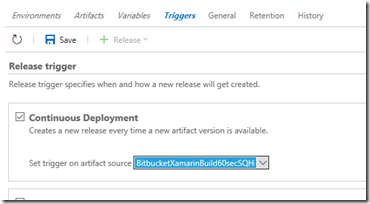
In the “Triggers” view you specify Continuous Deployment whenever a new artifact version is available. The artifact source is – of course – the artifact produced by our build.
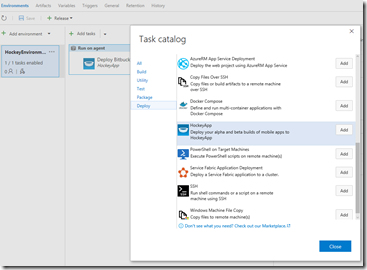
We are almost there! Per default one Release Environment has been created. It’s pretty cool that we can create multiple environments but for our end to end scenario one environment is sufficient. We add a release task and select the “HockeyApp” task. In case it’s not available for you, just install it from the marketplace.
Now let’s do this last configuration:
Select the correct HockeyApp connection. We created this connection in an earlier step, you just have to choose it. Next we need to provide the correct AppId. At this point it should be obvious why we are working with a separate ID here – we need it because we could have set up multiple Apps in HockeyApp. We only need one connection to HockeyApp (that’s why we configured the service endpoint). However we need one identifier for every app as well. And finally of course we need the path to the apk.
The path is built up like this:
[NameOfTheArtifactSourceAlias]/[NameOfTheArtifact]/path
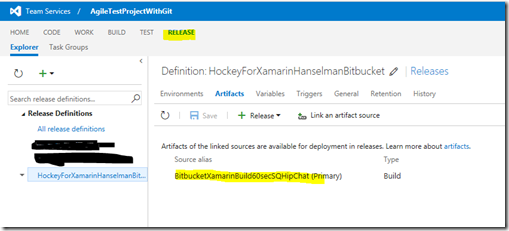
[NameOfTheArtifactSourceAlias] can be found here in our release definition:
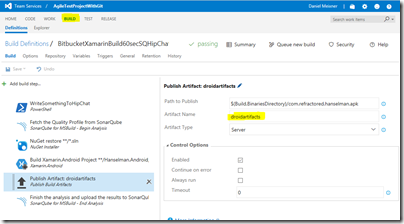
[NameOfTheArtifact] can only be found in the build (!!!) definition. So if you don’t remember it, you have to switch tabs and select your build definition and look it up.
So it all looks like this.
We are done. No let’ recap what will happen:
- We commit code to Bitbucket.
- A build process will be triggered automatically in VSTS.
- A message will be send to HipChat automatically.
- SonarQube analysis will be triggerd.
- The Android app will be built.
- SonarQube results will be published on the server specified.
- The app package will be uploaded to HockeyApp.
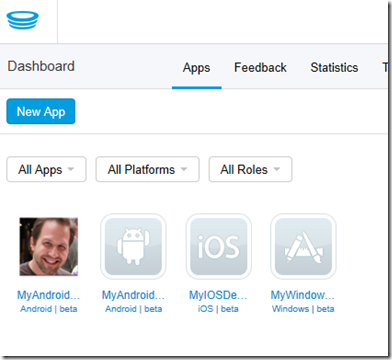
Does this really work? Yes! Here’s the app in HockeyApp:
Recap
In this multipost series I showed how to integrate a variety of 3rd party tools with VSTS. This really is just a basic workflow. You could (and might) configure much more. I still think it’s pretty impressive from a user perspective as the integration and full automation takes away a lot of pain you might be experiencing otherwise. And it certainly is an excellent starting point for additonal customizations.
This is really just one scenario with requirements one specific customer had. Check out the Visual Studio Marktplace if you are missing extensions or integration into other tools. Or of course you could write your own extension for VSTS in case you want more comfort than working with powershell.
