Credential Guard lab companion
If you have heard about Credential Guard in Windows Server 2016 (and in Windows 10), but do not have an environment to try it out, here is a lab environment we built for you to play.
Lab access
The link will lead you to a sign up page, after that, you will see the following labs listed for Windows Server 2016:
[caption id="attachment_1295" align="alignnone" width="473"] Windows Server 2016 labs[/caption]
There are 3 exercises in the Implementing Breach Resistance Security in Windows Server 2016:
- Credential Guard
- Remote Credential Guard
- Device Guard
This blogpost will walk you through the Credential Guard lab details.
After click on the link of Breach Resistance lab, you be required to sign in and then you can launch the lab:
[caption id="attachment_1305" align="alignnone" width="201"] Sign-in[/caption]
Launch page
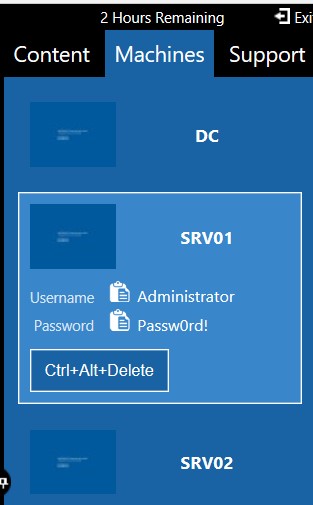
It takes a few minutes to create the VMs, and once it has done, you will see the following machines prepared:
[caption id="attachment_1315" align="alignnone" width="173"] Initialize[/caption]
- DC: domain controller, which is not used for this exercise.
- SRV01 and SRV02: both are Windows Server 2016, and used for the lab exercise.
Lab exercise – Explained
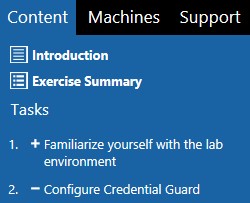
The steps are listed in the Content section:
[caption id="attachment_1325" align="alignnone" width="171"] Content[/caption]
This lab is structured to cover the following in sequence:
- Understand how attackers can use the hash in memory to gain access to domain controllers
- Configure Credential Guard
- Verify the hash in memory is protected using Credential Guard
You can follow the steps listed under the content section to complete the lab, the intent of the blog, is to break the procedures into groups, to help you understand the exercise better.
Prep the hash
Lsass.exe is the process which handles user logon, it stores the user credential information in its memory. The memory is cleared when the machine starts up. In this lab environment, all the virtual machines start at the time lab launches, when you logon to the machine, you will only have the logon user credential information in memory. In order to demonstrate an attacker gaining user access using other account’s hash, the first part of the lab is to simulate a server which has been running for a while, different users had remotely or locally connected to it, therefore, lsass memory stored many different user credential information.
This is accomplished by step 1-8.
Retrieving credential hash
Mimikatz is a popular tool for retrieving lsass memory information. The tool has been copied to the lab machines, step 9-13 walk you through the process of dumping lsass memory using Mimikatz.
Pass the Hash
Pass the hash is a hacking technique that allows an attacker to authenticate by using the underlying NTLM, instead of specifying the user password. In step 14 to 24, you will extract LabAdmin hash from lsass using Mimikatz, and use the hash to open a PowerShell console, and perform a couple of operations using the LabAdmin privilege:
- Add a user to the domain admin group
- Open remote PowerShell connection to a domain controller
Both operations could not be performed by the logon user. But using the hash of the LabAdmin, an attacker will be able to do it using the information retrieve from Lsass memory.
Configure and verify Credential Guard
Step 25 to 36 illustrate the steps to configure credential guard, then verify its status using msinfo32.exe and PowerShell.
Step 37 to 43 goes further to use Mimikatz to show the hash in Lsass is now encrypted using Credential Guard.
More info
The exercise illustrated the benefit of Credential Guard in Windows Server 2016 as well as Windows 10. For more information, you can find here.
