Building a Virtualized UC Development Environment: Part 3 – Adding the Terminal Services Role
This is Part 3 of a series of blog posts on setting up a virtualized development environment based on the Office Communications Server 2007 R2 VHDs.
Now that we have the TS virtual machine on the Fabrikam domain, we need to install the Terminal Services role. Is the coffee still hot? Great, grab a cup and let’s get started.
1. Start all the virtual machines in the order specified in the Office Communications Server 2007 R2 VHDs setup document.
2. In Hyper-V Manager, right-click on the TS machine, select Connect and use the administrator/pass@word1 credentials to login.
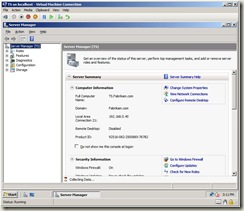
3. Click Start, Administrative Tools and Server Manager.
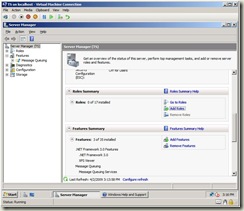
4. Under the Server Manager (TS) area, scroll down until you see the Roles Summary area. Click the Add Roles link.
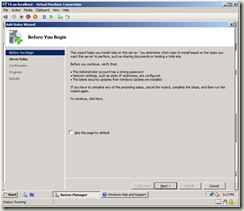
5. On the Before You Begin dialog, click Next.
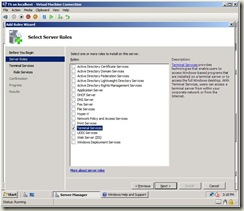
6. In the Select Server Roles dialog, select Terminal Services and click Next.
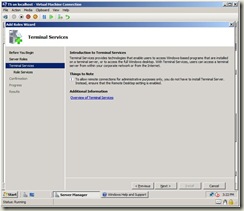
7. On the Terminal Services dialog, click Next.
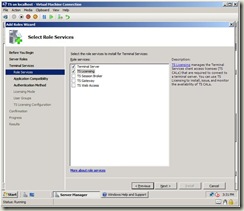
8. On the Select Role Services dialog, select Terminal Service and TS Licensing in Role Services and click Next.
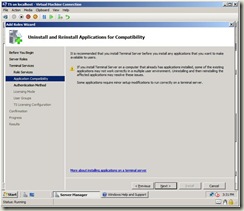
9. On the Uninstall and Reinstall Applications for Compatibility dialog, click Next.
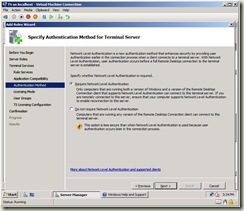
10. On the Specify Authentication Method for Terminal Server dialog, select Require Network Level Authentication and click Next.
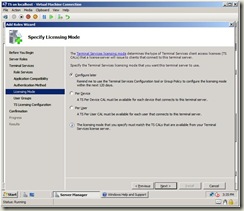
11. On the Specify Licensing Mode dialog, select Configure later and click Next.
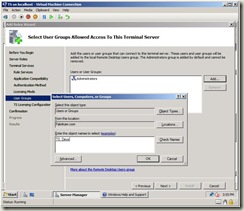
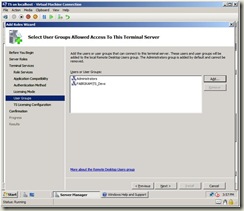
12. In the Select User Groups Allow Access to This Terminal Server dialog, enter TS_Devs in the Enter the object names to select dialog and click OK.
13. Click Next.
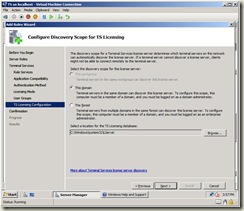
14. On the Configure Discovery Scope for TS Licensing, select the Domain option and click Next.
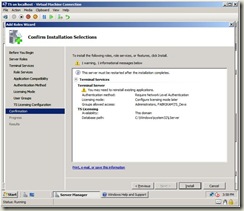
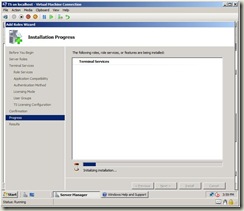
15. On the Confirm Installation Selections, read through the selections to confirm them and click the Install button.
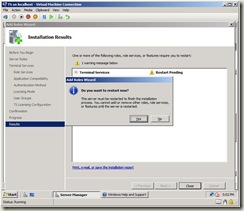
16. When the Terminal Services role has been installed, click the Yes button when prompted to restart.
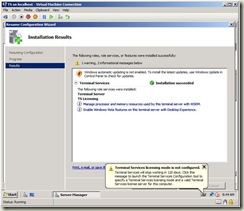
17. When the TS virtual machine restarts, log in using the administrator/pass@word1 credentials. The Installation results dialog will be displayed. Click the Close button.
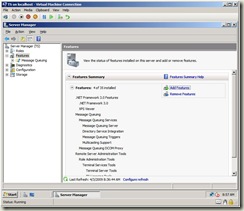
18. Open Server Manager, select Features on the left side of the screen and click the Add features link.
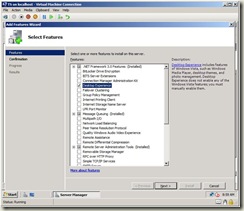
19. On the Select Features dialog, select Desktop Experience and click Next.
- This optional step provides the Vista desktop experience in your Terminal Services sessions.
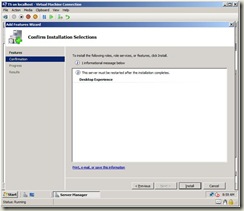
20. On the Confirm Installation Selections dialog, click Install.
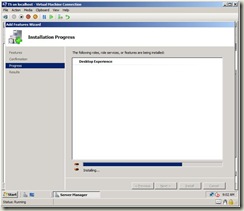
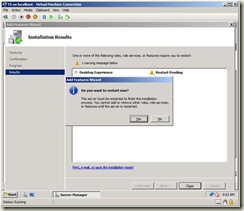
21. On the Installation Results dialog, click Close and click Yes when prompted to restart the TS virtual machine.
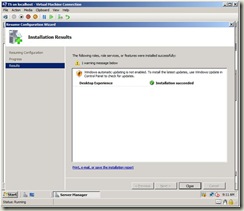
22. When the TS virtual machine restarts, log in as the Administrator account and wait for the installation to complete. Click Close.
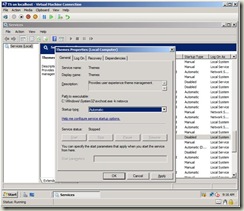
23. Click Start, Administrative Tools, Services. In the Services list box, select the Themes service, right click and select Properties. In the Properties dialog, set Startup type to Automation. Click OK.
- This optional step provides the display of Vista themes in your Remote Desktop sessions.
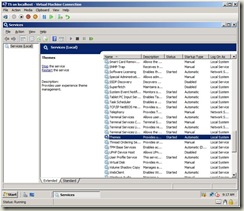
24. Right-click on the Themes service and select Start.
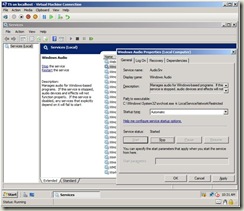
25. Select the Windows Audio service, right-click and select Properties. Set Startup type to Automatic. Click Start. Click OK. Close Services.
- The Windows Audio service allows Remote Desktop users to hear audio in their sessions.
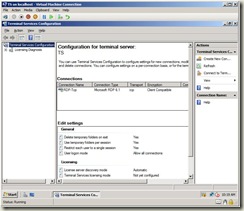
26. Click Start, Administrative Tools, Terminal Services, Terminal Services Configuration.
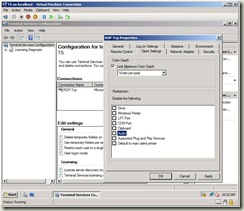
27. Under Connections, select RDP-Tcp, right-click and select Properties. Select the Client Settings tab and uncheck Audio to allow Remote Desktop Connection sessions to hear audio in sessions (phone ringing, etc.). Click OK. Close Terminal Services Configuration.
The TS virtual machine is ready to act in the Terminal Services role for accounts in the TS_Devs group. Next we’ll install the applications and SDKs necessary when developing for Office Communications Server 2007 R2 and Exchange 2007. I’ll post those next steps in my next post.
Please respond with comments if you run into any issues.
Thanks,
Chris
Comments
Anonymous
April 16, 2009
This is Part 4 of a series of blog posts on setting up a virtualized development environment based onAnonymous
April 17, 2009
This is Part 5 of a series of blog posts on setting up a virtualized development environment based onAnonymous
April 19, 2009
Can you discuss licensing? For instance, both for the TS VM, andd for the Terminal Services licensing? Is it necessary to license te TS VM with purchased key? Same for Terminal Services, must CALs be purchased and applied?Anonymous
April 29, 2009
Creating you UC development environment is not a simple task to do. Chris Mayo has written a walkthroughAnonymous
May 01, 2009
Regarding licensing, you can use the trial license of Terminal Services (120 days). Beyond that, the normal licensing of Terminal Services applies (and varies based on the licensing model you are on...). Thanks, Chris
