Testing Impersonation Permission with EWS Editor
A question that comes up occasionally with support is whether Impersonation is broken within Exchange Online. This article covers how to test impersonation using the November 2016 edition of EWSEditor.
EWSEditor is available from https://ewseditor.codeplex.com. Once it is downloaded and unzipped you can run ewseditor.exe. If you don't have the proper version of .Net installed you will be prompted to get it and install it. I recommend checking Windows Update after the .Net install to make sure you pick up all appropriate updates.
One other pre-requisite is to make sure the account you are using for impersonation has been assigned the proper roles. Here is an example of using PowerShell to assign the ApplicationImpersonation role to one of the accounts in my lab tenant:
$O365Cred = (Get-Credential)
# Enter your credentials when prompted
$session = New-PSSession -ConfigurationName Microsoft.Exchange -ConnectionUri "https://ps.outlook.com/powershell/" -Credential $O365Cred -Authentication Basic -AllowRedirection
Import-PSSession $session
Get-ManagementRole | ?{$_.name -like "*imp*"}
Name RoleType
---- --------
ApplicationImpersonation ApplicationImpersonation
Mailbox Import Export MailboxImportExport
New-ManagementRoleAssignment -name "user010 is impersonator" -role applicationimpersonation -user user010
Name Role RoleAssigneeName RoleAssigneeType AssignmentMethod EffectiveUserName
---- ---- ---------------- ---------------- ---------------- -----------------
user010 is impersonator ApplicationImper... user010 User Direct
Once you assign the role allow a little bit of time before attempting to proceed. Sometime 5 minutes is enough, but I generally recommend up to an hour to make sure the change replicates to all systems. Even with the delay you will need to log out of all sessions and log back in for the change to take effect. Permissions are evaluated when you first open each web or PowerShell session.
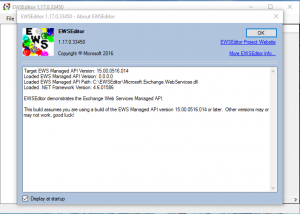
When you first open EWSEditor you will see:
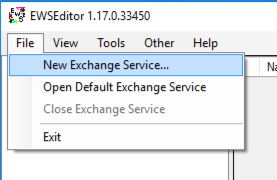
Click OK and then from the File menu select New Exchange Service
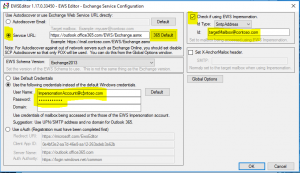
Assuming you are using Exchange Online fill out the highlighted fields as demonstrated below:
You can choose to use Autodiscover, but for Exchange Online the fastest and easiest option is to click 365 Default. User Name is the User Principal Name of the account that has impersonation permission. The account you wish to impersonate goes in the upper right corner.
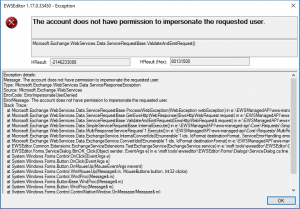
If there is any problem with the steps taken to this point you will see a window like the one below when you click OK.
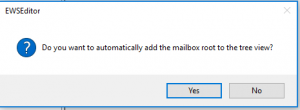
If everything goes well you will see:
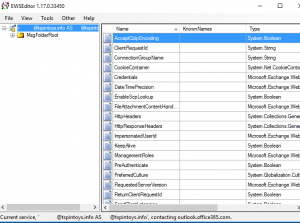
Click Yes and you will gain access to the mailbox. You can see you are carrying out the impersonation by the text in the title bar and in the bar at the bottom. In my sample I have blanked out the user names, but left the domain of my lab tenant.
If you are able to reach the a state like that of the screen shot above then Impersonation is functioning in Exchange Online. If you are having trouble getting a particular application to work it is possible you will need to engage support for that product. If you have created your own application you may need to engage Microsoft's Developer Messaging team for assistance.
Chris
