Exporting/Cloning Virtual Machines on Hyper-V with Windows Server 2008 R2
Hyper-V has some amazing features that make working with virtual machines just so easy. One of these features is the ability to make and export a clone of a virtual machine. This exported virtual machine can then be imported and run on another Hyper-V server.
Let’s go through the process together.
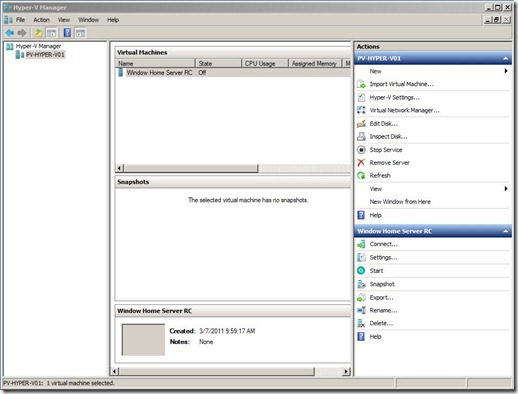
A couple of weeks ago we installed Windows Home Server 2011 RC as a virtual machine running in Hyper-V. Let’s say we would like to make a clone of this virtual machine and export it to a folder so we can run it on another Hyper-V server.
First lets go to the settings for the virtual machine and take a look at the existing .vhd
As you can see the .vhd is housed at c:\Users\Public\Documents\Hyper-V\Virtual Hard Disks\
The .vhd is a 10,283,824KB.
Next we need to actually make the clone and then export the necessary files so that the virtual machine can be imported on another server. The cool thing is the process could not be any easier.
Click the export link on the bottom right side of the virtual machine page.
When you do you will see this box. Enter the location of the folder where you would like to store the export.
Click the Export button and watch the paint dry. The progress will be shown under the status of the virtual machine in Hyper-V manager.
When the export finishes there is no fanfare, in fact there is not even a message that says the export is done. You just have to know that if the status reaches 100% and then disappears that the export is finished.
Lets spend just a minute looking at the completed export. Remember that this export is in fact a clone of the existing virtual machine that is stored in another location. The existing virtual machine is still fully functional and is not affected in any way by the export process.
When we open the folder location we specified in the export we see the following.
The export file contains everything associated with the virtual machine. Snapshots, Virtual Hard Disks, Virtual Machines, and a config.xml file.
Let’s look at the virtual hard disk.
As you can see it is identical to the original .vhd file.
One last thing to discuss here. When you open the Virtual Machines folder you see this.
A really long hexadecimal name. If your thinking “What is this?” Its your virtual machine. Remember that the name of a virtual machine is actually just a property in the settings file that can change, while the actual name is hexadecimal in nature and stays the same.
This brings us to our final point. If you export a VM it has “ALL” the characteristics, identity, services, properties, applications, SIDs,RIDs, and GUIDs of the original. Don’t run it in the same network as the original or there will be issues.
For those of you thinking hmmmmmm “I wonder if I could Sysprep a VM then export it?” The answer is Yes! Great Idea! That is a discussion for another day. Happy Exporting!
_thumb.jpg)


