Using Traffic Manager with Microsoft Azure Web App
This articles has been moved to its new home here: https://benperk.github.io/msdn/2014/2014-06-using-traffic-manager-with-microsoft-azure-web-site.html
One of the most challenging aspects of creating a disaster recovery environment was having a quick failover to a website that exists in another datacenter. These failover instances usually contained stale code, the hardware for the environment was expensive and rarely, if ever utilized and when we tried to failover to the DR it rarely worked. There was a lot of false hope placed on these expensive DR solutions that, IMO were not worth the investment. Maybe things have gotten better over time, but this was my experience. With the introduction of Traffic Manager into Microsoft Azure Web Apps (Websites) you can now have web sites in different Regions used as a failover instance or as a way to manage additional load, if the scaling capabilities of an existing App Service is too low to meet your needs.
There are numerous redundancies built in to the Microsoft Azure Web App (Websites) platform. Too many to mention and many I shouldn’t mention because it’s intellectual property. One which I do believe to be public is the concept of Regions and Stamps. Regions,
for example West Europe, North Europe, EastUS, etc… contain stamps which you can find embedded into the FTP address on the DASHBOARD page for the given Web App. For example, WAWS-PROD-CH1-001. WAWS-PROD-BLU-003, etc… The existence of
the stamp helps isolate issues that happen within a stamp and keep them from impacting other stamps in the same Region, there are multiple stamps in a region/datacenter. But what happens if there is a problem in a datacenter or on the stamp where your Web App is hosted? At the moment you cannot choose which stamp your Web App is created on, you can’t move your Web App to another stamp, nor can you load balance between multiple stamps in the same region.
The remainder of this article discusses how I implemented Traffic Manager on some of my test Standard mode Web App. Traffic Manager is only available with Standard mode Web App.
First, click on the Traffic Manager item from within the Microsoft Azure management console as shown in Figure 1. In the new portal if you click on Traffic Manager Profiles (classic) you are redirected to the AUX portal. Notice that it lists the name, status, load balancing method, subscription and the DNS name, which is used for accessing the traffic manager. During my testing I experienced 4 different status types, as shown in Table 1.
Figure 1, Microsoft Azure Traffic Manager with Web App
If you ever see Degraded as the status, you might want to check out this link for some troubleshooting tips.
| Status types | Description |
| Disabled | The traffic manager is created but not configured with any endpoints |
| Degraded | One or more of the endpoints configured in the traffic manager is not responding as expected |
| Online | The traffic manager is enabled and the endpoints are responding as expected |
| Inactive | The traffic manager is enabled but there are no endpoints configured |
Table 1, Traffic Manager status types
To create a new traffic manager, click on the NEW button on the bottom left of the window and the wizard is opened shown in Figure 2. Enter in a traffic manager name and select the load balancing method described in Table 2.
| Load Balancing Method | Description |
| Performance | When the performance is bad in one of the endpoints, the traffic manager will stop directing traffic to it. The constraints are not known at this moment. |
| Round Robin | Balance the requests evenly across the configured endpoints |
| Failover | Requests are redirected from an non-functional endpoint to a working instance |
Table 2, Traffic Manager load balancing methods 
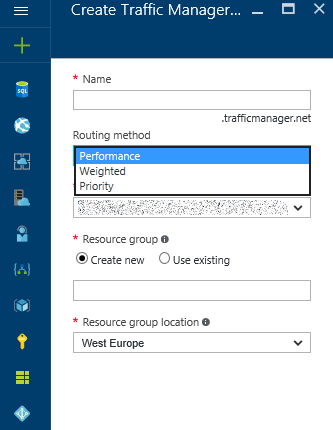
Figure 2, Create a traffic manager for Microsoft Azure Web Apps
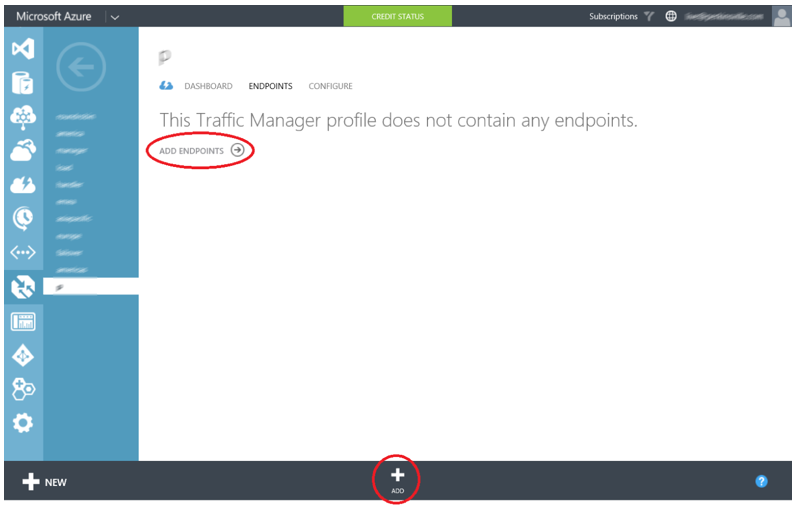
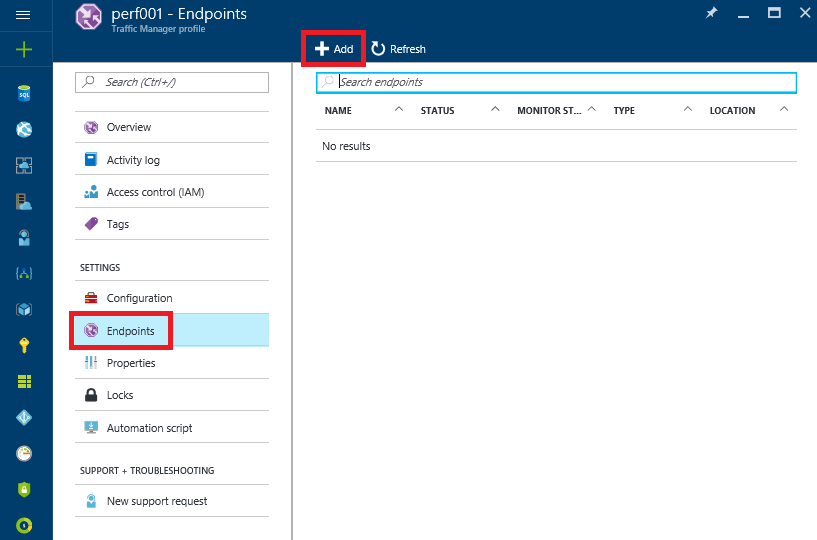
Once created, click on the ENDPOINTS page as shown in Figure 3 and add an endpoint.
Figure 3, Configuring traffic manager for Microsoft Azure Web App
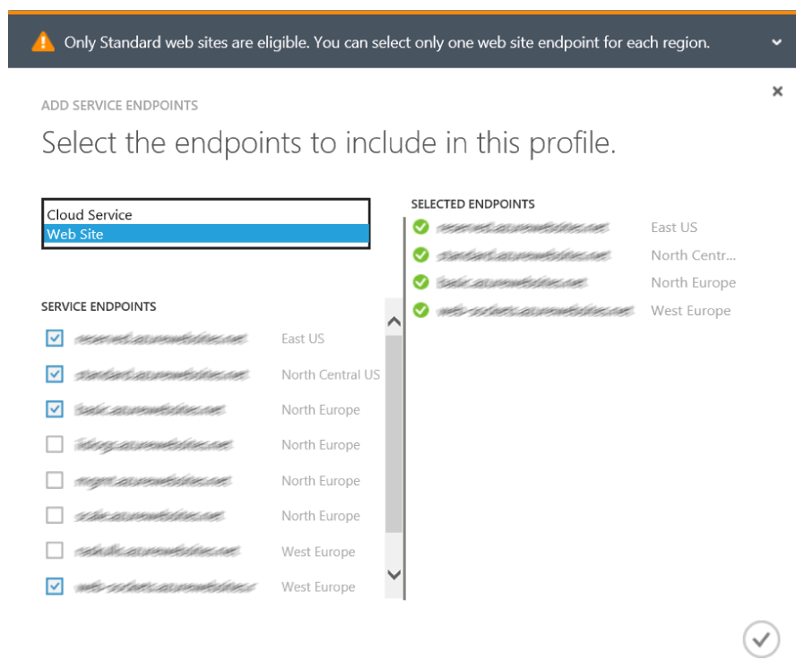
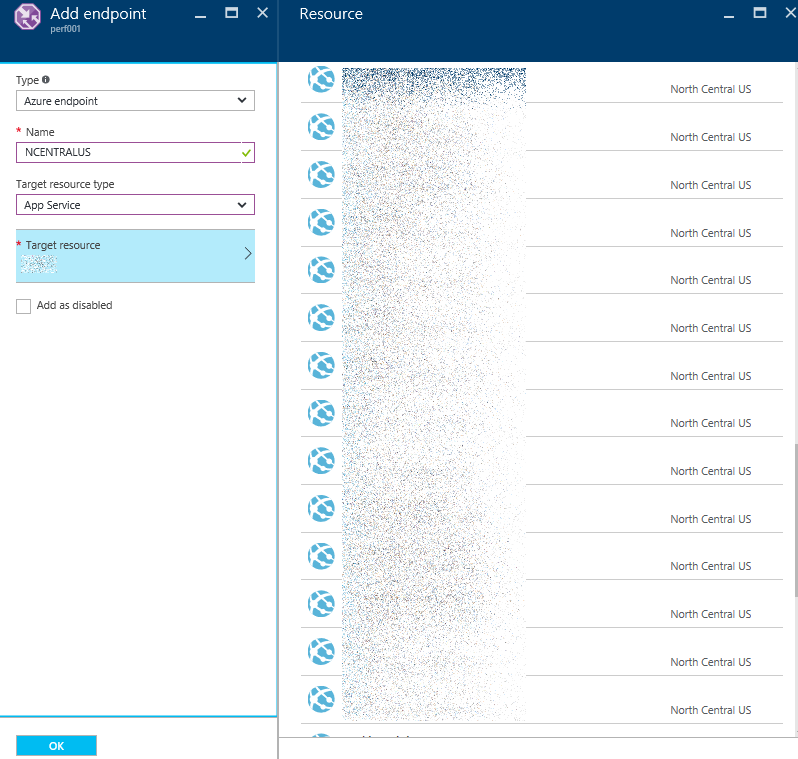
Once you click on the ADD ENDPOINTS link or the ADD button at the bottom middle, the window shown in Figure 4 is rendered. Notice that you can select either Cloud Service or Web Site. As this article is about Microsoft Azure Web App (Web Sites), select the Web App value from the drop-down. It is also important to state that only web sites running in Standard mode can be added as an endpoint.
Figure 4, Adding endpoints to traffic manager for Microsoft Azure Web Apps
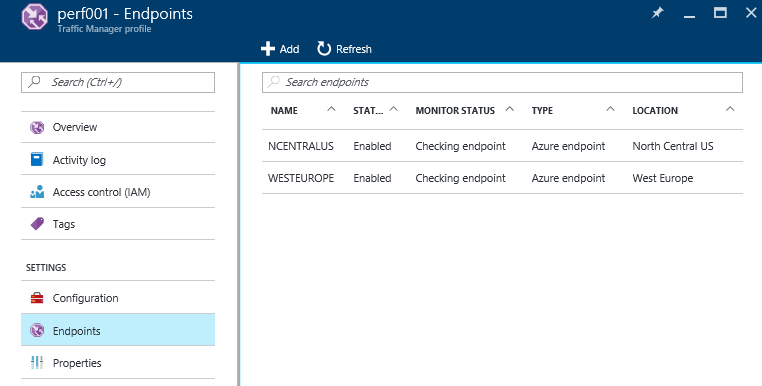
Notice that I have multiple Web Apps running in Standard mode. The point and what I am after here is load balancing and failover capabilities for my web site. Therefore, I’d expect the SELECTED ENDPOINTS to have the same code/same web site and that the web sites are located in different regions like East US, North Central US, North Europe, West Europe, etc… Configuring a traffic manager to balance load across different web sites or same web sites in the same region, would not be a recommended usage of traffic manager, IMO. Select the check mark to save the endpoints to the traffic manager. Once selected you are returned to the ENDPOINT page where the endpoints get verified, as shown in Figure 5.
Figure 5, validating traffic manager endpoints on Microsoft Azure Web Apps
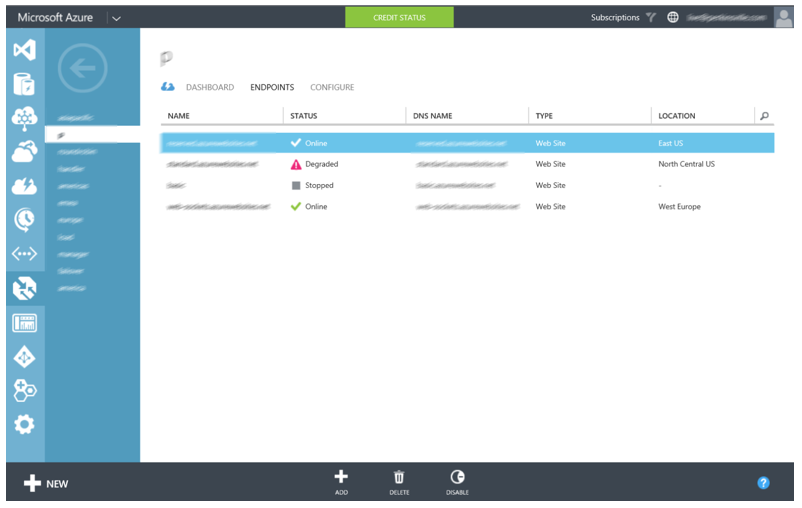
Once the endpoints validate correctly, the status is updated accordingly as shown via Figure 6.
Figure 6, traffic manager status on the Microsoft Azure Web App console
Notice that when the validation was completed I had one Web App in Stopped status and another in Degraded. For the Web App in Stopped, I checked the web site and saw it was indeed running, I recycled it and then disabled and re-enabled it which triggered another validation process which returned again as unsuccessful. What happened was that I had that Web App in Standard mode when I added it, as this is the only Web App mode which can be added, but then later scaled down to Basic. I scaled back to Standard and that got the traffic manager endpoint for that Web App running again. As for the Web App with a Degraded status, that one took a minute to figure out. It turned out that I had placed a URL Rewrite rule on the web site the forced all traffic to it to be HTTPS. Turns out the ENDPOINT didn’t like that.
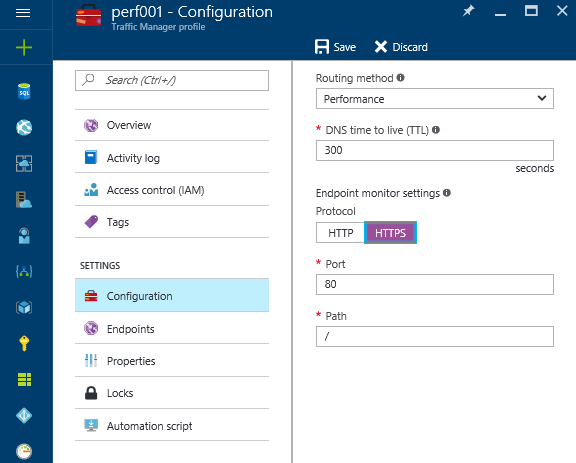
To resolve the issue I navigated to the CONFIGURE page and changed the PROTOCOL from HTTP to HTTPS as illustrated in Figure 7.
Figure 7, change traffic manager protocol with Microsoft Azure Web Apps
One point I’d like to make is the RELATIVE PATH AND FILE NAME text box. AFAIK a basic traffic manager endpoint configuration does something like a ping, just to see if the web site responds which might not be everything you need. What this textbox provides is the ability for you to write a page that checks, for example database connections, services responsiveness, transaction validation, ext… So write a page that performs those activities and place the file into the textbox. Then you can direct traffic when your web site is running nicely versus just being up.
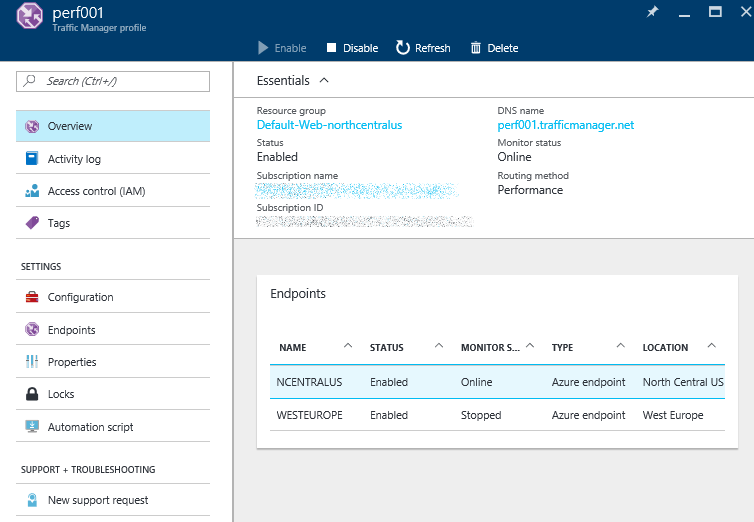
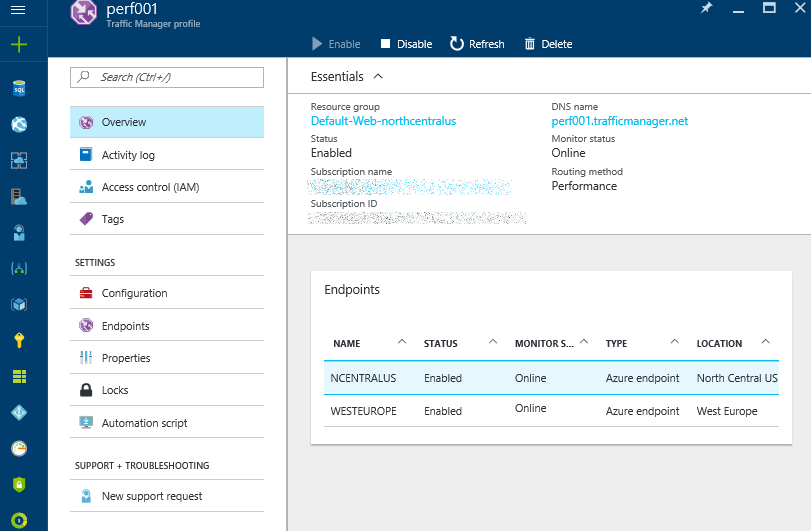
And once I solved all the small issues, the traffic manager is running and everything shows green and is working, as illustrated in Figure 8.
Figure 8, traffic manager configuration in Microsoft Azure Web Apps
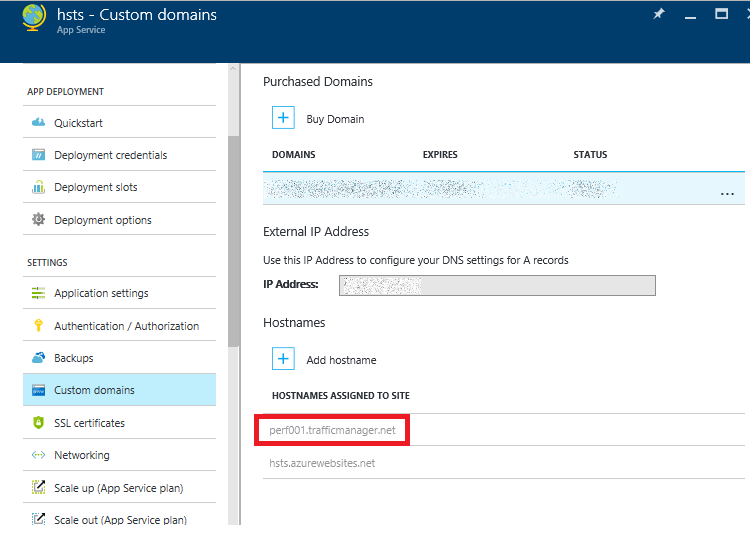
When a Web App is added to a traffic manager, a URL is mapped to the Web App which can be seen on the CONFIGURE tab for the traffic manager endpoint, as shown in Figure 9.
Figure 9, traffic manager domain name added to Microsoft Azure Web Apps
NOTE: It is possible to map your custom domain to the traffic manager domain, but that is outside the scope of this article. Perhaps I will write about that at some point later.
Comments
- Anonymous
June 21, 2014
The comment has been removed - Anonymous
June 22, 2014
@Seb, I have not tried this but there is a Windows Azure Powershell command called Add-AzureTrafficManagerEndpoint. You might try that to see if it supports this or not. The Azure Management Console renders only Azure websites at the moment as far as I could see. HTH - Anonymous
June 23, 2014
Thanks for the feedback. I didnt try it but looking at the specs it wont do this either."Specifies the location of the endpoint the cmdlet adds. This must be an Azure location."(msdn.microsoft.com/.../dn690257.aspx)Its pretty sad this is not supported. One reason is that your endpoint has to be a "standard" plan... If you could add a custom URL then you could simply add a free website and add it in this way. If thats the reason for not supporting custom urls this is even more sad!I am surprised that I seem to be the only one disappointed about this.


