WordPress Migration: Easy as A-B-C, 1-2-3

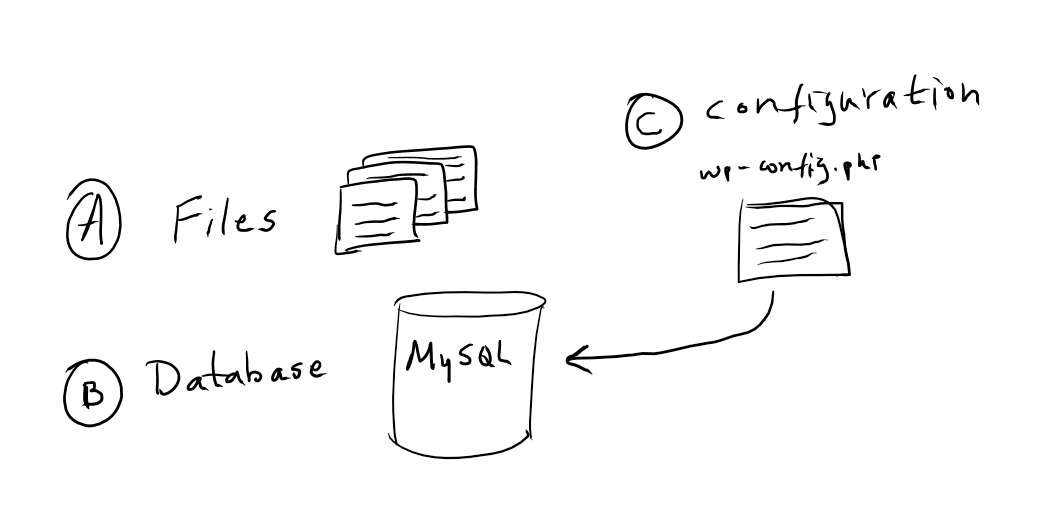
Fig 1. WordPress Migration Components
There are 3 steps to migrating a WordPress website to Azure App Service Web Apps.
- Copy WordPress files
- Migrate the MySQL Database
- Configure WordPress
Step 1. Copy WordPress files
Make a backup of the current WordPress website. Tools commonly used for this is FTP Software like FileZilla or WinSCP.
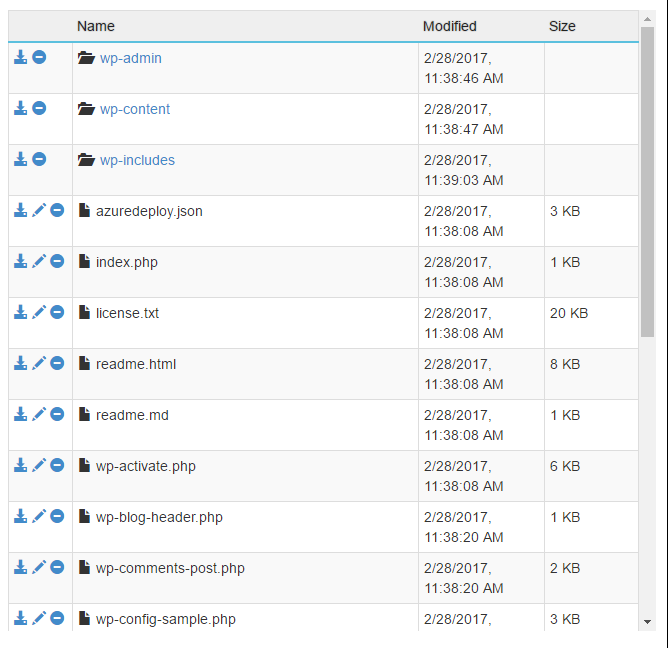
Sample WordPress Installation Folder:

Again, use FTP software or Kudu (https://<webappname>.scm.azurewebsites.net) to upload the files to your web app.
Step 2. Migrate the MySQL Database
If the DB is visible externally, you can use tools such as WP Buddy+ to migrate the MySQL contents. Other popular methods are MySQL Workbench, PHPMyAdmin or command-line in Kudu.
Step 3. Configure WordPress
Now that the contents and database have been migrated. The next step is to configure WordPress to talk to the new database. This is done in wp-config.php. Open this file and ensure the appropriate credentials are being used to communicate with the MySQL Database. Once the DB is working, use tools such as WordPress Buddy+ to update the HOME and SITE_URL. More on this here (see WordPress Tools).