Building a test claims-aware ASP.NET application and integrating it with ADFS 2.0 Security Token Service (STS)
We will need an ADFS (STS) in order to provide authentication services for our application.
Follow this link for instructions on setting up ADFS server.
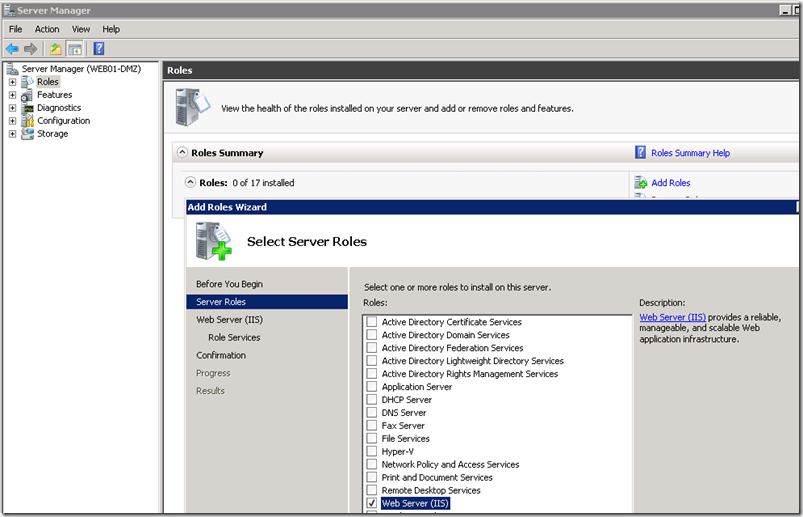
Install IIS on the application server
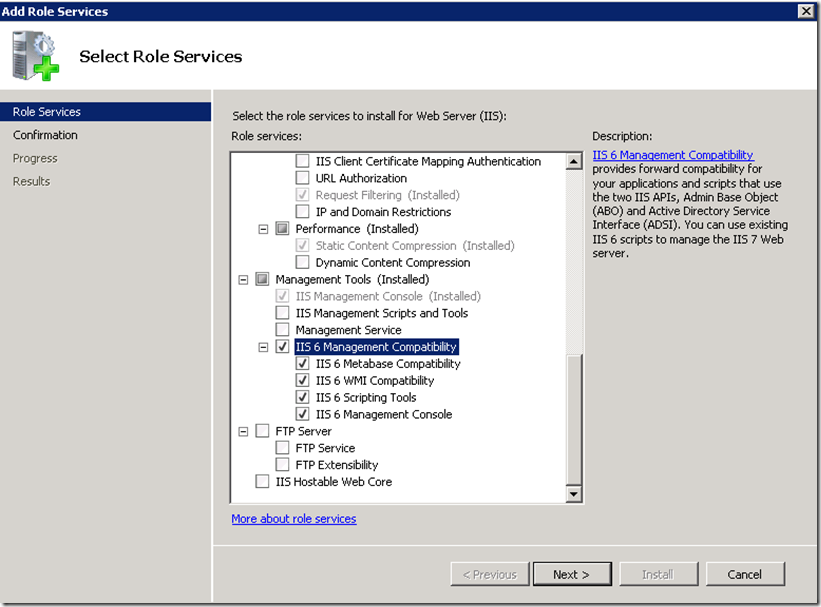
In addition to the defaults add ASP.NET and accept the required prerequisite services to be added.
Also select IIS 6 Management Compatibility required by Visual Studio for publishing sites to IIS.
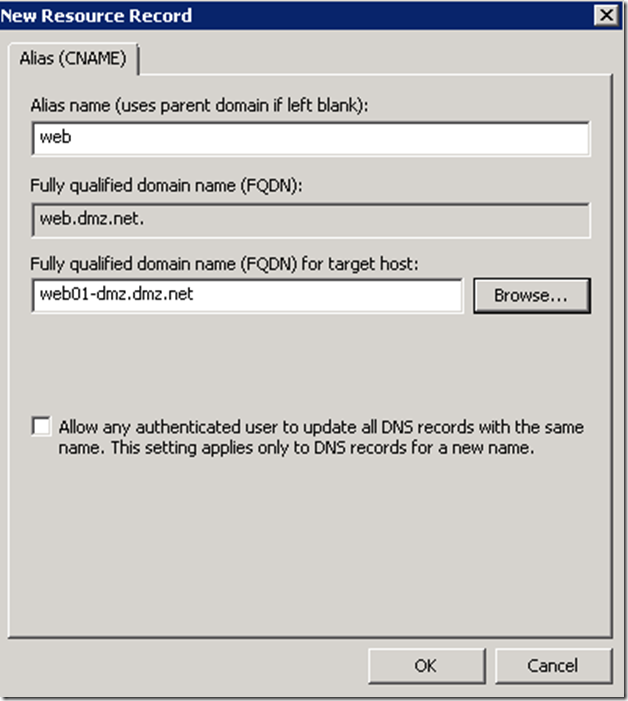
Create a DNS Alias for the Web Server host
In principal this is an optional step, since you could use the physical name of the server when requesting an SSL certificate for your application server. There are scenarios though when creating an alias might be required. For example if you are planning to publish this application through Unified Access Gateway you will need to ensure that the domain portion of the subject filed of the application server certificate matches that of the UAG trunk certificate. In general it is a good idea to leverage aliases as opposed physical names.
For more details on how to publish claims-aware applications via UAG, see this link
Request a certificate for the Application Web Server
Add HTTPS Binding on the Application Web Server
Install Visual Studio 2010 on the Application Web Server
Alternatively you could create an application from your workstation and publish it to the web server.
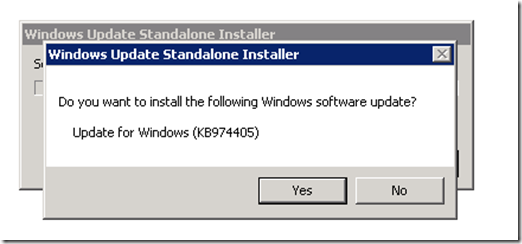
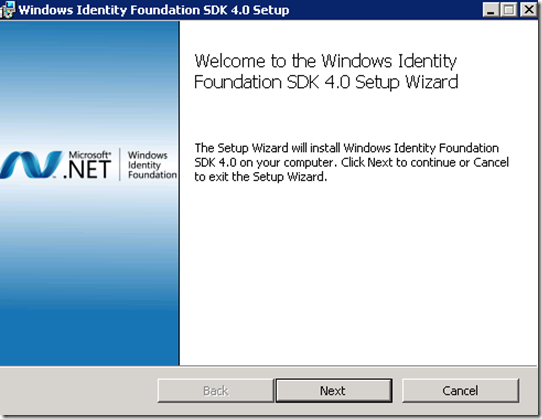
Install Windows Identity Foundation and Windows Identity Foundation SDK
Windows Identity Foundation needs to be installed on the application server. If you are developing from your workstation install this component there as well.
SDK only needs to be installed on the box where you do development.
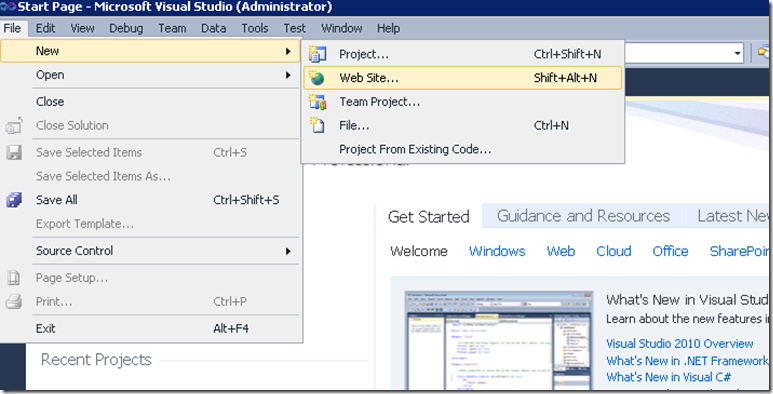
Create a test WIF Enabled ASP.NET Application
The Claims-aware ASP.NET Web Site Template is added by WIF SDK.
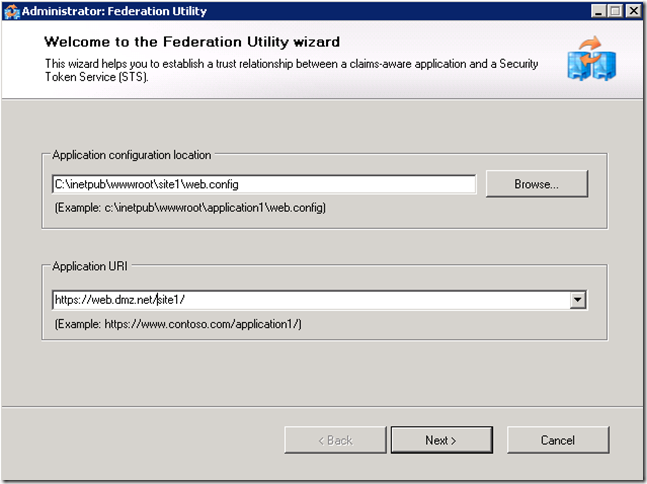
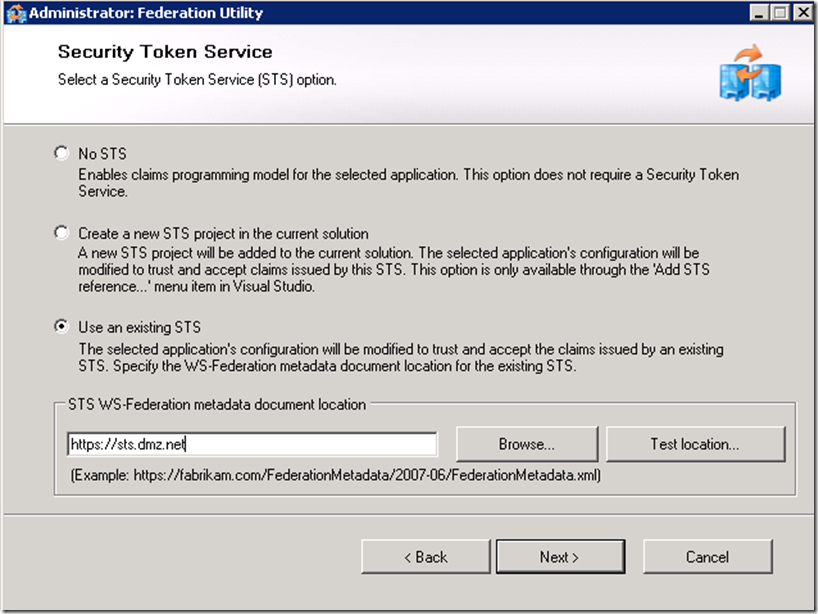
Setup a trust relationship from the application to the STS (ADFS) service by adding STS reference to the project.
It is important that the application URI matches what users will type to access the application as well as the subject filed of the certificate assigned to the IIS server.
If you don’t have ADFS Service installed and configured, see this link for instructions.
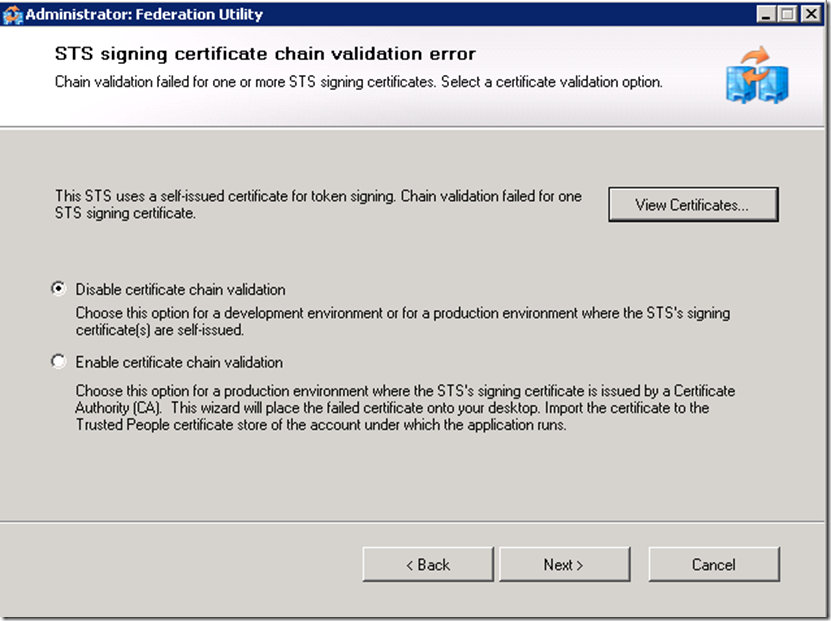
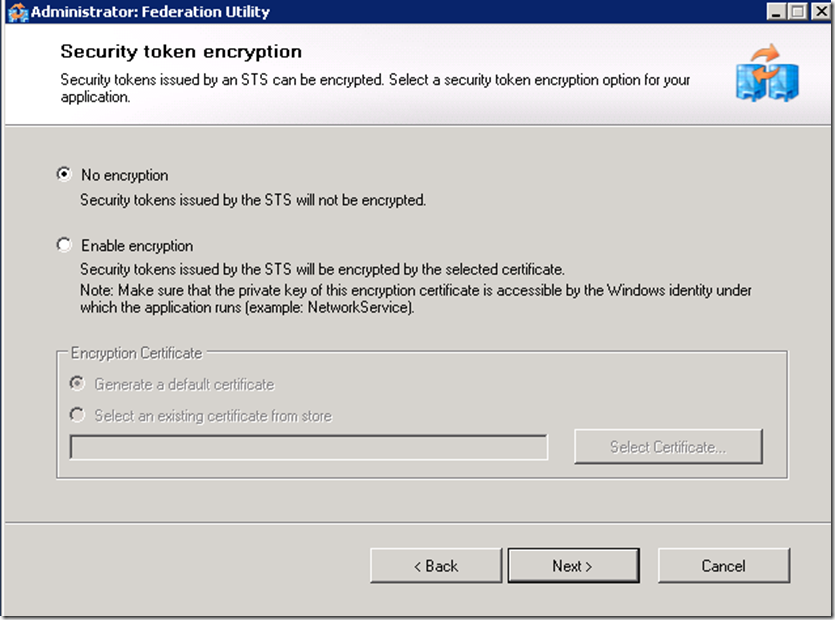
Disabling certificate validation and not enabling encryption options are only acceptable in a test environment.
For the chain validation to succeed you would need to ensure that CRL Distribution points of the signing CA of the SSL certificates are accessible by the ADFS server.
Build Web Site
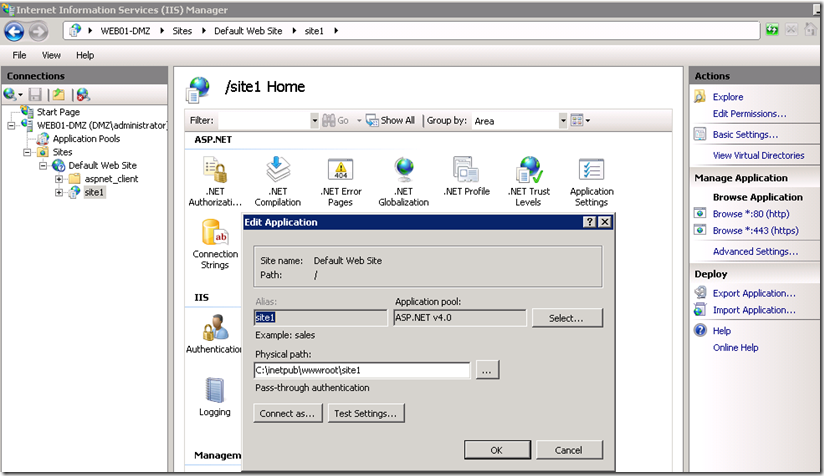
Change Application Pools Settings
Make sure that the .NET version utilized by the pool matches the Windows Identity Framework version you downloaded (in my case I am using WIF for .NET 4).
Load User Profile advanced setting needs to be set to TRUE in order for the Web Server to be able to perform cryptographic functions while communicating with the ADFS server.
Create Relying Party Trust on ADFS server for the test application
Click on Next and then Close to launch Claims Edit Dialog.
Click on Add Rule
The choice of claims on the screenshot is arbitrary, you could choose any other claims and map them to the corresponding AD LDAP attributes and they will be sent to the application in a SAML token.
Click on Finish and then Ok
Test authentication to the application
Before testing ensure that the client trusts and can check the CRL distribution points of the SSL certificates assigned to the web and ADFS servers. Alternatively you could disable the CRL check on the browser.
If the client is in the same forest as the ADFS Server and you would like to achieve SSO than add the domain space in which the Web and ADFS servers reside to the Local Intranet zone.
If everything worked properly you should expect to see something similar to the screenshot above.
