Using Azure DevOps for UI Testing
Important
Visual Studio App Center is scheduled for retirement on March 31, 2025. While you can continue to use Visual Studio App Center until it is fully retired, there are several recommended alternatives that you may consider migrating to.
This guide describes how to modify your existing Azure Pipelines build that creates an application binary (.apk or .ipa file) to add an App Center Test task that runs your test suite in App Center Test.
Azure Pipelines is available as part of Azure DevOps Services. Azure Pipelines helps you implement a build, test, and deployment pipeline for any app. For more information about Azure DevOps Services or Azure Pipelines, see Azure DevOps Documentation or Azure Pipelines, respectively.
The App Center Test task for Azure Pipelines lets you run your test suites in App Center Test. You can use Appium, XCUItest, Espresso, and Xamarin.UITest frameworks. Read more about the frameworks on the App Center Test Supported frameworks page.
Each framework has its own section in this guide, where you can read about the basic requirements for setting up an App Center Test task definition in Azure Pipelines.
General configuration steps
Before you start
You need the following before you can start testing,
- An Azure Pipelines build that creates your application binary (
.apkor.ipafile). - An active App Center Test account. You can activate a trial for App Center Test at App Center. First select your app and then select Test in the left-hand menu.
- Configure the pipeline to use Node 10.x.x. Read how to on the Azure DevOps documentation, the documentation is about Javascript but the principle applies here as well.
Azure Pipelines general configuration
Locate your Azure Pipelines project and open it for Edit. Click + to add a new task, then search for App center.

Click on Add next to the App Center Test task. On the left-hand side of the screen, click on the added Test with Visual Studio App Center task to select and modify it.
The App Center Test task is divided into sections.
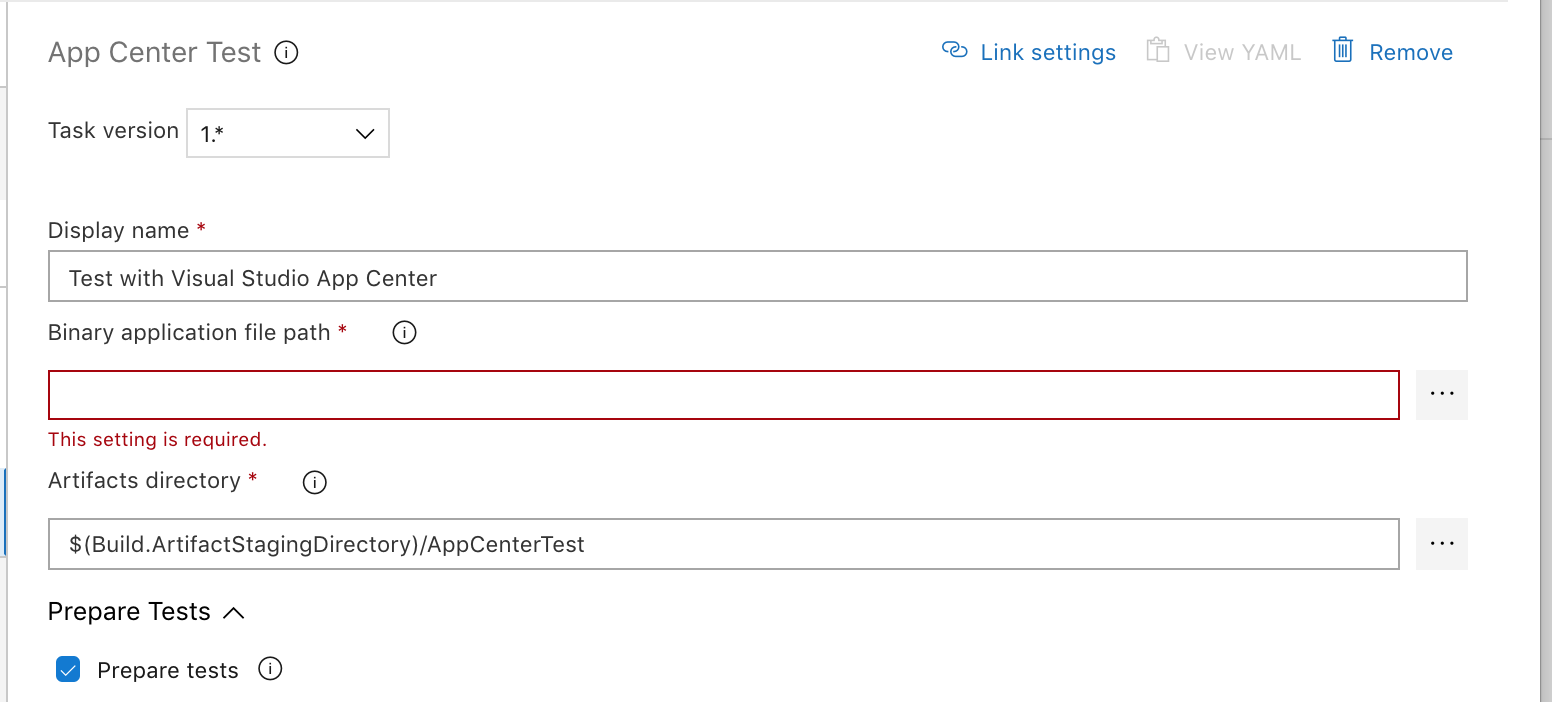
In the top section, insert the path to your app binary (.apk or .ipa) in the Binary application file path field.
Connecting to App Center Test
Sign in to App Center before using the service; there are two authentication methods available to you.
The first method uses an API token; to acquire your account's API token:
- Sign in to App Center and click the user settings icon in the upper-left corner of the App Center portal.
- In the menu that appears, select Account Settings.
- In the Settings panel, select API Tokens.
- Click the New API token button in the upper-right corner of the panel.
- Name the new API token - for instance, you can call it Azure DevOps. In the future, this name will help you identifying which service is using the service.
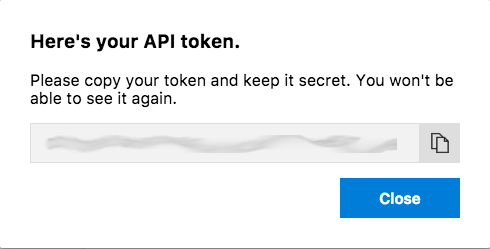
- Click Add new API token button. A pop-up displays the new API token; this pop-up is the only time App Center will display this token. Click the clipboard button to copy the API Token to the browser's clipboard. Save the API token somewhere (Azure Key Vault, for example) where you can securely reference it again later if needed.
With the API Token on the clipboard:
- Switch to your Azure DevOps Services window. In the App Center Connection field, in the Run section of the App Center Test task, click the Add button.
- Populate the form's Name field with an appropriate name for the connection (for example: App Center).
- Paste the App Center API Token into the API token field.
- Finish the set up by clicking close.
Make sure your newly created connection appears in the App Center Connection field.

The second method uses your App Center account credentials:
- Select Credentials from the Authentication Method dropdown menu.
- Populate the App Center Username and App Center Password fields with the credentials from your App Center account.
Note
Your App Center username is in your App Center account profile. If signing in using your Microsoft credentials, set up your account with a password or the task can't log in. You can set up a password in App Center.
Appium
- Before creating a test run, complete the steps at the Before you start section of this guide.
- Prepare your repository for App Center Test, Appium testing.
Azure Pipelines configuration for Appium
Start by adding the App Center Test task to the build definition as described earlier at Azure Pipelines general configuration.

In the Prepare Tests section, make sure the Prepare Tests checkbox is checked, then for Test Framework, select Appium Test Framework. Insert the path to the Appium test-classes, dependency-jars, and the pom.xml file into the Build directory field. These three artifacts are usually in the upload folder.
Now you can configure the test run. All the information you need is found by creating a new test under Test in App Center. Follow the instructions at Starting a Test Run. Leave the submit page (last page on test run setup) open, so you can use that information as you set up the App Center Test task.
appcenter test run appium --app "username/appname" --devices 209ed689
 --app-path pathToFile.apk --test-series "main" --locale "en_US"
  --build-dir target/upload
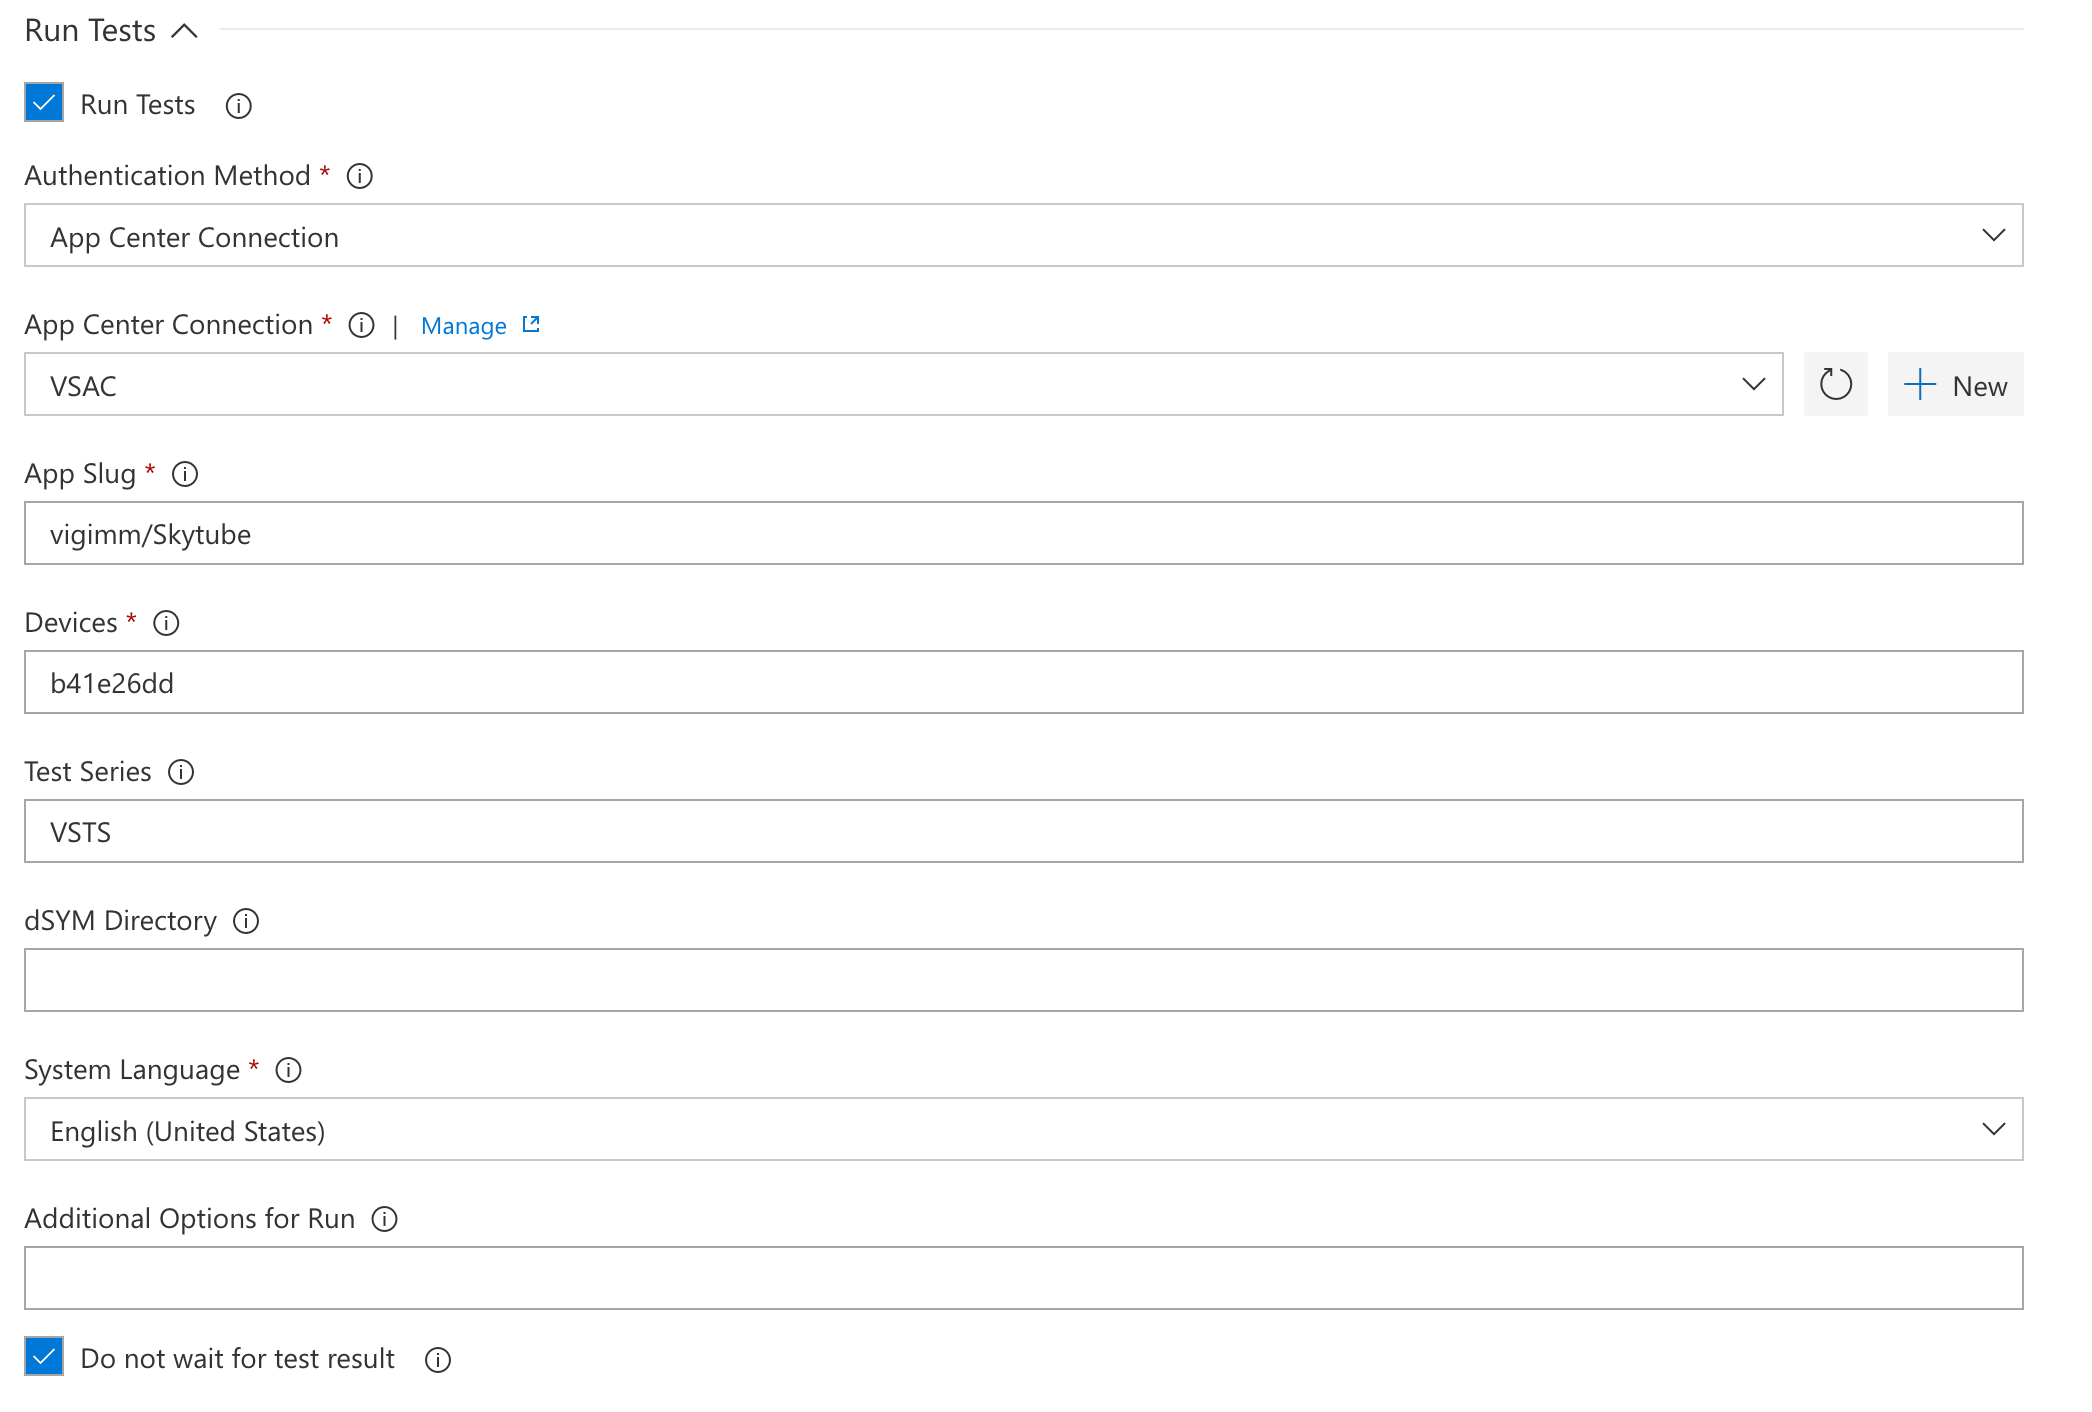
- On the submit page, the app slug is the
--appparameter. Insert that into the App Slug field. - The devices selection is the
--devicesparameter. Insert that into the Devices field. - Test series is a free text field - it can be anything. It's the
--test-seriesparameter. - System Language is a drop-down menu. If Other is selected, an Other Locale field appears where you can enter language and country code like this format:
en_US.
Save the configuration and you're all set to start the build and App Center Test run.
Espresso
- Before creating a test run, complete the steps at the Before you start section of this guide.
- Read how to prepare your repository for App Center Test, Espresso testing.
Azure Pipelines configuration for Espresso
Start by adding the App Center Test task to the build definition as described earlier at Azure Pipelines general configuration.
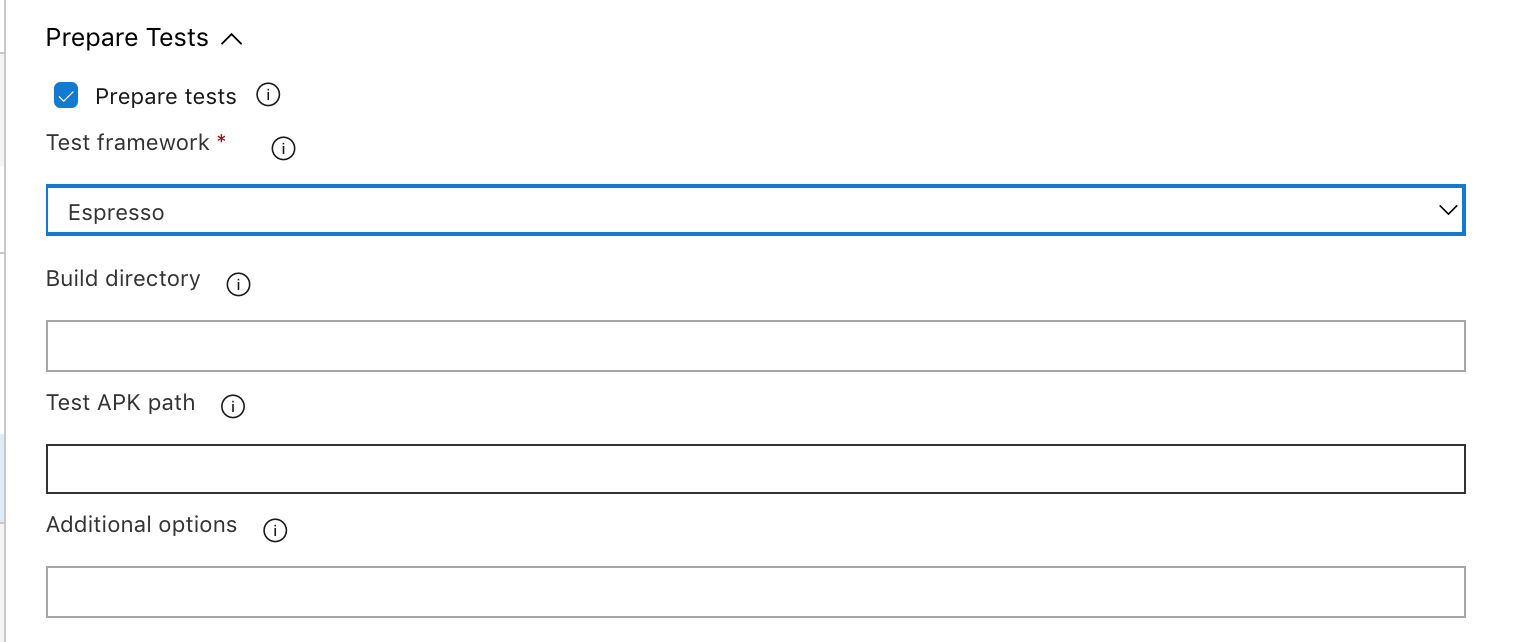
In the Prepare Tests section, make sure the Prepare Tests checkbox is checked, then for Test Framework, select Espresso Test Framework.
Now you can configure the test run. All the information you need is found by creating a new test under Test in App Center. Follow the instructions at Starting a Test Run. Leave the submit page (last page on test run setup) open, so you can use that information as you set up the App Center Test task.
appcenter test run espresso --app "username/appname" --devices 209ed689
 --app-path pathToFile.apk --test-series "main" --locale "en_US"
  --build-dir pathToEspressoBuildFolder

- On the submit page, the app slug is the
--appparameter. Insert that into the App Slug field. - The devices selection is the
--devicesparameter. Insert that into the Devices field. - Test series is a free text field - it can be anything. It's the
--test-seriesparameter. - System Language is a drop-down menu. If Other is selected, an Other Locale field appears where you can enter language and country code like this format:
en_US.
Save the configuration and you're all set to start the build and App Center Test run.
Xamarin.UITest
- Before creating a test run, complete the steps at the Before you start section of this guide.
- Read how to prepare your Xamarin.Android repository for App Center Test, Xamarin.UITest testing.
- Read how to prepare your Xamarin.iOS repository for App Center Test, Xamarin.UITest testing.
Azure Pipelines configuration for Xamarin.UITest
Start by adding the App Center Test task to the build definition as described earlier at Azure Pipelines general configuration.
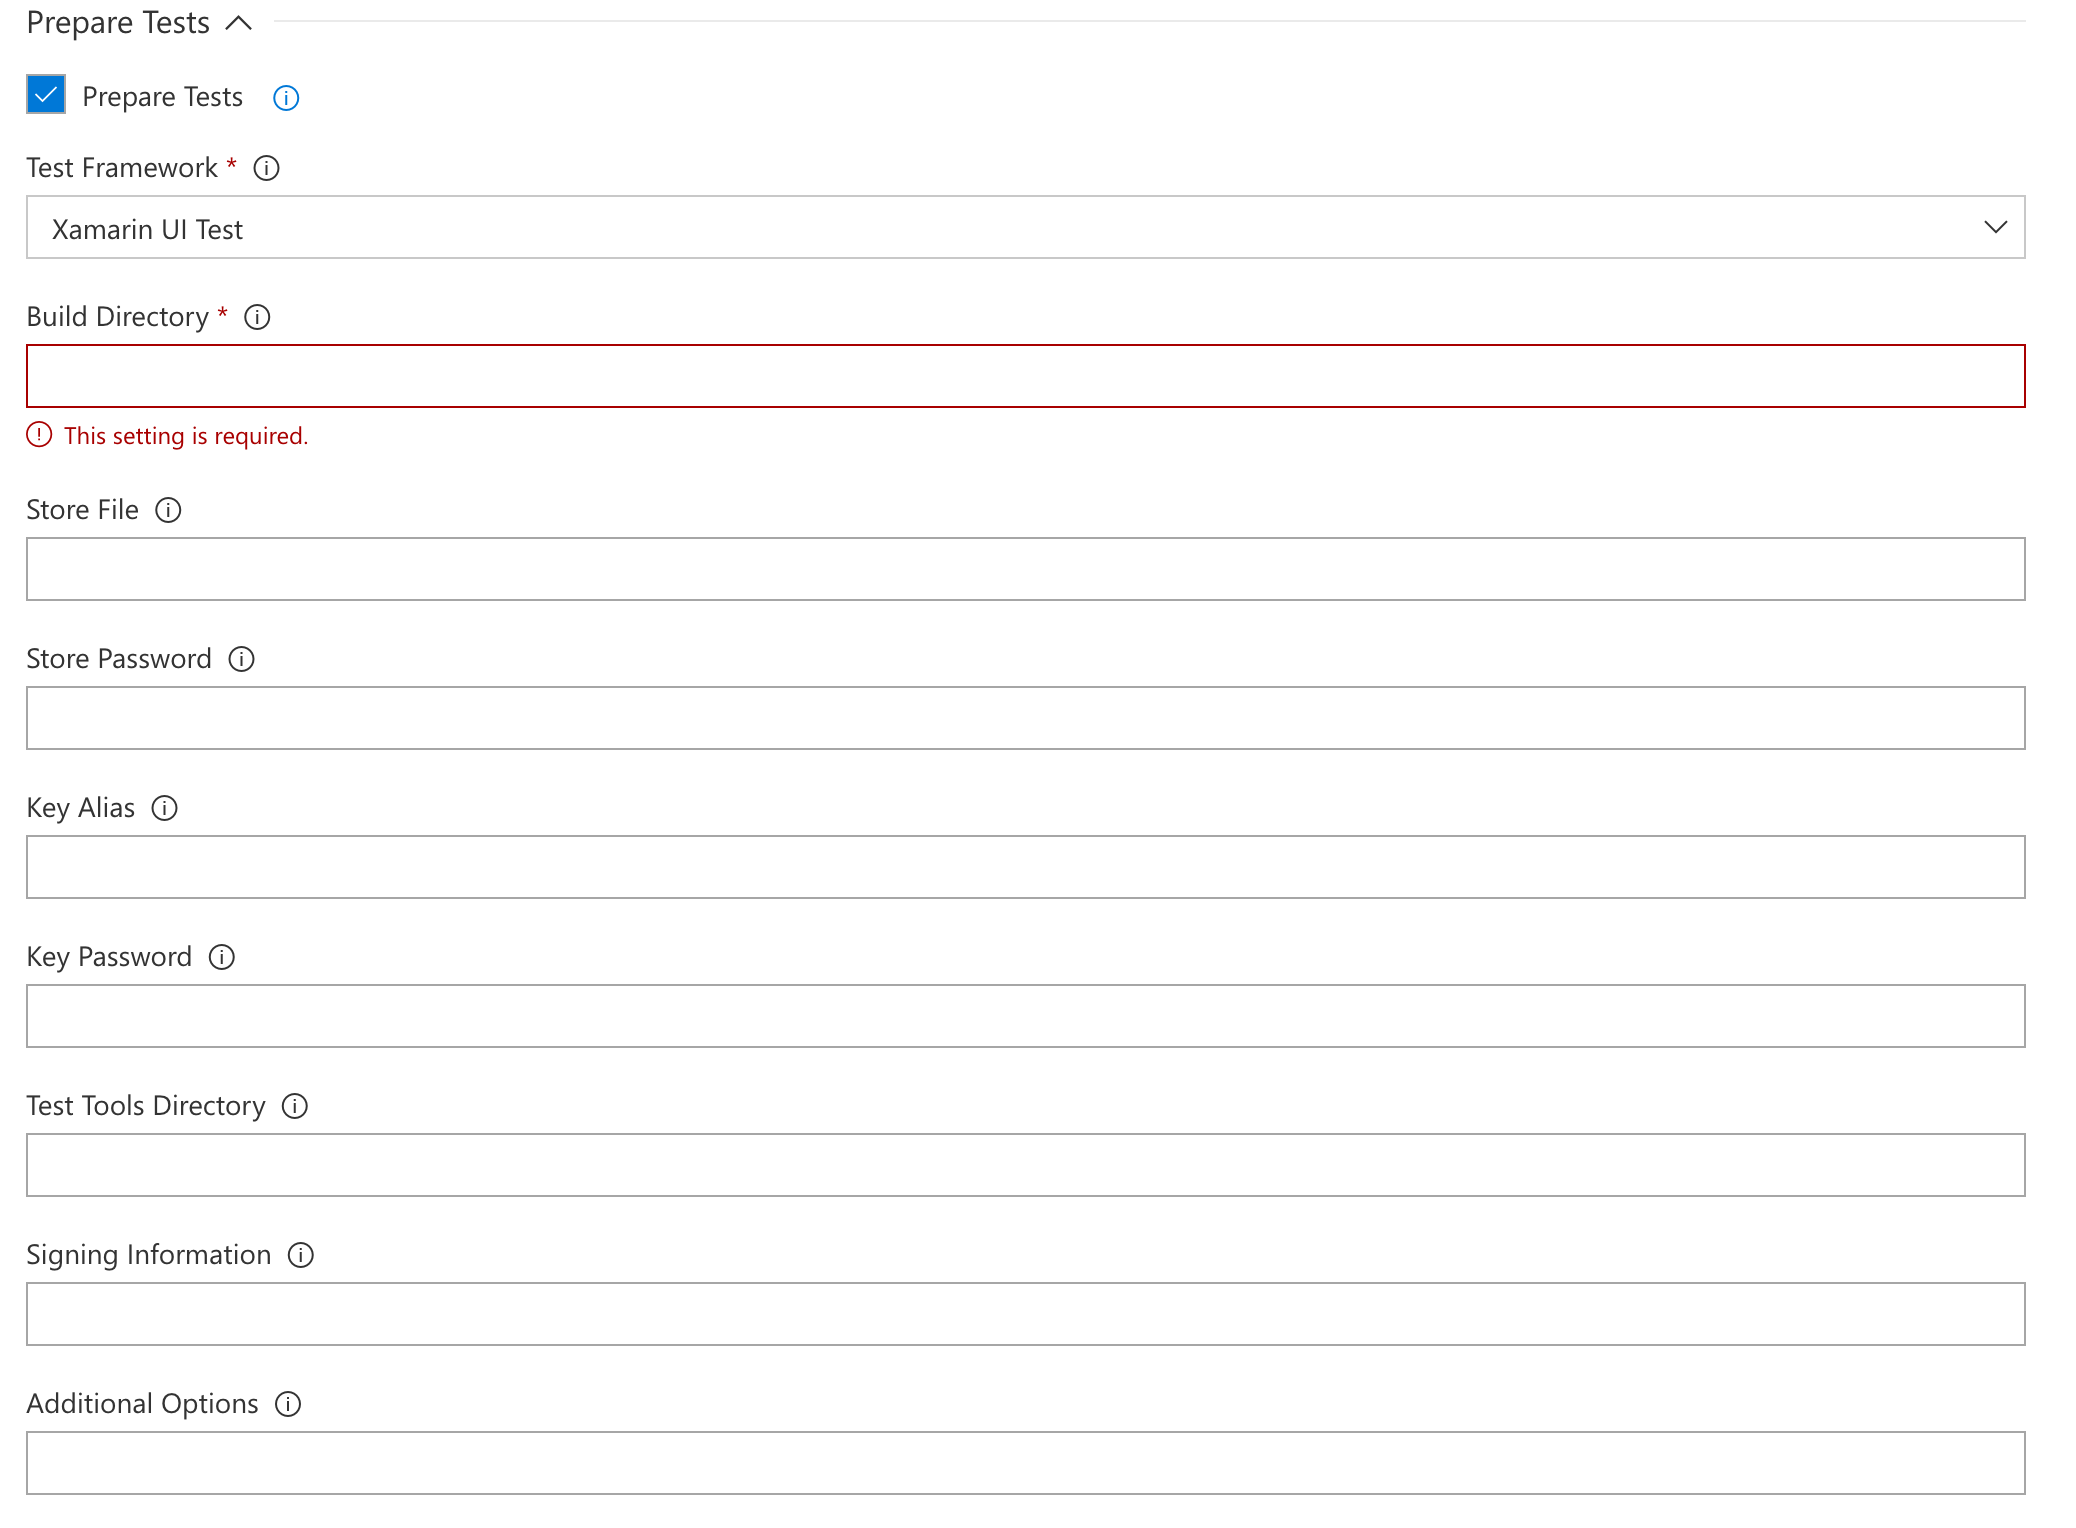
In the Prepare Tests section, make sure the Prepare Tests checkbox is checked and that Xamarin UI Test is selected under Test Framework. Insert the path to your build directory; in most cases the build folder is: <ProjectName>/bin/<configuration>.
Now you can configure the test run. All the information you need is found by creating a new test under Test in App Center. Follow the instructions at Starting a Test Run. Leave the submit page (last page on test run setup) open, so you can use that information as you set up the App Center Test task.
appcenter test run uitest --app "username/appname" --devices 209ed689
 --app-path pathToFile.apk --test-series "main" --locale "en_US"
  --build-dir pathTUITestBuildDir

- On the submit page, the app slug is the
--appparameter. Insert that into the App Slug field. - The devices selection is the
--devicesparameter. Insert that into the Devices field. - Test series is a free text field - it can be anything. It's the
--test-seriesparameter. - System Language is a drop-down menu. If Other is selected, an Other Locale field appears where you can enter language and country code like this format:
en_US.
Save the configuration and you're all set to start the build and App Center Test run.
XCUITest
- Before creating a test run, complete the steps at the Before you start section of this guide.
- Read how to prepare your repository for App Center Test, XCUITest testing.
Note
In your pipeline, before the App Center Test task, you'll need an Xcode task step with an action of build-for-testing to build the test runner app needed for testing. In that task, under Arguments in the Advanced section, specify a derived data path, typically using -derivedDataPath DerivedData. You'll also need an .ipa file for your application. You can build the .ipa file in the same Xcode build-for-testing task by checking the Create app package option, or in a separate Xcode build step or in a Bash script step.
Azure Pipelines configuration for XCUITest
Start by adding the App Center Test task to the build definition as described earlier at Azure Pipelines general configuration.
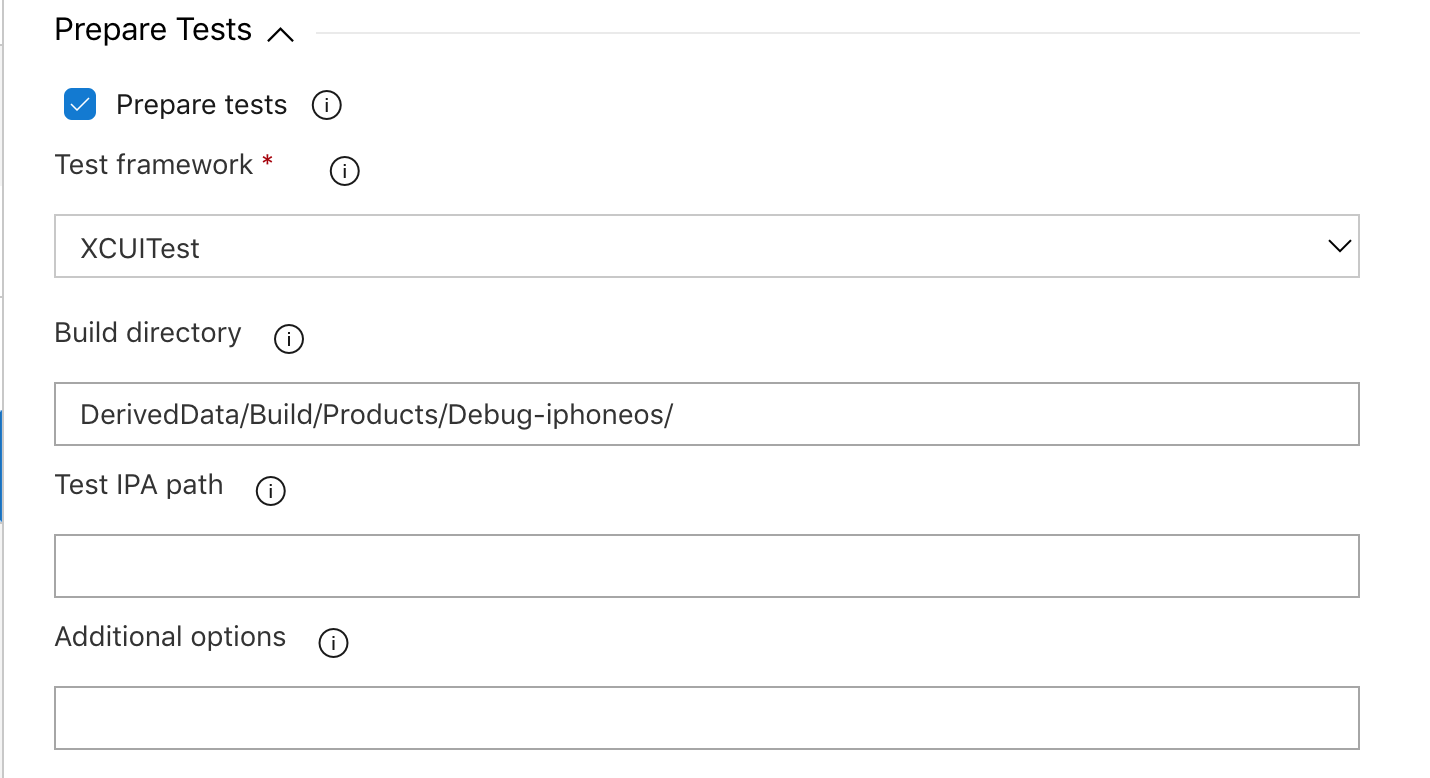
In the Prepare Tests section, make sure the Prepare Tests checkbox is checked and that XCUITest is selected under Test Framework. Insert the path to your build directory from the Xcode build-for-testing step. Typically, the build folder is: DerivedData/Build/Products/Debug-iphoneos/.
Now you can configure the test run. All the information you need is found by creating a new test under Test in App Center. Follow the instructions at Starting a Test Run. Leave the submit page (last page on test run setup) open, so you can use that information as you set up the App Center Test task.
appcenter test run xcuitest --app "username/appname" --devices 209ed689 --test-series "main" --locale "en_US" --build-dir pathToXCUItestBuildFolder

- On the submit page, the app slug is the
--appparameter. Insert that into the App Slug field. - The devices selection is the
--devicesparameter. Insert that into the Devices field. - Test series is a free text field - it can be anything. It's the
--test-seriesparameter. - System Language is a drop-down menu. If Other is selected, an Other Locale field appears where you can enter language and country code like this format:
en_US.
Save the configuration and you're all set to start the build and App Center Test run.