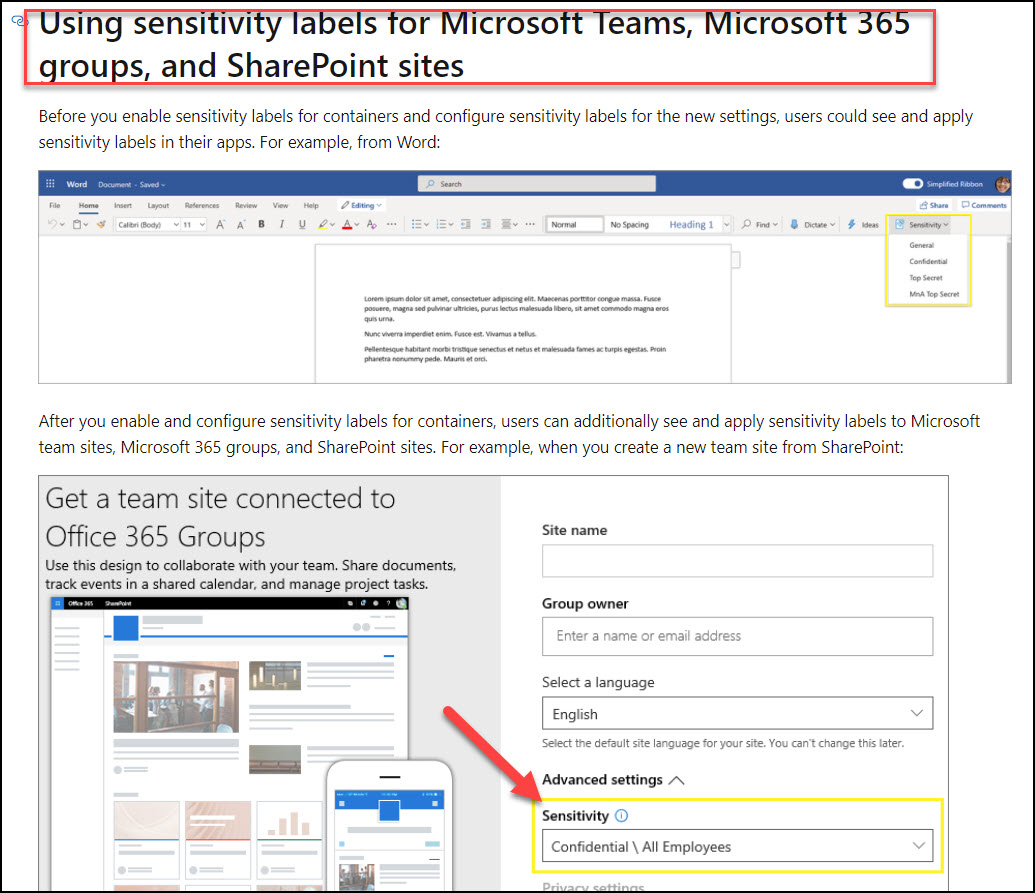
Here are the steps to enable sensitivity feature for SharePoint Sites:
1. Create sensitive labels at tenant level.
a. Log on to the Compliance Center as a Global Administrator or other user accounts with enough privilege.
b. Navigate to Solutions > Catalog > Information protection > click "View" > click "Open solution", then create sensitivity labels on the Information protection page.
2. Enable sensitivity label support using PowerShell.
a. Execute the following cmdlets in order:
#If this cmdlet returns error, run "Uninstall-Module AzureAD" first
Install-Module -Name AzureADPreview`

Import-Module AzureADPreview
Connect-AzureAD
b. Create group settings at the directory level (Skip to the next step if you have one already):
# Returns the list of all settings templates
Get-AzureADDirectorySettingTemplate

# Use the Group.Unified template
$TemplateId = (Get-AzureADDirectorySettingTemplate | where { $_.DisplayName -eq "Group.Unified" }).Id
$Template = Get-AzureADDirectorySettingTemplate | where -Property Id -Value $TemplateId -EQ

# Create a new settings object based on that template
$Setting = $Template.CreateDirectorySetting()

# Update the settings object with a new value
$Setting["EnableMIPLabels"] = "True"

# Apply the setting
New-AzureADDirectorySetting -DirectorySetting $Setting
c. Enable sensitivity label support with existing group settings:
# Fetch the current group settings for the Azure AD organization
$Setting = Get-AzureADDirectorySetting -Id (Get-AzureADDirectorySetting | where -Property DisplayName -Value "Group.Unified" -EQ).id

# Enable sensitivity label support
$Setting["EnableMIPLabels"] = "True"

# Save the changes and apply the settings
Set-AzureADDirectorySetting -Id $Setting.Id -DirectorySetting $Setting
d. Synchronize your sensitivity labels to Azure AD:
Import-Module ExchangeOnlineManagement

$UserCredential.(Get-Credential)
$Session = New-PSSession -ConfigurationName Microsoft.Exchange -ConnectionUri "https://ps.compliance.protection.outlook.com/powershell-liveid/" -Credential $UserCredential -Authentication Basic -AllowRedirection

Import-PSSession $Session -DisableNameChecking

Execute-AzureAdLabelSync
Reference: Assign sensitivity labels to Microsoft 365 groups in Azure Active Directory.
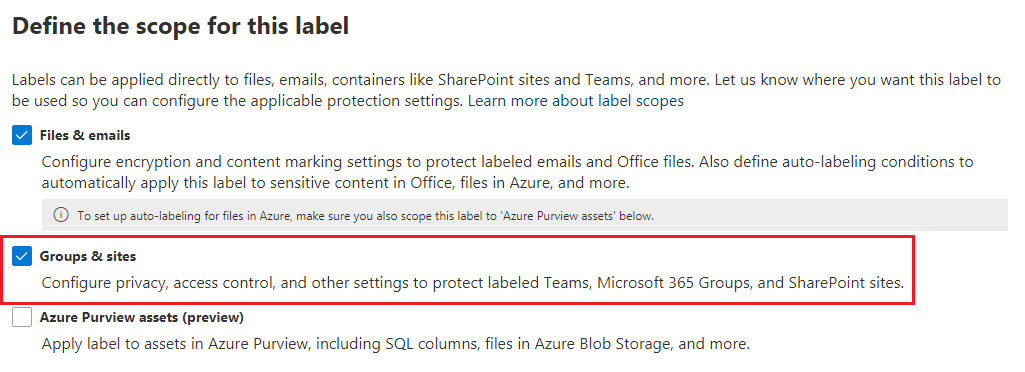
3. Now you can modify the sensitive label to apply to “Groups & sites” under "Define the scope for this label". Then define what policies or settings you want to apply to the sensitive labels.

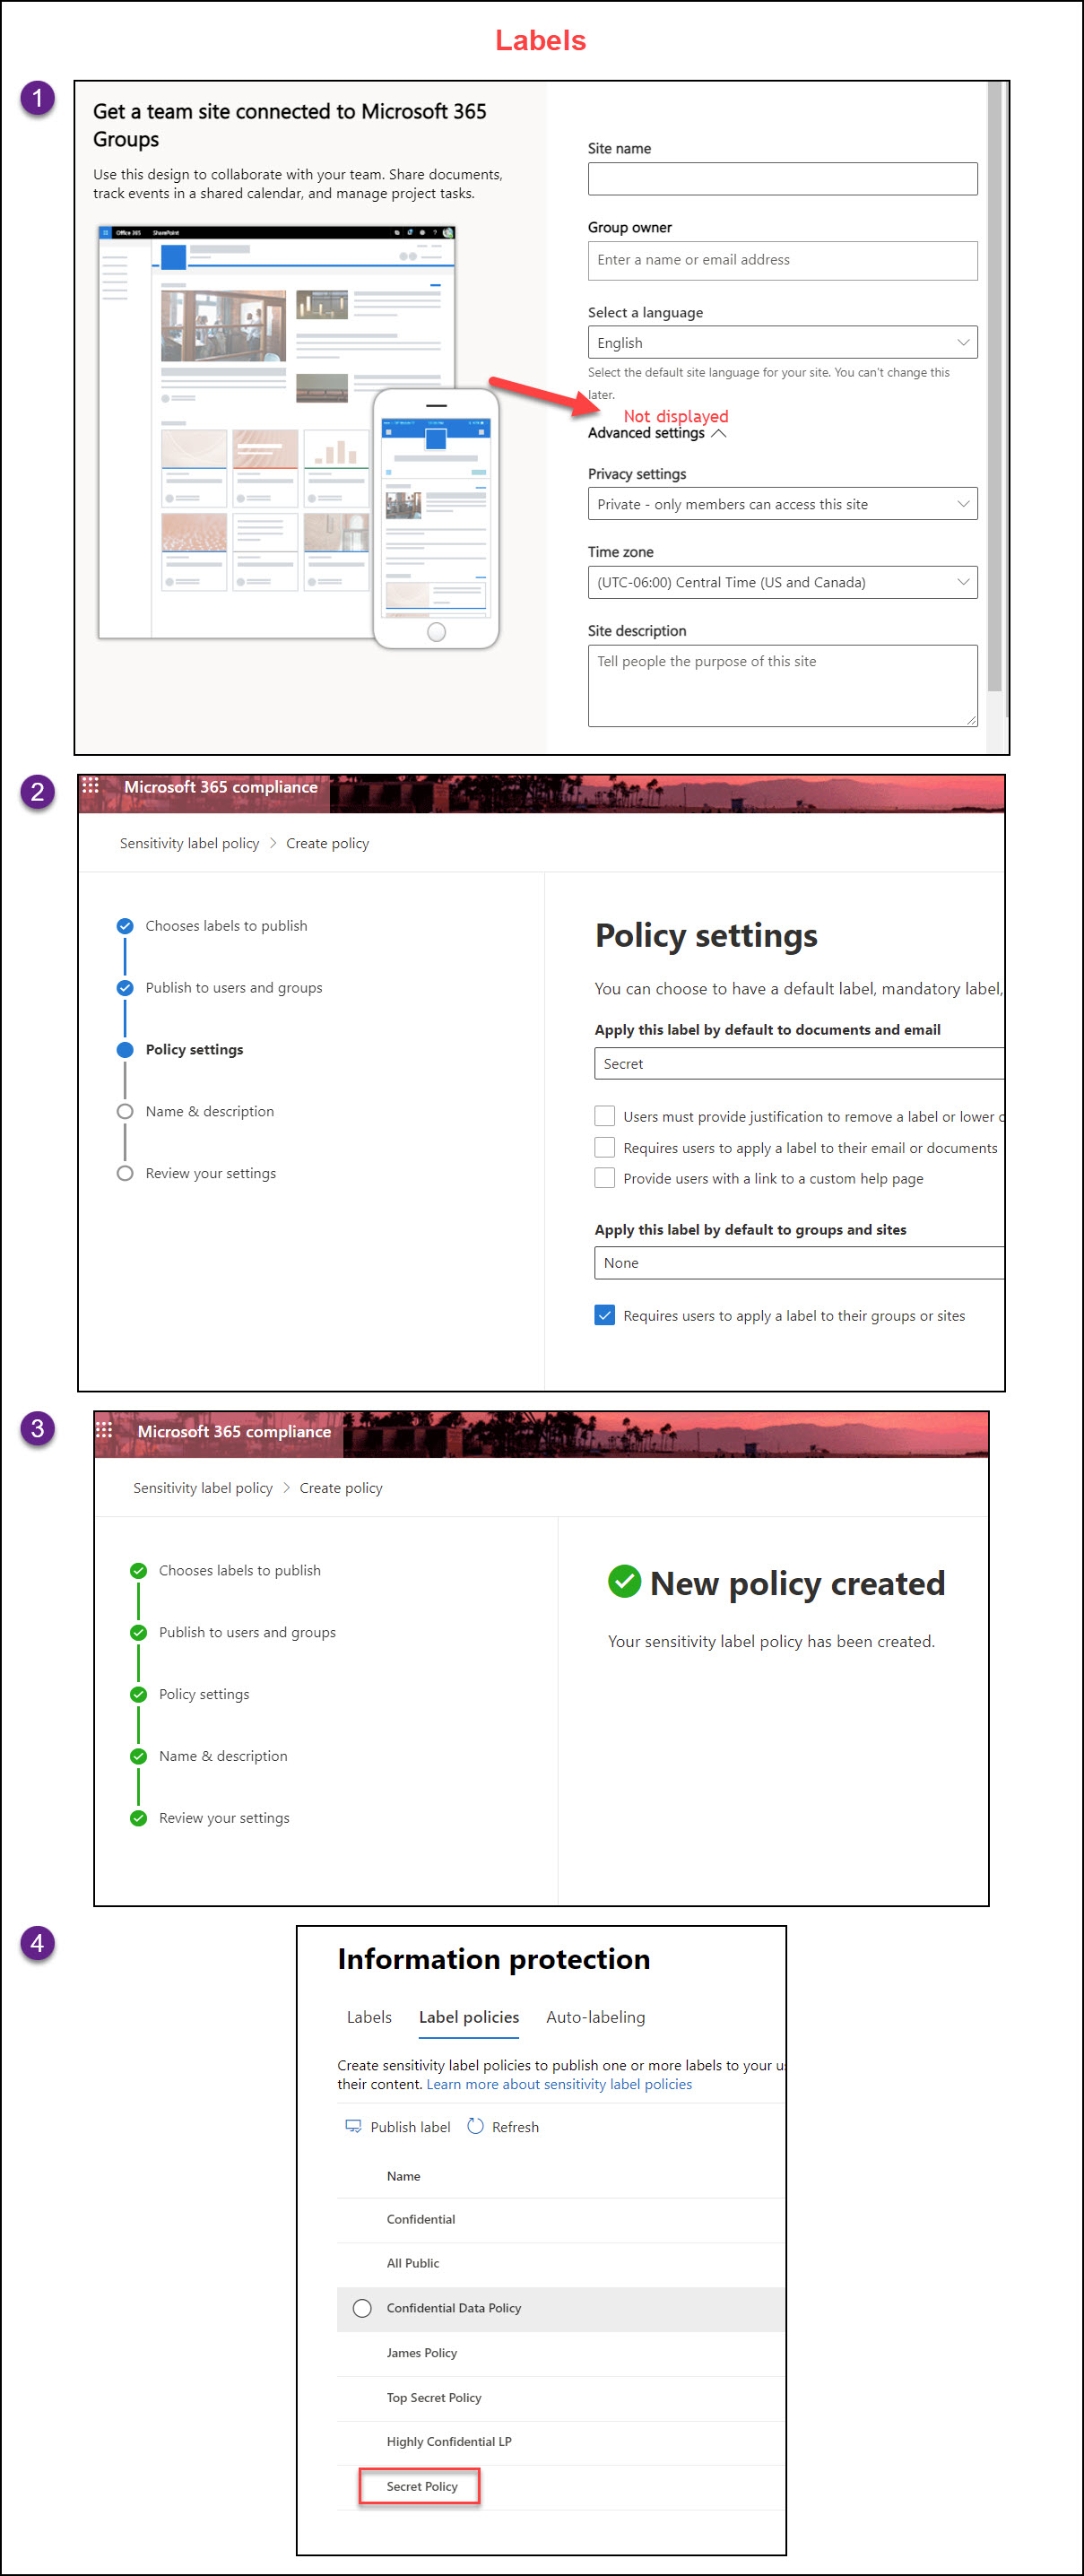
Remember to “Pulish labels” after you create or modify the labels.
Note:
When a new sensitivity label is created and published, it is visible for users in teams, groups, and sites within 1 hour.
However, if you modify an existing label, allow up to 24 hours.
Additional reference on Sensitivity label management.
If an Answer is helpful, please click "Accept Answer" and upvote it.
**Note: Please follow the steps in our documentation to enable e-mail notifications if you want to receive the related email notification for this thread. **


