Use the prediction model in Power Apps
This article takes you through the process of creating a model-driven app that can sort your rows by the probability value in the AI model output.
Note
For more information about model-driven apps, see What are model-driven apps in Power Apps?
Sign in to Power Apps.
Select Apps from the pane on the left.
Select New app > Model-driven from the menu at the top.
On the Create a New App screen, complete the fields, and then select Done.
On the App Designer screen, do the following:
- Create a view of your table that contains the predicted columns from the prediction model output.
- Add the view to the site map.
On the Components tab, select Entities, select your table, and then select Back.
Select Save at the top of the screen so that you don't lose your progress when you create a view.
Under Entity view, select Views, and then on the Components tab, select Create New.
On the Components tab, select Column Attributes – Primary Entity, and then select the columns generated by prediction output.
Select Save And Close, give your view a name, and then select the view you created.
Select Save again.
Select the pencil icon next to Site Map and rename New Group appropriately.
Select New Subarea and select Entity as the Type, and then select your table from the Entity drop-down menu.
Select Save And Close, and then select Publish.
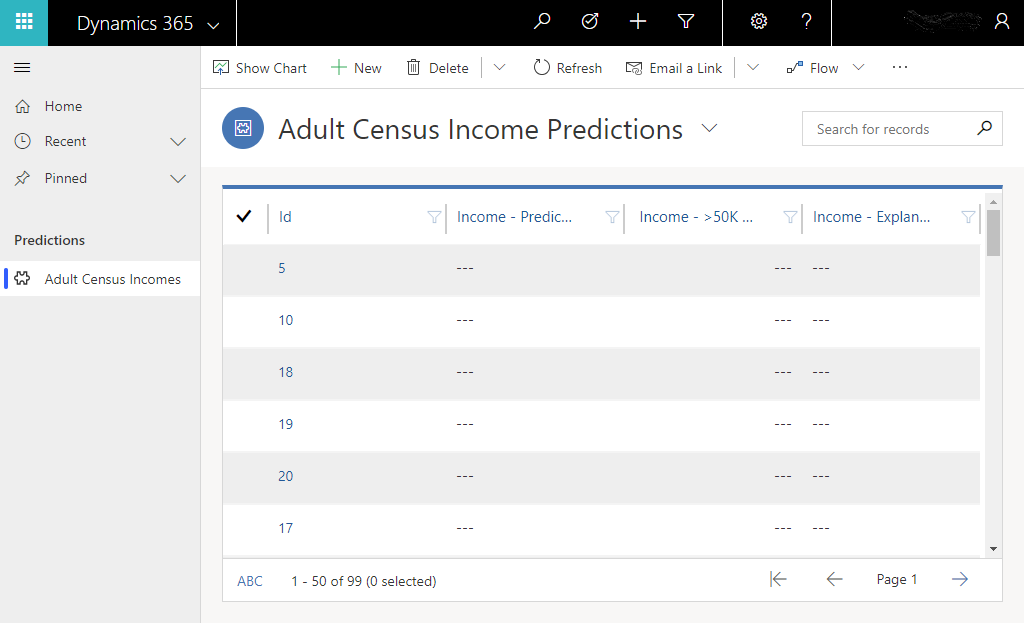
Select Play. Your output should look something like the following image.

Congratulations, you've created your first model-driven app that uses an AI Builder prediction model.