QuickStart: Link to existing Datadog organization
In this quickstart, you link to an existing organization of Datadog. You can either create a new Datadog organization or link to an existing Datadog organization.
Prerequisites
Before creating your first instance of Datadog, configure your environment. These steps must be completed before continuing with the next steps in this quickstart.
Find offer
Use the Azure portal to find Datadog.
Go to the Azure portal and sign in.
If you've visited the Marketplace in a recent session, select the icon from the available options. Otherwise, search for Marketplace.
In the Marketplace, search for Datadog - An Azure Native ISV Service.
In the plan overview screen, select Set up + subscribe.
Link to existing Datadog organization
The portal displays a selection asking whether you would like to create a Datadog organization or link Azure subscription to an existing Datadog organization.
If you're linking to an existing Datadog organization, select Create under the Link Azure subscription to an existing Datadog organization
You can link your new Datadog resource in Azure to an existing Datadog organization in US3.
The portal displays the Create a Datadog resource pane.
Create a Datadog resource
The Create a Datadog resource pane opens to the Basics tab by default.

Basics tab
The Basics tab has three sections:
- Project details
- Azure resource details
- Datadog organization details
There are required fields in each section that you need to fill out.
Enter the values for each required setting under Project details.
Setting Action Subscription Select a subscription from your existing subscriptions. Resource group Use an existing resource group or create a new one. Enter the values for each required setting under Resource details.
Setting Action Resource name Specify a unique name for the resource. Location Select the region where you want to enable this service and its child resources to be located. Enter the values for each required setting under Datadog organization details.
Select Link to Datadog organization. The link opens a Datadog authentication window. Sign in to Datadog.
By default, Azure links your current Datadog organization to your Datadog resource. If you would like to link to a different organization, select the appropriate organization in the authentication window.
Select Next: Metrics and logs to configure metrics and logs.
Note
If the subscription is already linked to an organization through a Datadog resource, an attempt to link the subscription to the same organization through a different Datadog resource would be blocked. It's blocked to avoid scenarios where duplicate logs and metrics get shipped to the same organization for the same subscription.
Metrics and logs tab
Use Azure resource tags to configure which metrics and logs are sent to Datadog. You can include or exclude metrics and logs for specific resources.
Enter the names and values for each Action listed under Metrics and Logs.
Once you complete the configuration for metrics and logs, select Next: Security.
Security tab
To enable Datadog Cloud Security Posture management, select the checkbox.
Select Single sign-on.
Single sign-on tab (optional)
If your organization uses Microsoft Entra ID as its identity provider, you can establish single sign-on from the Azure portal to Datadog.
To establish single sign-on through Microsoft Entra ID, select the checkbox.
The Azure portal retrieves the appropriate Datadog application from Microsoft Entra ID, which matches the Enterprise app you provided previously.
Select the Datadog app name.
Select Next: Tags.
Tags tab (optional)
If you wish, you can optionally create tags resource, then select the Next: Review + create button at the bottom of the page.
Select Next: Review + create.
Review + create tab
If the review identifies errors, a red dot appears next each section where errors exist. Fields with errors are highlighted in red.
Open each section with errors and fix the errors.
Select the Review + create button again.
Select the Create button.
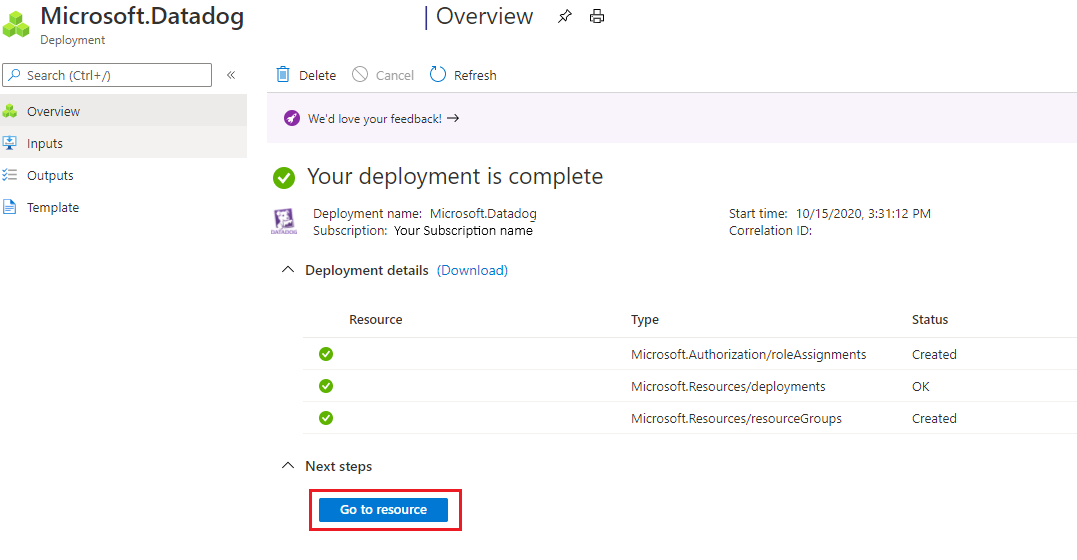
Once the resource is created, select Go to Resource to navigate to the Datadog resource.

Next steps
Get started with Datadog – An Azure Native ISV Service on