Add Azure SQL Managed Instance (MI) database (DB) CDC as source in Real-Time hub
This article describes how to add Azure SQL Managed Instance CDC as an event source in Fabric Real-Time hub.
The Azure SQL Managed Instance CDC source connector allows you to capture a snapshot of the current data in a SQL Managed Instance database. The connector then monitors and records any future row-level changes to this data. Once the changes are captured in the eventstream, you can process this CDC data in real-time and send it to different destinations within Fabric for further processing or analysis.
Prerequisites
- Access to a workspace in the Fabric capacity license mode (or) the Trial license mode with Contributor or higher permissions.
- A running Azure SQL Managed Instance database.
- Your Azure SQL Managed Instance must enable public endpoint and not be behind a firewall or secured in a virtual network.
- CDC enabled in your Azure SQL Managed Instance by running the stored procedure
sys.sp_cdc_enable_db. For details, see Enable and disable change data capture.
Enable public endpoint in your Azure SQL managed instance
Go to the Azure portal, open your Azure SQL managed instance, select Networking, and enable public endpoint.
Enable CDC in your Azure SQL managed instance
Enable CDC for the database.
EXEC sys.sp_cdc_enable_db;Enable CDC for a table using a gating role option. In this example,
MyTableis the name of the SQL table.EXEC sys.sp_cdc_enable_table @source_schema = N'dbo', @source_name = N'MyTable', @role_name = NULL GOAfter the query executes successfully, you enabled CDC in your Azure SQL managed instance.
Get events from Azure SQL Managed Instance (CDC)
You can get events from an Azure SQL Managed Instance (MI) Database (DB) CDC into Real-Time hub in one of the ways:
Data sources page
Sign in to Microsoft Fabric.
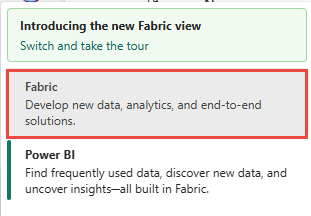
If you see Power BI at the bottom-left of the page, switch to the Fabric workload by selecting Power BI and then by selecting Fabric.

Select Real-Time on the left navigation bar.

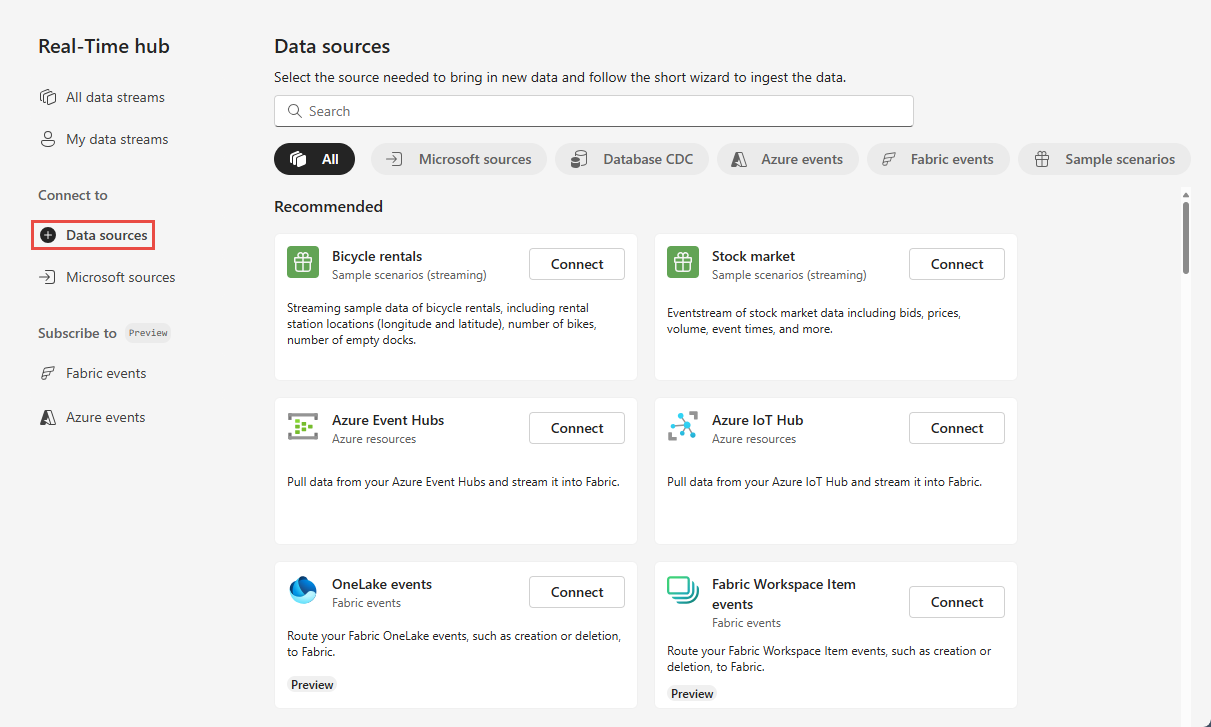
On the Real-Time hub page, select + Data sources under Connect to on the left navigation menu.

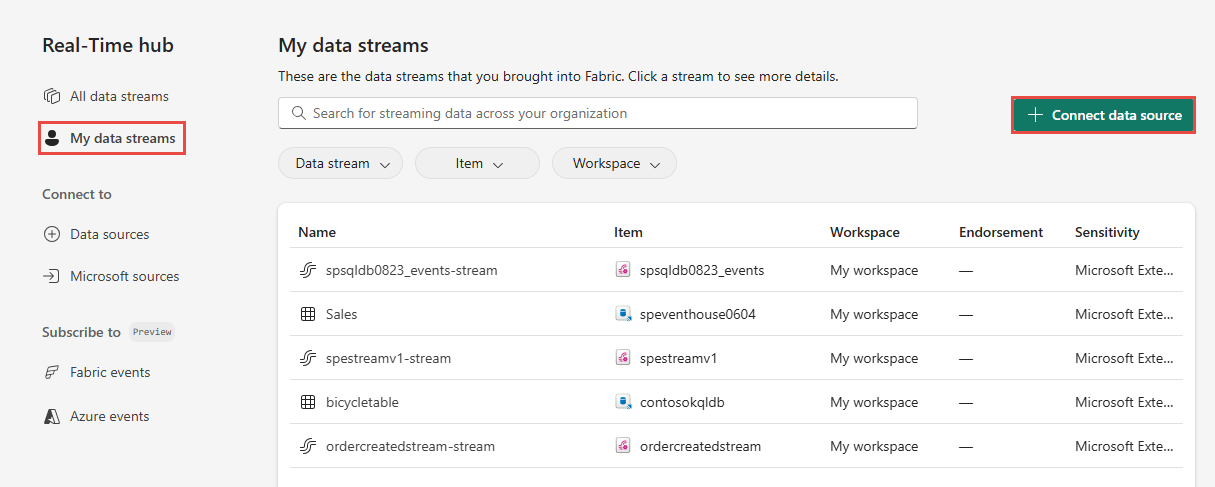
You can also get to the Data sources page from All data streams or My data streams pages by selecting the + Connect data source button in the top-right corner.

On the Data sources page, select Database CDC category at the top, and then select Connect on the Azure SQL MI DB (CDC) tile.
Use instructions from the Add Azure SQL Managed Instance CDC as a source section.
Microsoft sources page
In Real-Time hub, select Microsoft sources on the left navigation menu.
In the Source drop-down list, select Azure SQL MI DB (CDC).
For Subscription, select an Azure subscription that has the resource group with your Azure SQL Managed Instance database.
For Resource group, select a resource group that has the database.
For Region, select a location where your database is located.
Now, move the mouse over the name of the Azure SQL Managed Instance DB CDC source that you want to connect to Real-Time hub in the list of databases, and select the Connect button, or select ... (ellipsis), and then select the Connect button.
To configure connection information, use steps from the Add Azure SQL Managed Instance CDC as a source section.
Add Azure SQL Managed Instance CDC as a source
On the Connect page, select New connection.
In the Connection settings section, enter the following values for your SQL Server on VM:
Server: Enter the Endpoint from the Azure portal, replacing the comma between the host and port with a colon. For example, if your Endpoint is
xxxxx.public.xxxxxx.database.windows.net,3342, then you should enterxxxxx.public.xxxxxx.database.windows.net:3342in the Server field.Database: Enter the name of the database you want to connect to within your Azure SQL Managed Instance.

Scroll down, and in the Connection credentials section, follow these steps.
For Connection name, enter a name for the connection.
For Authentication kind, select Basic.
Note
Currently, Fabric event streams supports only Basic authentication.
Enter Username and Password for the SQL Server on VM.
Select Connect at the bottom of the page.
Now, on the Connect page, select All tables, or enter the table names separated by commas, such as:
dbo.table1, dbo.table2.Select Next.
On the Review + connect page, review the summary, and then select Connect.
View data stream details
- On the Review + connect page, if you select Open eventstream, the wizard opens the eventstream that it created for you with the selected Azure SQL MI DB CDC as a source. To close the wizard, select Close or X* in the top-right corner of the page.
- You should see the stream on the All data streams and My data streams pages. For detailed steps, see View details of data streams in Fabric Real-Time hub.
Related content
To learn about consuming data streams, see the following articles:


