Run a local SLM in a sidecar container in Azure App Service
In this tutorial, you learn how to run a small language model (SLM) as a sidecar container in Azure App Service and access it in your main Linux container. By the end of this tutorial, you'll have a fashion assistant chat application running in App Service and accessing a model locally.
Running an SLM locally is beneficial if you want to run a chatbot application without sending your business data over the internet to a cloud-based AI chatbot service.
- High-performance pricing tiers: App Service offers high-performance pricing tiers that help you run AI models at scale.
- Separation of concerns: Running an SLM in a sidecar lets you separate AI logic from your application logic. You can maintain the discrete components separately, such as upgrading your model without affecting your application.
Prerequisites
- An Azure account with an active subscription. If you don't have an Azure account, you can create one for free.
- A GitHub account. you can also get one for free.
Performance considerations
Since AI models consume considerable resources, choose the pricing tier that gives you sufficient vCPUs and memory to run your specific model. In practice, you should also use a CPU-optimized model, since the App Service pricing tiers are CPU-only tiers.
This tutorial uses the Phi-3 mini model with a 4K context length from Hugging Face. It's designed to run with limited resources and provides strong math and logical reasoning for many common scenarios. It also comes with a CPU-optimized version. In App Service, we tested the model on all premium tiers and found it to perform well in the P2mv3 tier. If your requirements allow, you can run it on a lower tier.
1. Inspect the sample in GitHub Codespaces
- Sign in to your GitHub account and navigate to https://github.com/Azure-Samples/ai-slm-in-app-service-sidecar/fork.
- Select Create fork.
- Select Code > Create codespace on main. The codespace takes a few minutes to set up.
The sample repository has the following content:
| Content | Description |
|---|---|
| src/phi-3-sidecar | Docker image code that runs a Python FastAPI endpoint for the Phi-3 mini model. See How does the Phi-3 sidecar container work? |
| src/webapp | A front-end .NET Blazor application. See How does the front-end app work? |
| infra | Infrastructure-as-code for deploying a .NET web app in Azure. See Create Azure Developer CLI templates overview. |
| azure.yaml | Azure Developer CLI configuration that deploys the Blazor application to App Service. See Create Azure Developer CLI templates overview. |
2. Deploy the front-end application
Sign into your Azure account by using the
azd auth logincommand and following the prompt:azd auth loginCreate the App Service app and deploy the code using the
azd upcommand:azd upThe
azd upcommand might take a few minutes to complete.azd upuses the Bicep files in your projects to create an App Service app in the P2mv3 pricing tier, then deploys the .NET app insrc/webapp.
3. Add the Phi-3 sidecar
This section assumes that you already built a Phi-3 Docker image and uploaded it to a registry. You'll use a preuploaded image in Microsoft Container Registry instead. To build and upload the image yourself, see How to build the Phi-3 Docker image locally.
- In the Azure portal, navigate to the app's management page.
- In the app's management page, from the left menu, select Deployment Center.
- Select the banner Interested in adding containers to run alongside your app? Click here to give it a try.
- When the page reloads, select the Containers (new) tab.
- Select Add and configure the new container as follows:
- Name: phi-3
- Image source: Other container registries
- Image type: Public
- Registry server URL: mcr.microsoft.com
- Image and tag: appsvc/docs/sidecars/sample-experiment:phi3-python-1.0
- Select Apply.
4. Verify the running app
In the AZD output, find the URL of your app and navigate to it in the browser. The URL looks like this in the AZD output:
 Deploying services (azd deploy)

   (✓) Done: Deploying service web
   - Endpoint: https://<app-name>.azurewebsites.net/
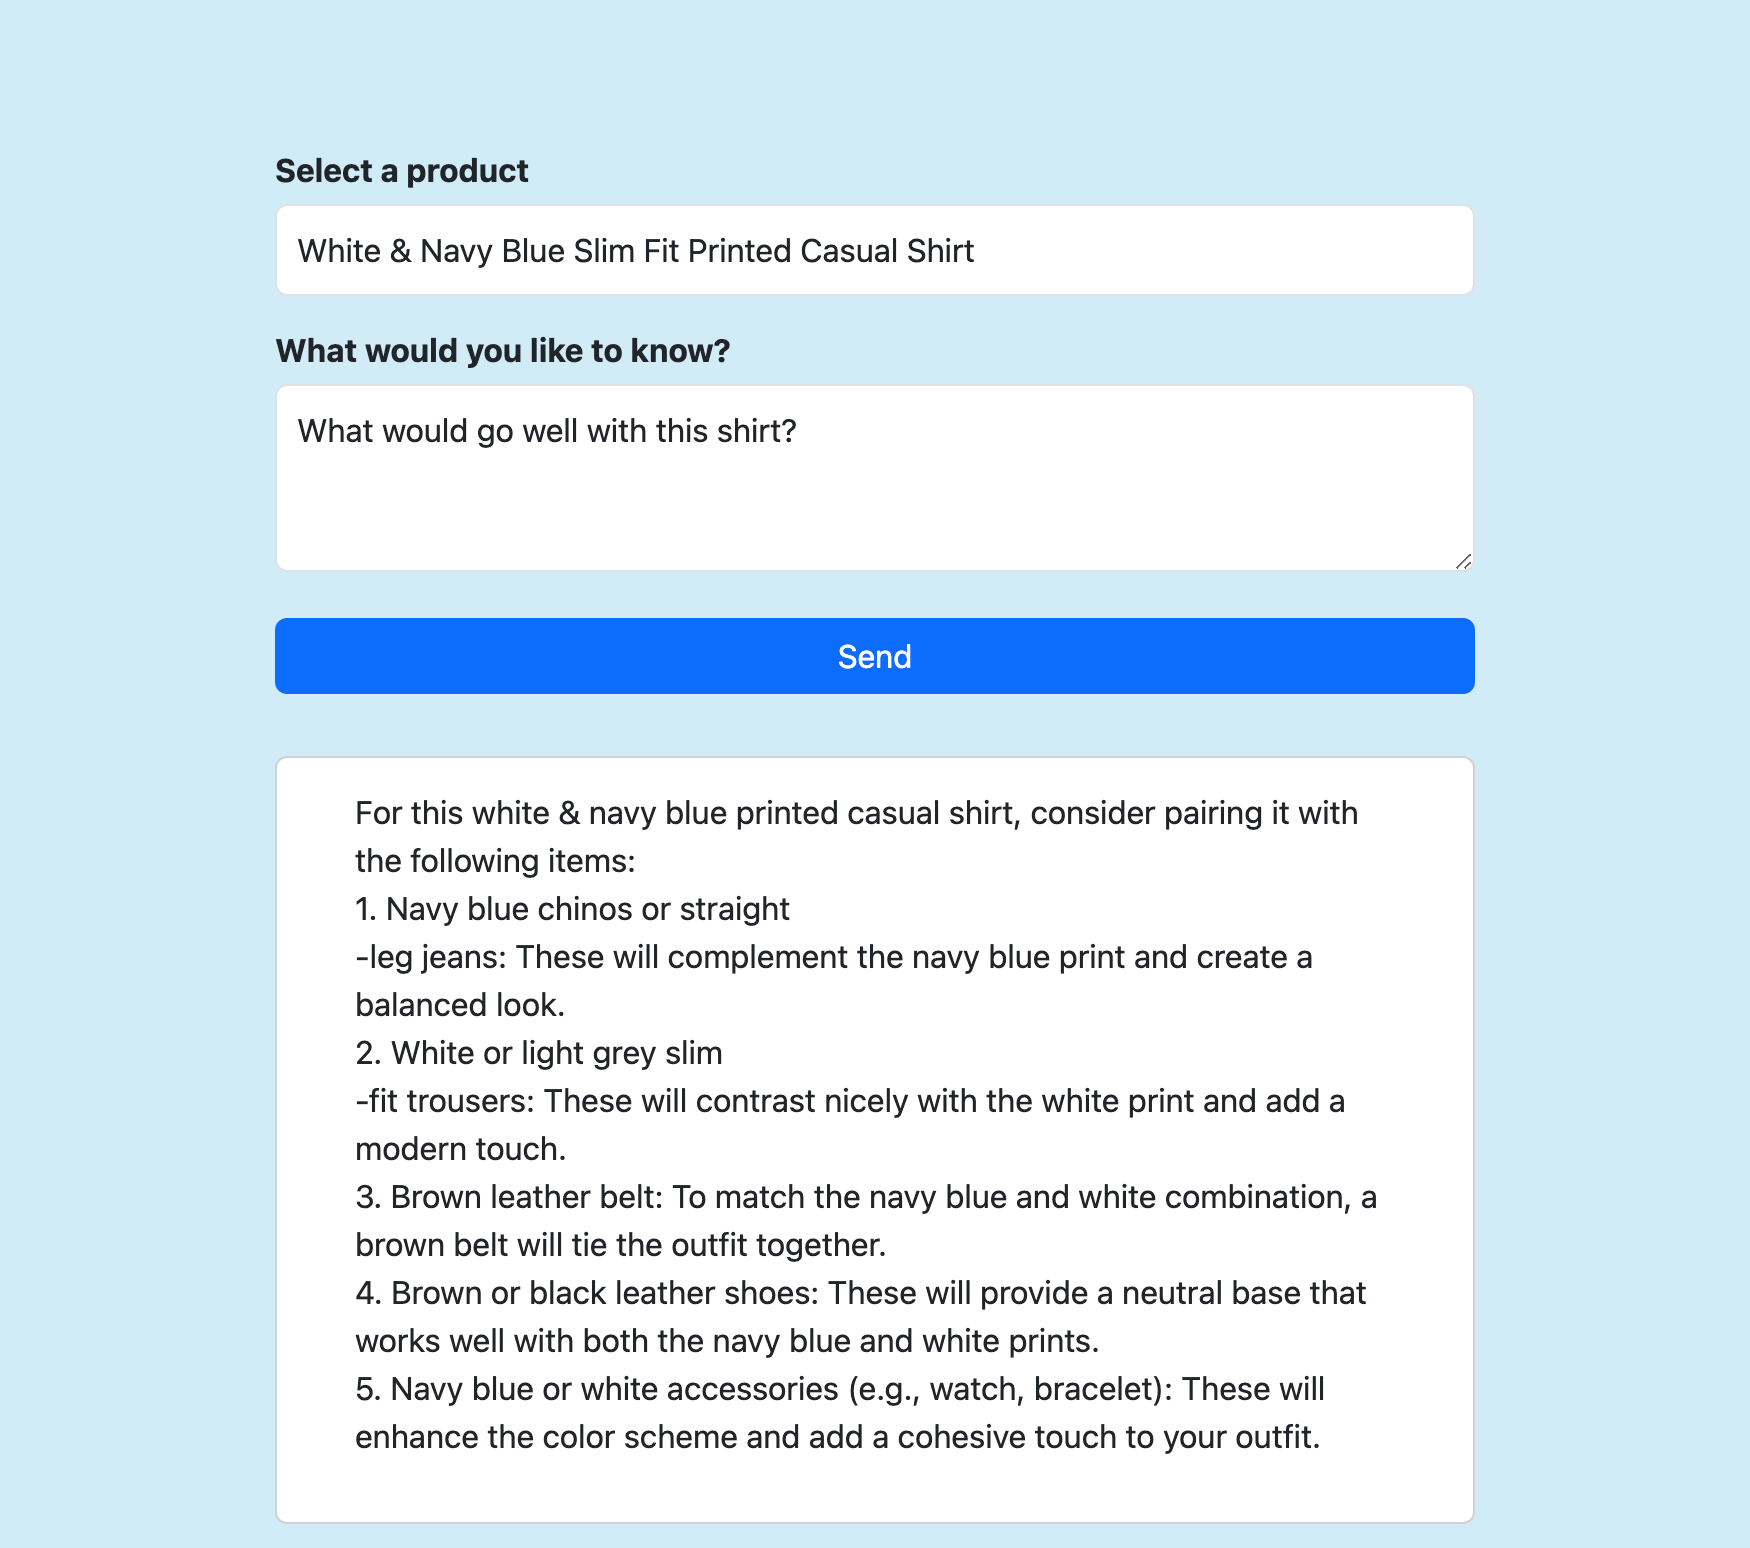
Select a product, ask any question you like about it, and select Send.

Frequently asked questions
- How does the Phi-3 sidecar container work?
- How does the front-end app work?
- How to build the Phi-3 Docker image locally
How does the Phi-3 sidecar container work?
It runs a FastAPI application that listens on port 8000, as specified in its Dockerfile.
The application uses ONNX Runtime to load the Phi-3 model, then forwards the HTTP POST data to the model and streams the response from the model back to the client. For more information, see model_api.py.
How does the front-end app work?
It's a basic retrieval-augmented generation (RAG) application. It shows a Razor page that sends three pieces of information to the FastAPI endpoint (at localhost:8000) in Send():
- Selected product
- Retrieved product description data
- User-submitted message
It then outputs the streamed response to the page. For more information, see Home.razor.
How to build the Phi-3 Docker image locally
To build the sidecar image yourself, you need to install Docker Desktop locally on your machine.
Clone the repository locally.
git clone https://github.com/Azure-Samples/ai-slm-in-app-service-sidecar
cd ai-slm-in-app-service-sidecar
Change into the Phi-3 image's source directory and download the model locally.
cd src/phi-3-sidecar/
huggingface-cli download microsoft/Phi-3-mini-4k-instruct-onnx --local-dir ./Phi-3-mini-4k-instruct-onnx
The Dockerfile is configured to copy the model from ./Phi-3-mini-4k-instruct-onnx.
Build the Docker image. For example:
docker build --tag phi-3 .
To upload the built image to Azure Container Registry, see Push your first image to your Azure container registry using the Docker CLI.