Get Windows 8 App Package in Gamemaker
So, I have done a couple of different blog posts on working with Gamemaker, but I have yet to do a post about how to actually take your game, create a Windows 8 package, and then submit to the Windows 8 store. Therefore, I will begin that process with this blog post about how to get your windows 8 package, and then I will follow up with how to publish to the store using that package.
Alright, so let’s assume that you have a working game that you are ready to publish to the Windows 8 store, and let’s also assume that you have tested it as a Windows 8 app :) (which you should definitely do). Then what are the next steps? The key to all of this is to basically fill in all of the information that you are prompted for in the Windows 8 tab of the Global Game Settings. Global Game Settings are located at the bottom of the left hand pane where the sprites, objects, etc. are listed as shown below.
Once you open up the Global Game Settings you are going to want to scroll over to the Windows 8 tab, and you should see this.
This screen shows you all of the things that you will need to be able to create your windows 8 package and then submit to the store. It looks a little overwhelming, so you might be wondering, “What is all of this stuff?”. Trust me, it’s not as bad as it looks. Let me break it down.
You will need several “logos”, and they give you the sizes; 310x150, 150x150, 50x50, and 30x30. What I do here is usually create a very simple logo in paint that is 150x 150, and then I resize it to 50x50 and 30x30. For the 310x150 I just paste the original 150x150 in the center and fill in the background to match. You can do this anyway you want, but this idea has worked pretty well for me. In addition to the logos, you will need a splash screen that is 620x300. The splash screen is the screen that shows while the game is loading.
After you have those images, you will need to fill out the “Product Version” information, that asks for Display Name, Package Name, Package Display Name, and Publisher Display Name. The Display Name is simply the name of your app, so you can go ahead and take care of that. For the last 3 we will need to open up Visual Studio and follow a couple of steps. We are basically going to create a dummy project, and get visual studio to fill out the information that we need to take back to gamemaker.
First, you need to create a new Windows Store App. It doesn’t really matter what you call it but for this demo, I am calling it GamemakerPublishTest as you can see below.
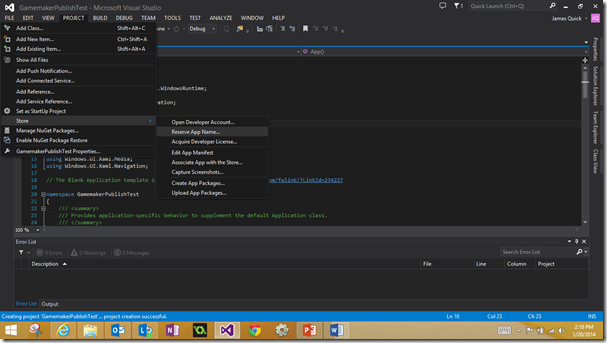
Go ahead and click ok there. Now, we need to go into the Windows Dev Dashboard, and reserve the App Name for our app. We can do this by going to the project tab, then store, and then to “Reserve App Name”.
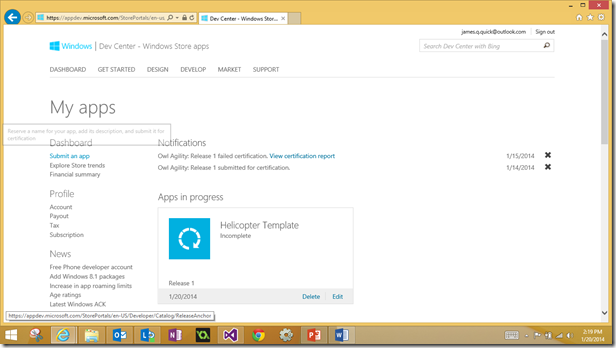
This will open up your browser, and you will be prompted to login to your Microsoft Account. Go ahead and login.
Then Click on Submit an App.
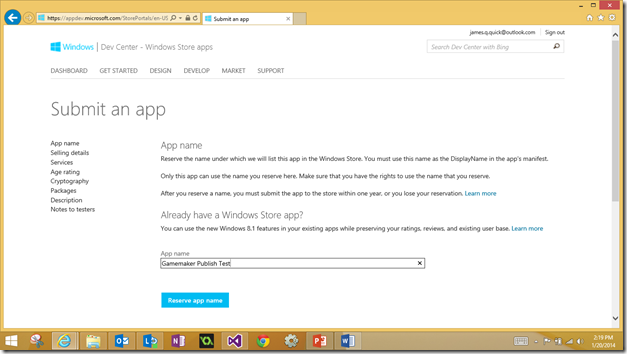
Then Click on App Name
Type in your app name, and then click “Reserve App Name”. Make sure that this app name matches the Display name that you entered in Gamemaker.
Then Click save.
Perfect, now we have an app name reserved in the store. Now we need to associate our app in Visual Studio to the app name that we reserved in the store, so that Visual Studio will populate the information we need for Gamemaker.
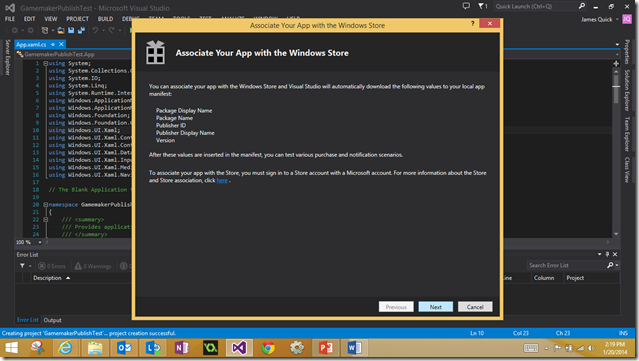
We do this by going to Project, then Store, then Associate App with the Store like below.
Now Click Next
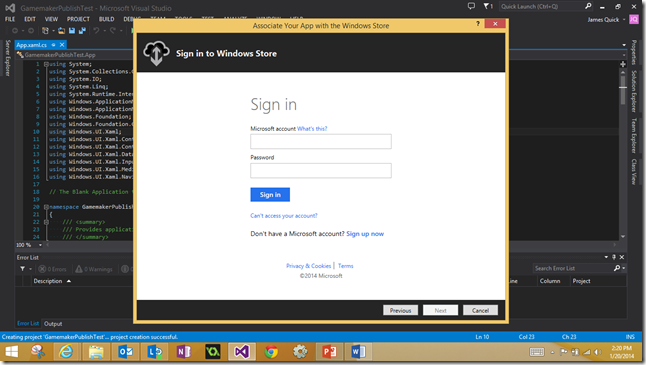
You will be prompted to login again with your Microsoft Credentials. So go ahead and do that.
Now, find the app name that you already reserved in the store and click Next.
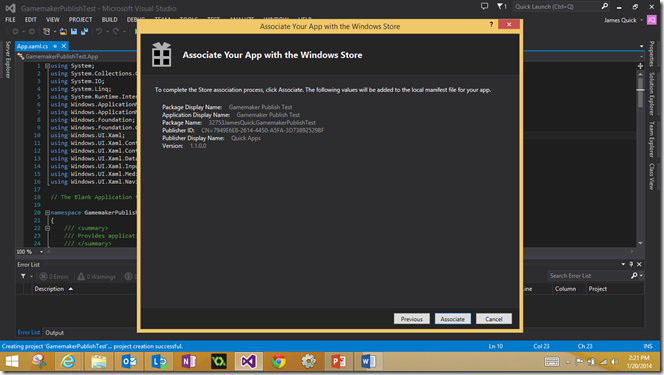
Now, you should see all of the information that we have been searching for! Go ahead and click Associate.
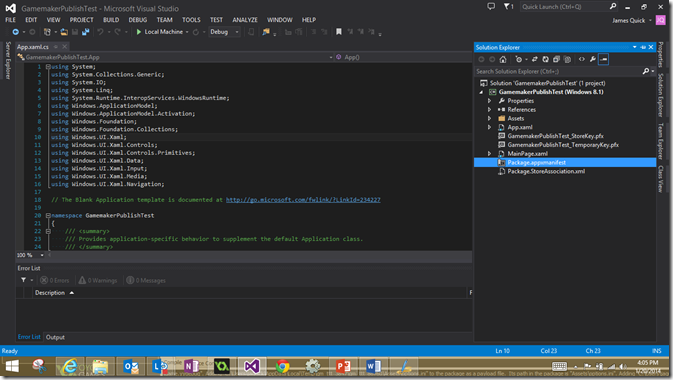
Oh no, it all went away! Well, to get it back we are going to open up the manifest file for the project. You can find it the Solution Explorer like below.
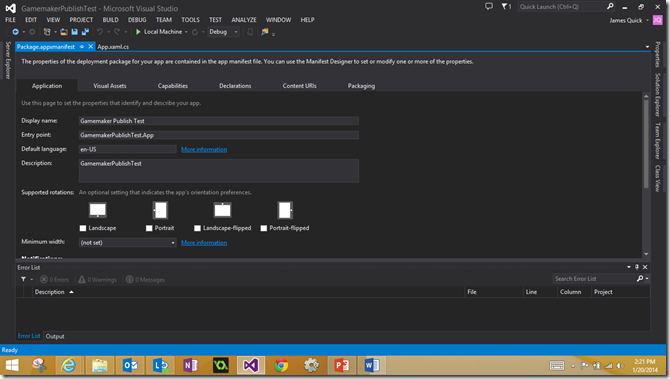
Go ahead and open it up, and you should see this.
Now click on the Packaging Tab, and you should see the info that we have been looking like below. (Package name, package display name, publisher display name)
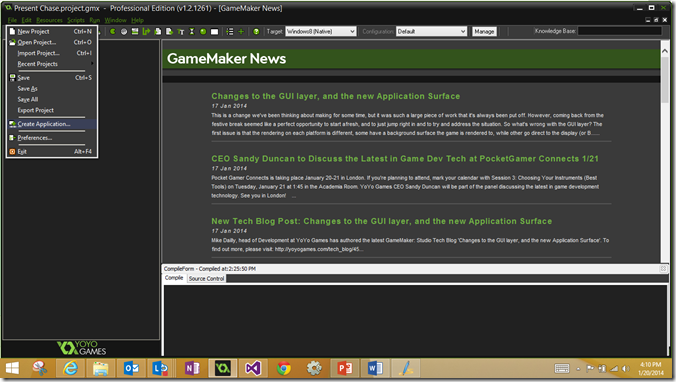
Now, just copy and paste that info back into the Global Game Settings box in Gamemaker. Now that we have all of the necessary Global Game Settings pieces filled out, we can go ahead and create the app package. To create the application, go to file, then create application.
It will ask you where you want to save it. Give it a location and continue.
Congratulations you now have your package ready to submit to the Windows 8 store. You can check out how to submit this package to the store, here!


