Concept: Data pipeline Runs
A data pipeline run occurs when a data pipeline is executed. This means that the activities in your data pipeline ran and were executed to completion. For example, running a data pipeline with a Copy data activity performs that action and copy your data. Each data pipeline run has its own unique pipeline run ID.
A data pipeline run can be triggered one of two ways, either on-demand or by setting up a schedule. A scheduled pipeline is able to run based on the time and frequency that you set.
On-demand data pipeline run
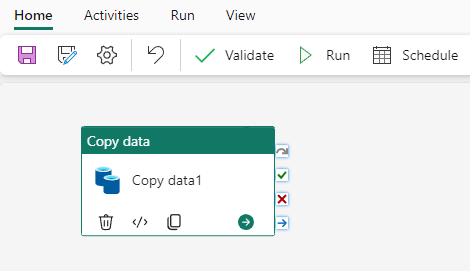
To manually trigger a data pipeline run, select Run found in the top banner of the Home tab.

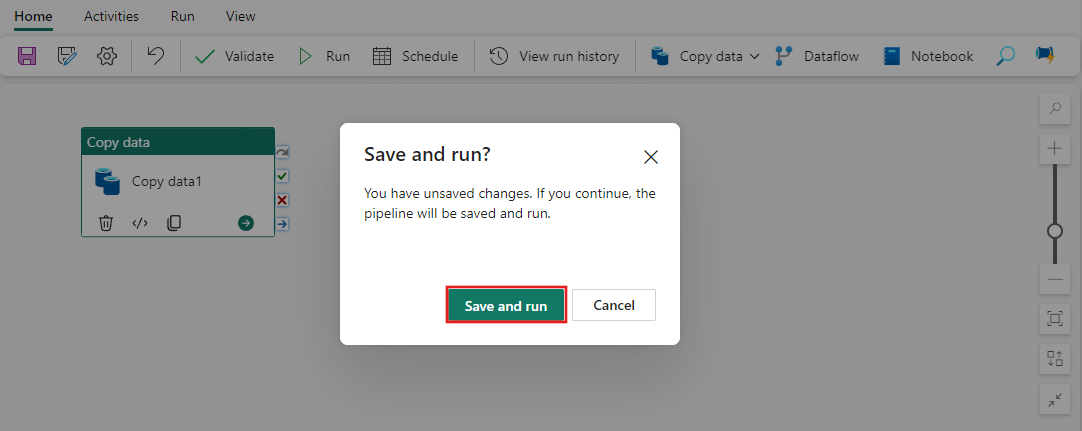
You are prompted to save your changes before triggering the pipeline run. Select Save and run to continue.
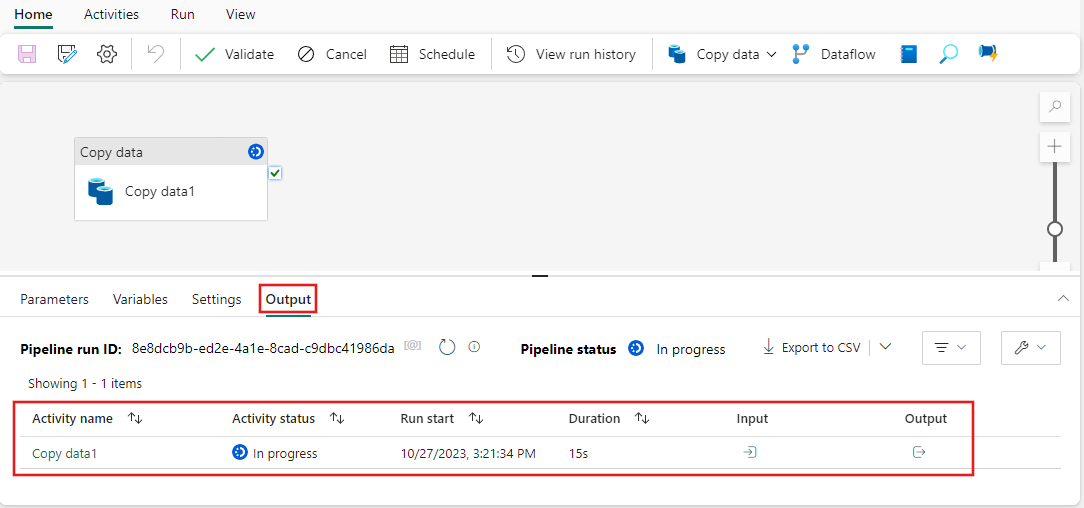
After your changes are saved, your pipeline will run. You can view the progress of the run in the Output tab found at the bottom of the canvas.
Once an activity completes in a run, a green check mark appears in the corner of the activity.
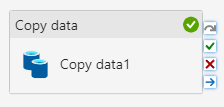
Once the entire pipeline executes and the output status updates to Succeeded, you have a successful pipeline run!
Scheduled data pipeline runs
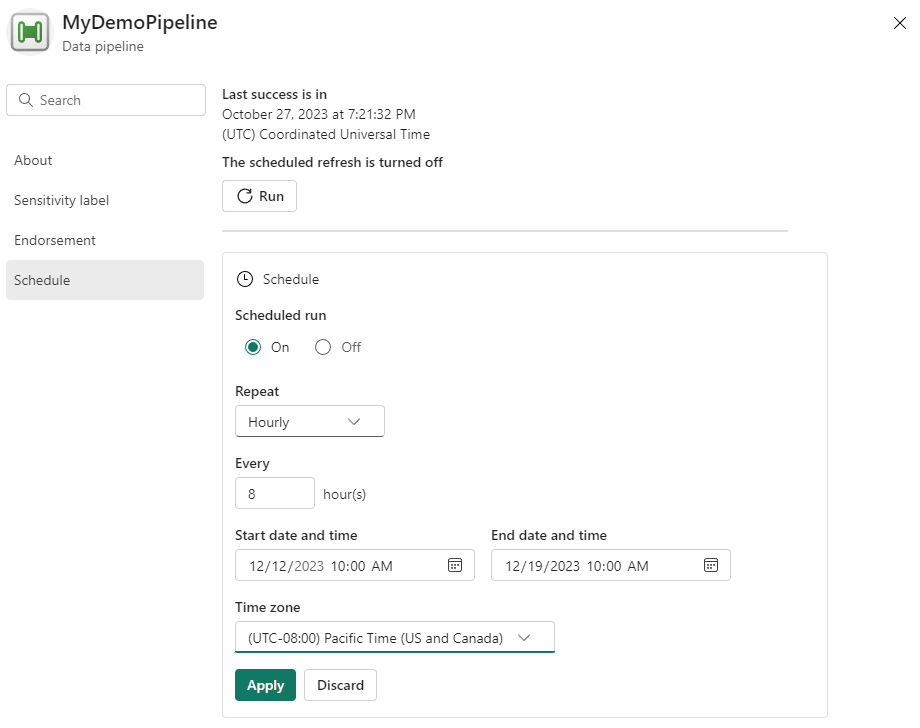
When you schedule a data pipeline run, you can choose the frequency that your pipeline runs. Select Schedule, found in the top banner of the Home tab, to view your options. By default, your data pipeline isn't set on a schedule.

Tip
when scheduling a data pipeline, the interface requires specifying both a start and an end date. This design ensures that all scheduled pipelines have a defined execution period. Currently, there's no built-in option to set a schedule without an end date. To maintain an ongoing schedule, you can set the end date far into the future, such as several years ahead. for example 2099-01-01 This approach effectively keeps the pipeline running indefinitely, allowing you to manage or adjust the schedule as needed over time.
On the Schedule configuration page, you can specify a schedule frequency, start and end dates and times, and time zone.
Once configured, select Apply to set your schedule. You can view or edit the schedule again anytime by selecting the Schedule button again.
