Deploy Java app to Azure Web Apps for Containers using Azure Toolkit for IntelliJ
Docker containers are a widely used method for deploying web applications. By using Docker containers, developers can consolidate all their project files and dependencies into a single package for deployment to a server. The Azure Toolkit for IntelliJ simplifies this process for Java developers by adding features to deploy containers to Microsoft Azure.
This article demonstrates the steps that are required to create a basic Hello World web app and publish your web app in a Linux container to Azure by using the Azure Toolkit for IntelliJ.
Prerequisites
- A supported Java Development Kit (JDK). For more information about the JDKs available for use when developing on Azure, see Java support on Azure and Azure Stack.
- IntelliJ IDEA, Ultimate or Community Edition.
- The Azure Toolkit for IntelliJ. For more information, see Install the Azure Toolkit for IntelliJ. You'll also need to sign in to your Azure account for the Azure Toolkit for IntelliJ. For more information, see Sign-in instructions for the Azure Toolkit for IntelliJ.
- A Docker client.
Note
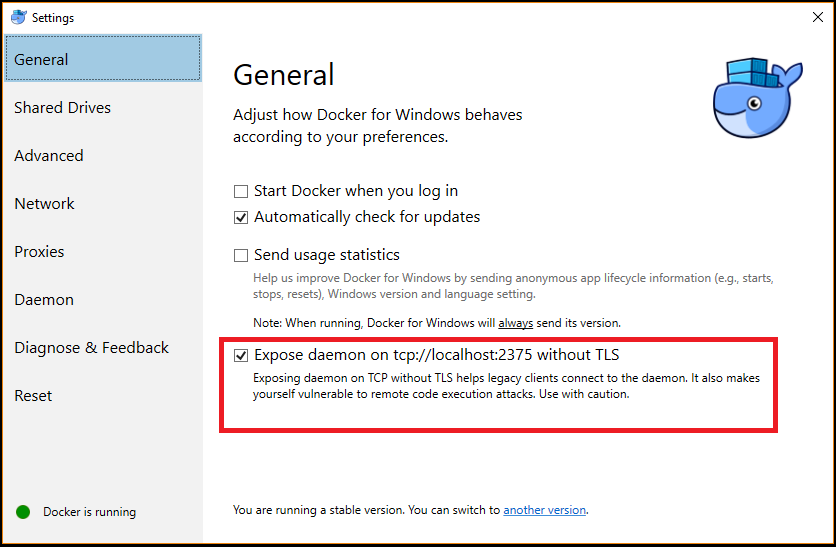
To complete the steps in this tutorial, you need to configure Docker to expose the daemon on port 2375 without TLS. You can configure this setting when installing Docker, or through the Docker settings menu.
Installation and sign-in
The following steps walk you through the Azure sign in process in your IntelliJ development environment.
If you haven't installed the plugin, see Installing the Azure Toolkit for IntelliJ.
To sign in to your Azure account, navigate to the left-hand Azure Explorer sidebar, and then click the Azure Sign In icon. Alternatively, you can navigate to Tools, expand Azure, and click Azure Sign in..
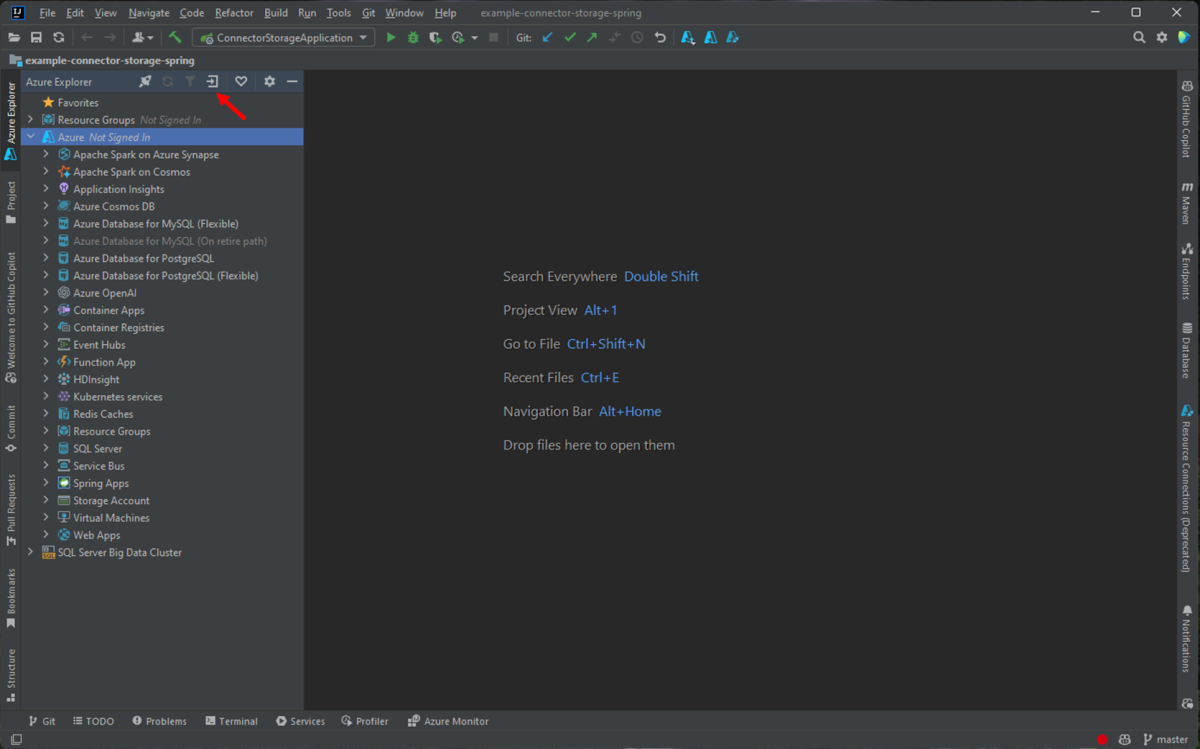
In the Azure Sign In window, select Device Login, and then click Sign in (other sign in options).
Click Copy&Open in the Azure Device Login dialog.
In the browser, paste your device code (which has been copied when you clicked Copy&Open in last step) and then click Next.
Select your Azure account and complete any authentication procedures necessary in order to sign in.
Once signed in, close your browser and switch back to your IntelliJ IDE. In the Select Subscriptions dialog box, select the subscriptions that you want to use, then click Select.
Creating a new web app project
Click File, expand New, and then click Project.
In the New Project dialog box, select Maven, and make sure the Create from Archetype option is checked. From the list, select maven-archetype-webapp, and then click Next.

Expand the Artifact Coordinates dropdown to view all input fields and specify the following information for your new web app and click Next:
- Name: The name of your web app. This will automatically fill in the web app's ArtifactId field.
- GroupId: The name of the artifact group, usually a company domain. - for example, com.microsoft.azure.
- Version: We'll keep the default version 1.0-SNAPSHOT.
Customize any Maven settings or accept the defaults, and then click Finish.
Navigate to your project on the left-hand Project tab, and open the file src/main/webapp/index.jsp. Replace the code with the following and save the changes:
<html>
 <body>
   <b><% out.println("Hello World!"); %></b>
 </body>
</html>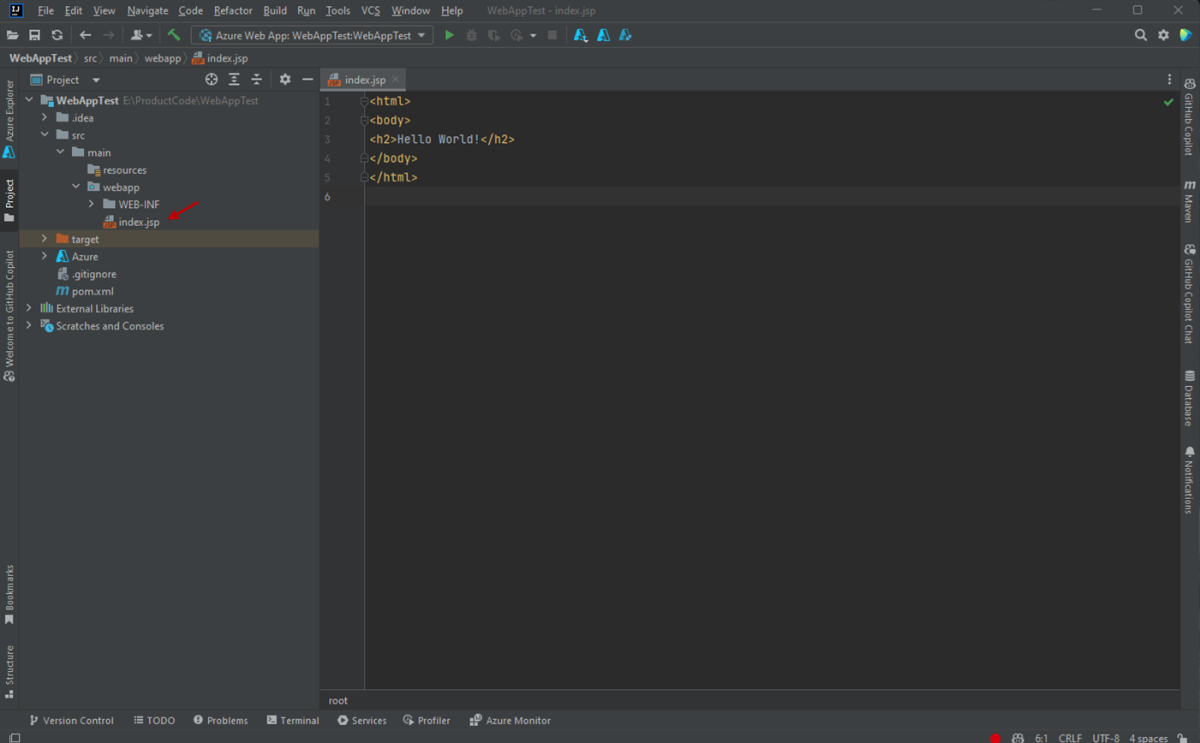
Create an Azure Container Registry to use as a private Docker registry
The following steps walk you through using the Azure portal to create an Azure Container Registry.
Note
If you want to use the Azure CLI instead of the Azure portal, follow the steps in Create a private Docker container registry using the Azure CLI 2.0.
Browse to the Azure portal and sign in.
Once you have signed in to your account on the Azure portal, you can follow the steps in the Create a private Docker container registry using the Azure portal article, which are paraphrased in the following steps for the sake of expediency.
Click the menu icon for + Create a resource, click the Containers category, and then click Container Registry.
When the Create container registry page is displayed, specify the following information:
Subscription: Specifies the Azure subscription that you want to use for the new container registry.
Resource Group: Specifies the resource group for your container registry. Select one of the following options:
- Create New: Specifies that you want to create a new resource group.
- Use Existing: Specifies that you will select from a list of resource groups that are associated with your Azure account.
Registry Name: Specifies the name for the new container registry.
Location: Specifies the region where your container registry will be created - for example, West US.
SKU: Specifies the service tier for your container registry. For this tutorial, select Basic. For more information, see Azure Container Registry service tiers.
Click Review + create and verify that the information is correct. Finish by clicking Create.
Deploy your web app in a Docker container
The following steps walk you through configuring Docker support for your web app and deploying the web app to a docker container.
Navigate to your project on the left-hand Project tab and right-click your project. Expand Azure and click Add Docker Support.
This will automatically create a Docker file with a default configuration.
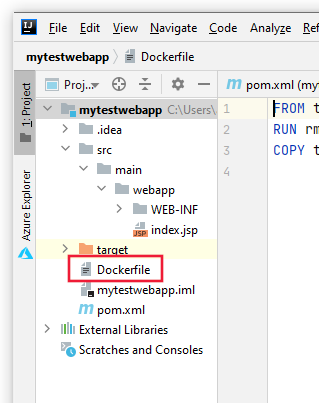
After you have added Docker support, right-click your project in the project explorer, expand Azure, and then click Deploy Image to Web App.
On the Deploy Image to Web App dialog box, fill in the following information:
Name: This specifies the friendly name which is displayed in the Azure Toolkit.
Container Registry: Create a new one or choose the container registry from the drop-down menu that you created in the previous section of this article. The fields for Server URL, Username, and Password will be automatically populated.
Image and tag: Specifies the container image name; typically this will use the following syntax: <registry>.azurecr.io/<appname>:latest, where:
- <registry> is your container registry from the previous section of this article
- <appname> is the name of your web app
Use Existing Web App or Create New Web App: Specifies whether you will deploy your container to an existing web app or create a new web app. The App name that you specify will create the URL for your web app; for example: wingtiptoys.azurewebsites.net.
Resource Group: Specifies whether you will use an existing or create a new resource group.
App Service Plan: Specifies whether you will use an existing or create a new app service plan.
When you have finished configuring the settings listed above, click Run. When your web app has been successfully deployed, the status will be displayed in the Run window.
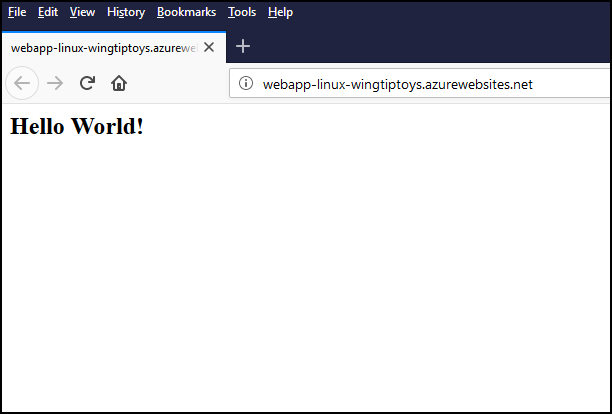
After your web app has been published, you can browse to the URL that specified earlier for your web app; for example: wingtiptoys.azurewebsites.net.
Optional: Modify your web app publish settings
After you have published your web app, your settings will be saved as the default, and you can run your application on Azure by clicking the green arrow icon on the toolbar. You can modify these settings by clicking the drop-down menu for your web app and clicking Edit Configurations.
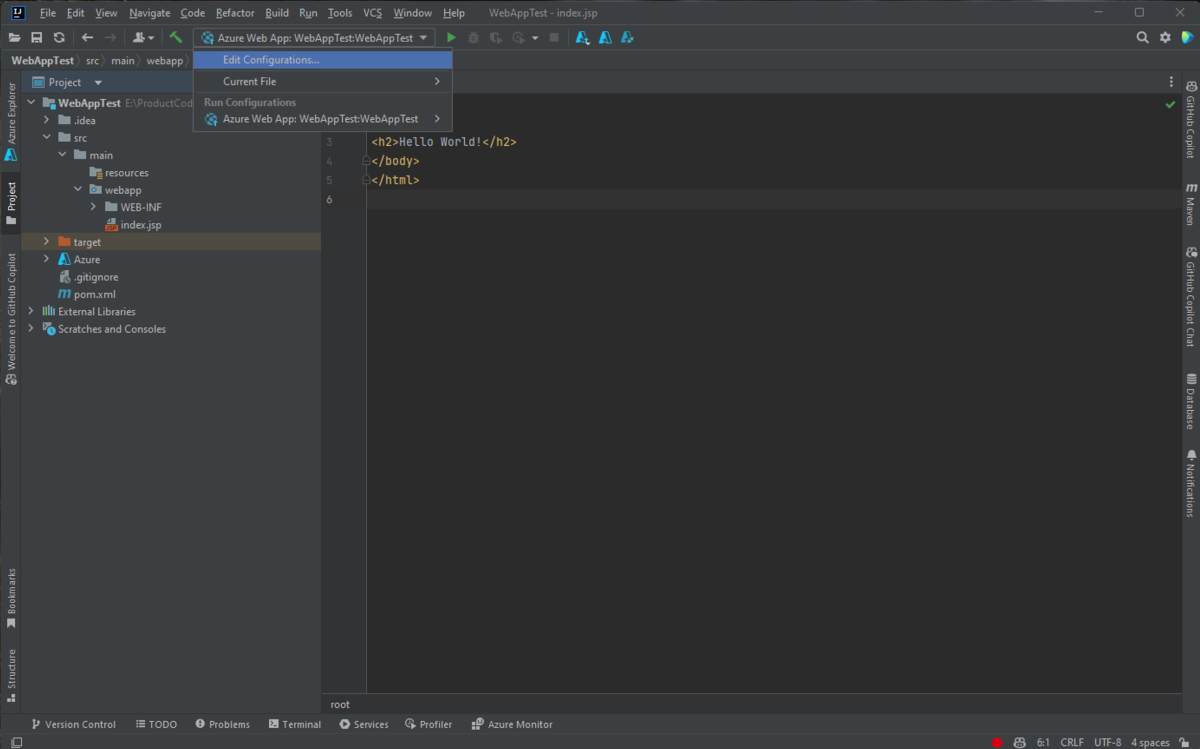
When the Run/Debug Configurations dialog box is displayed, you can modify any of the default settings, and then click OK.
Next steps
For additional resources for Docker, see the official Docker website.
To report bugs or request new features, create issues on our GitHub repository, or ask questions on Stack Overflow with tag azure-java-tools.
For more information about using Java with Azure, see the following links: