Configure Azure Compute Gallery for Microsoft Dev Box
In this article, you learn how to configure and attach an Azure compute gallery to a dev center in Microsoft Dev Box. With Azure Compute Gallery, you can give developers customized images for their dev box.
Azure Compute Gallery is a service for managing and sharing images. A gallery is a repository that's stored in your Azure subscription and helps you build structure and organization around your image resources. Dev Box supports GitHub, Azure Repos, and Bitbucket repositories to provide an image gallery.
After you attach a compute gallery to a dev center in Microsoft Dev Box, you can create dev box definitions based on images stored in the compute gallery.
Advantages of using a gallery include:
- You maintain the images in a single location and use them across dev centers, projects, and pools.
- Development teams can use the latest version of an image definition to ensure they always receive the most recent image when creating dev boxes.
- Development teams can standardize on a supported image version until a newer version is validated.
To learn more about Azure Compute Gallery and how to create galleries, see:
Prerequisites
- A dev center. If you don't have one available, follow the steps in Create a dev center.
- A compute gallery. Images stored in a compute gallery can be used in a dev box definition, provided they meet the requirements listed in the Compute gallery image requirements section.
Note
Microsoft Dev Box doesn't support community galleries.
Compute gallery image requirements
A gallery used to configure dev box definitions must have at least one image definition and one image version.
When you create a virtual machine (VM) image, select an image from the Azure Marketplace that's compatible with Microsoft Dev Box. The following are examples of compatible images:
Image version requirements
The image version must meet the following requirements:
Generation 2
Hyper-V v2
Windows OS
- Supported versions of Windows 10 or Windows 11 Enterprise.
Generalized VM image
- For more information about creating a generalized image, see Reduce provisioning and startup times for more information.
Single-session VM image (Multiple-session VM images aren't supported.)
No recovery partition
- For information about how to remove a recovery partition, see the Windows Server command: delete partition.
Default 64-GB OS disk size
- The OS disk size is automatically adjusted to the size specified in the SKU description of the Windows 365 license.
The image definition must have trusted launch enabled as the security type. You configure the security type when you create the image definition.

Important
- Microsoft Dev Box image requirements exceed Windows 365 image requirements and include settings to optimize dev box creation time and performance.
- Any image that doesn't meet Windows 365 requirements isn't shown in the list of images that are available for creation.
Note
Microsoft Dev Box doesn't support preview builds from the Windows Insider Program.
Reduce provisioning and startup times
When you create a generalized VM to capture to an image, the following issues can affect provisioning and startup times:
Create the image by using these three sysprep options:
/generalize /oobe /mode:vm.- These options prevent a lengthy search for and installation of drivers during the first boot. For more information, see Sysprep Command-Line Options.
Enable the Read/Write cache on the OS disk.
- To verify the cache is enabled, open the Azure portal and navigate to the image. Select JSON view, and make sure
properties.storageProfile.osDisk.cachingvalue isReadWrite.
- To verify the cache is enabled, open the Azure portal and navigate to the image. Select JSON view, and make sure
Enable nested virtualization in your base image:
- In the UI, open Turn Windows features on or off and select Virtual Machine Platform.
- Or run the following PowerShell command:
Enable-WindowsOptionalFeature -FeatureName VirtualMachinePlatform -Online
Disable the reserved storage state feature in the image by using the following command:
DISM.exe /Online /Set-ReservedStorageState /State:Disabled.- For more information, see DISM Storage reserve command-line options.
Run
defragandchkdskduring image creation, then disable thechkdiskanddefragscheduled tasks.
Configure permissions to access a gallery
When you use an Azure Compute Gallery image to create a dev box definition, Microsoft Dev Box validates the image to ensure that it meets the requirements to be provisioned for a dev box. It also replicates the image to the regions specified in the attached network connections, so the images are present in the region required for dev box creation.
To allow the service to perform these actions, you must provide permissions to your gallery as follows.
Add a user-assigned identity to the dev center
Follow the steps to create a user-assigned managed identity.
Sign in to the Azure portal.
In the search box, enter dev box. In the list of results, select Dev centers.
Open your dev center. On the left menu, select Identity.
On the User assigned tab, select + Add.
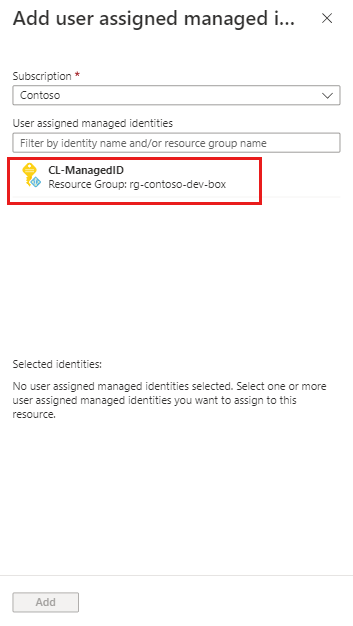
In the Add user assigned managed identity pane, select the user-assigned managed identity that you created in step 1, and then select Add.
Assign roles
Microsoft Dev Box behaves differently depending how you attach your gallery:
- When you use the Azure portal to attach the gallery to your dev center, the Dev Box service creates the necessary role assignments automatically after you attach the gallery.
- When you use the Azure CLI to attach the gallery to your dev center, you must manually create the dev center's managed identity role assignments before you attach the gallery.
Use the following steps to manually assign the role.
Managed identity for the dev center
In the Azure portal, open the gallery that you want to attach to the dev center. You can also search for Azure Compute Gallery to find your gallery.
On the left menu, select Access Control (IAM).
Select Add > Add role assignment.
Assign the following role. For detailed steps, see Assign Azure roles using the Azure portal.
Setting Value Role Select Contributor. Assign access to Select Managed Identity. Members Search for and select the user-assigned managed identity that you created when you added a user-assigned identity to the dev center.
You can use the same managed identity in multiple dev centers and compute galleries. Any dev center with the managed identity added has the necessary permissions to the images in the gallery that has the Contributor role assignment added.
Attach a gallery to a dev center
To use the images from a compute gallery in dev box definitions, you must first associate the gallery with the dev center by attaching it:
Sign in to the Azure portal.
In the search box, enter dev box. In the list of results, select Dev centers.
Select the dev center that you want to attach the gallery to.
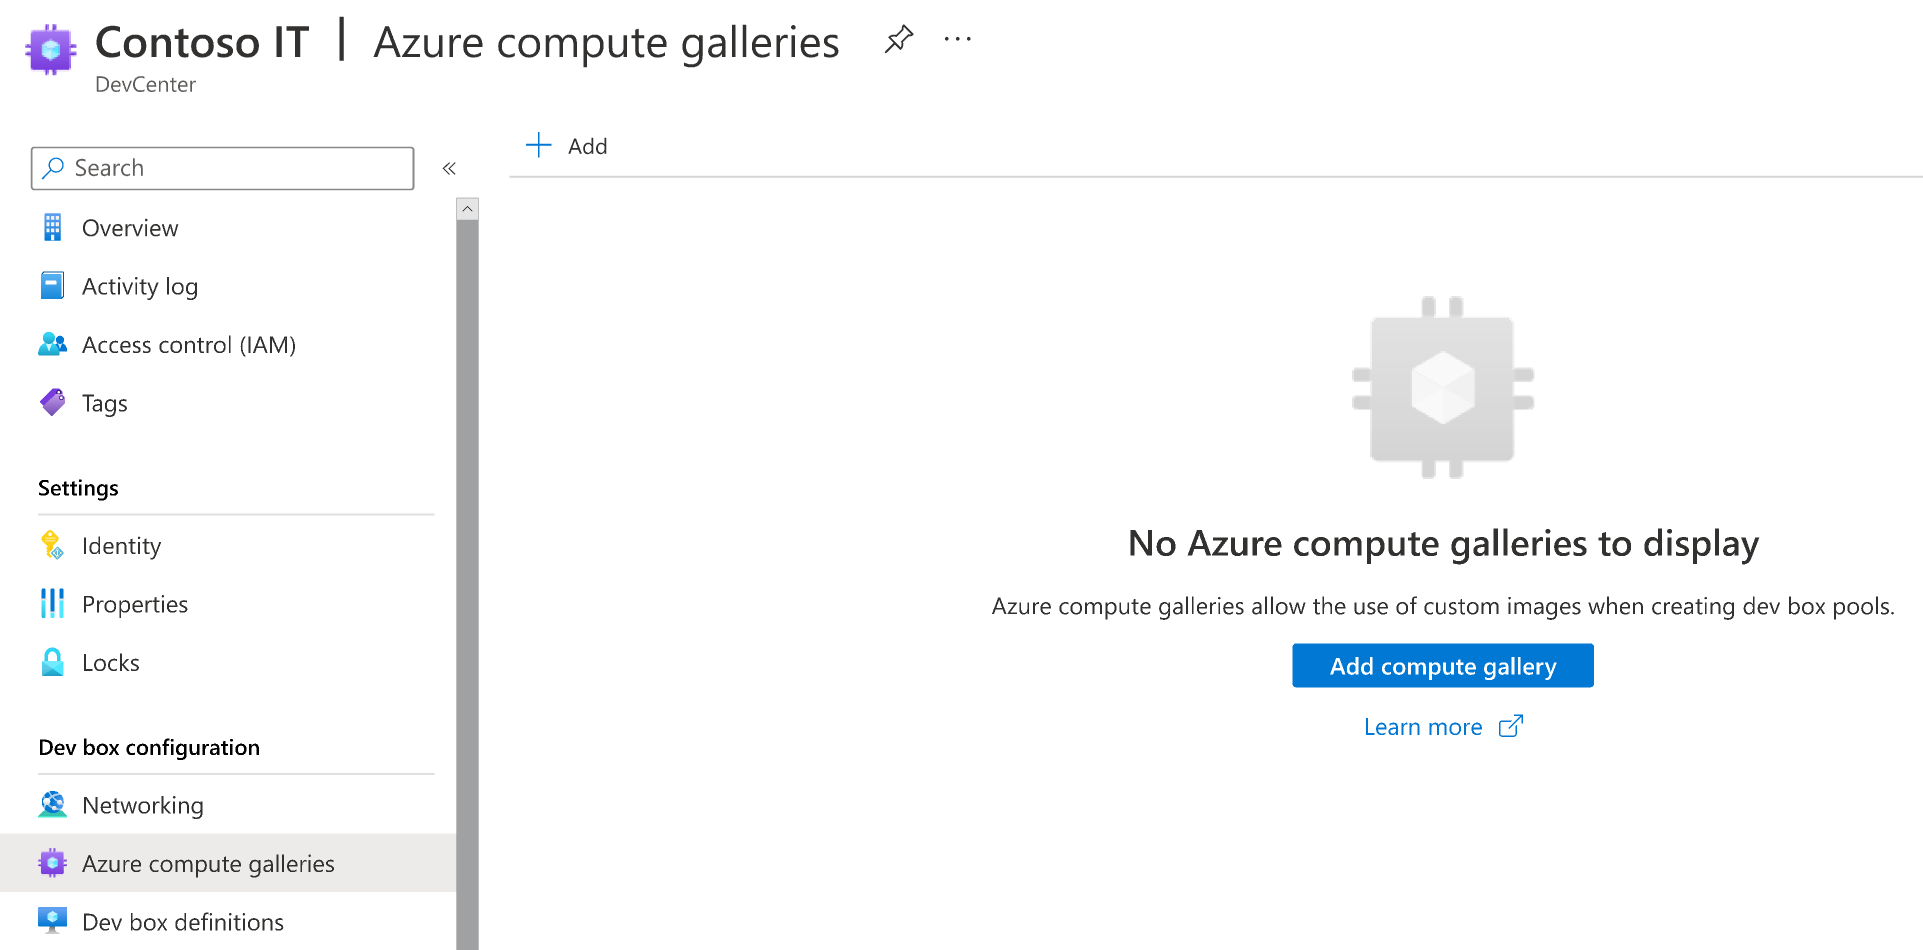
On the left menu, select Azure compute galleries to list the galleries that are attached to this dev center.
Select + Add to select a gallery to attach.
In Add Azure compute gallery, select your gallery. If you have access to more than one gallery that has the same name, the subscription name appears in parentheses.
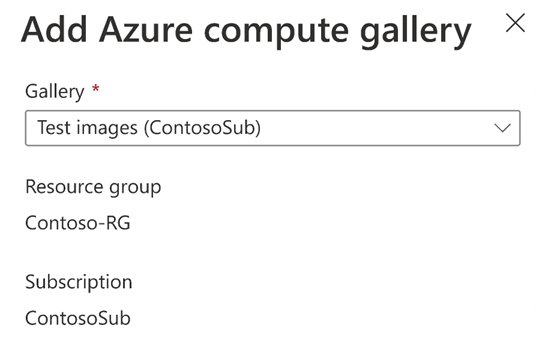
If there's a name conflict in the dev center, you must provide a unique name to use for this gallery.
Select Add.
Confirm your gallery now appears on the Azure compute galleries page.
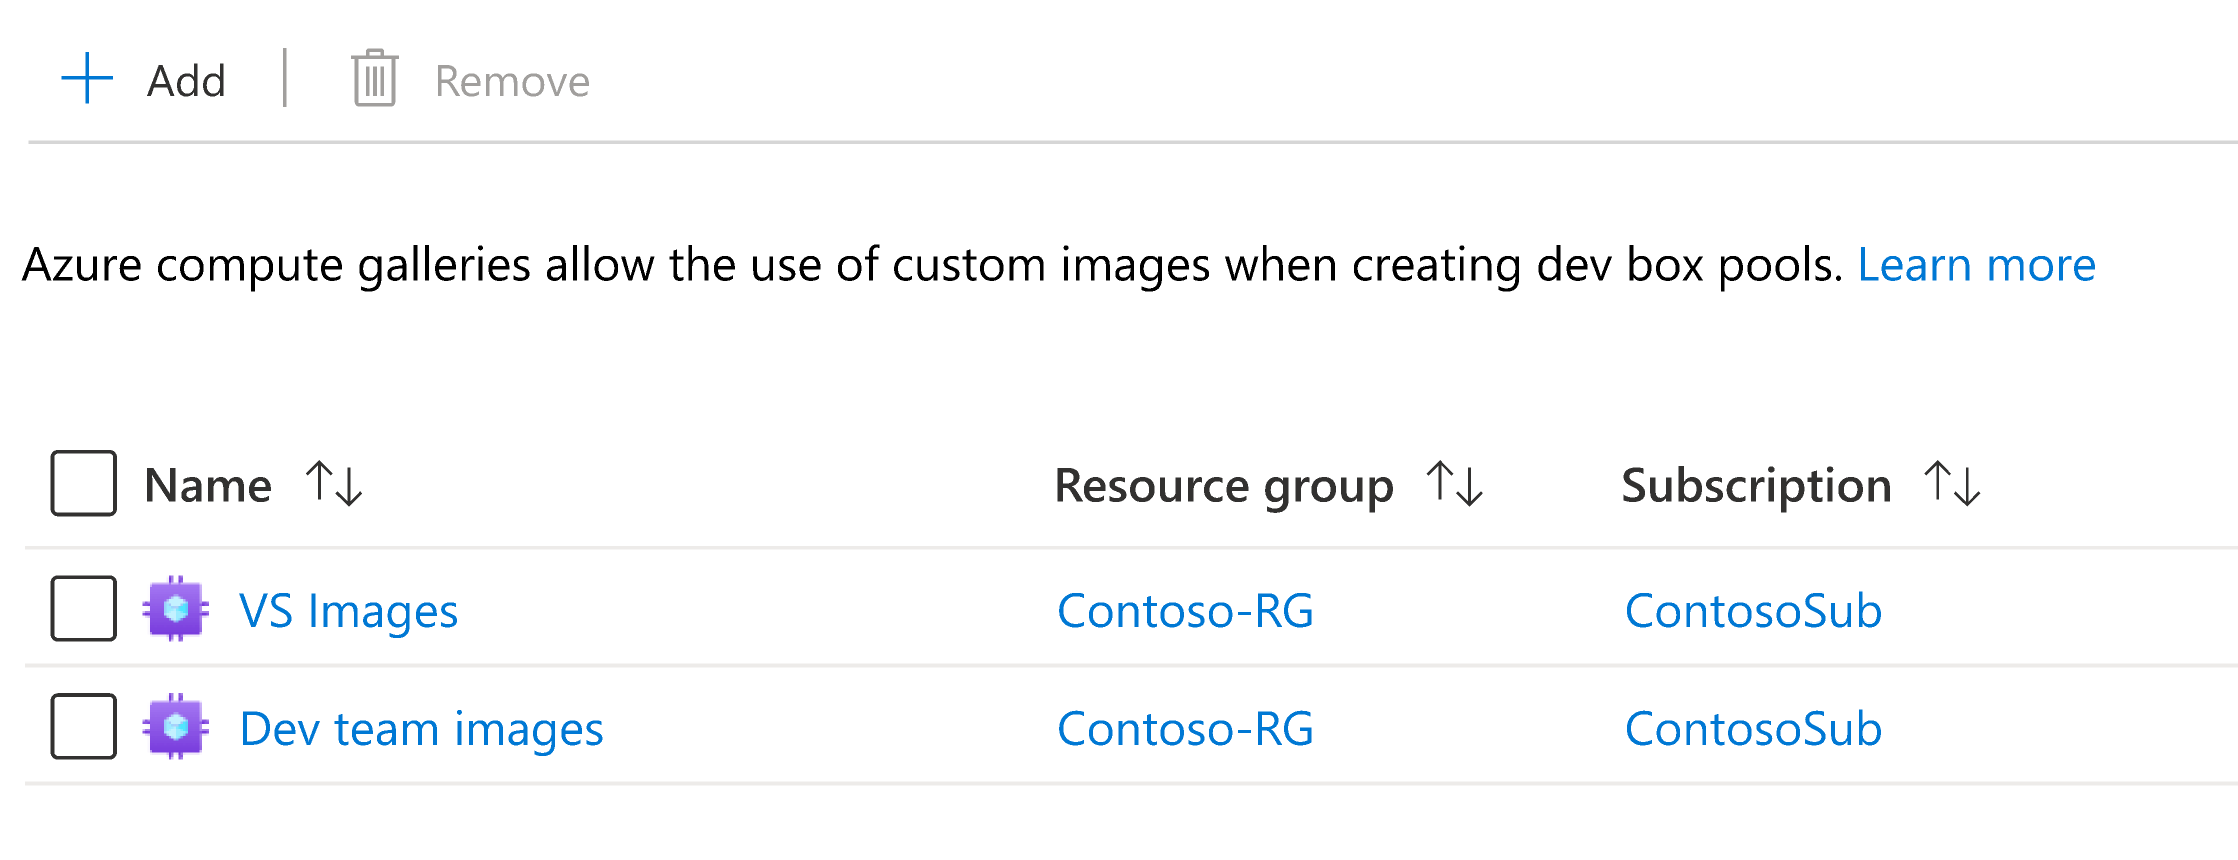
After you successfully add a gallery, the images in the gallery are available to select when you create and update dev box definitions.
Remove a gallery from a dev center
You can detach galleries from dev centers so their images can no longer be used to create dev box definitions.
Note
You can't remove galleries that are being actively used in dev box definitions. Before you can remove such a gallery, you must delete the associated dev box definition or update the definition to use an image from a different gallery.
Sign in to the Azure portal.
In the search box, enter dev box. In the list of results, select Dev centers.
Select the dev center that you want to remove the gallery from.
On the left menu, select Azure compute galleries to list the galleries that are attached to this dev center.
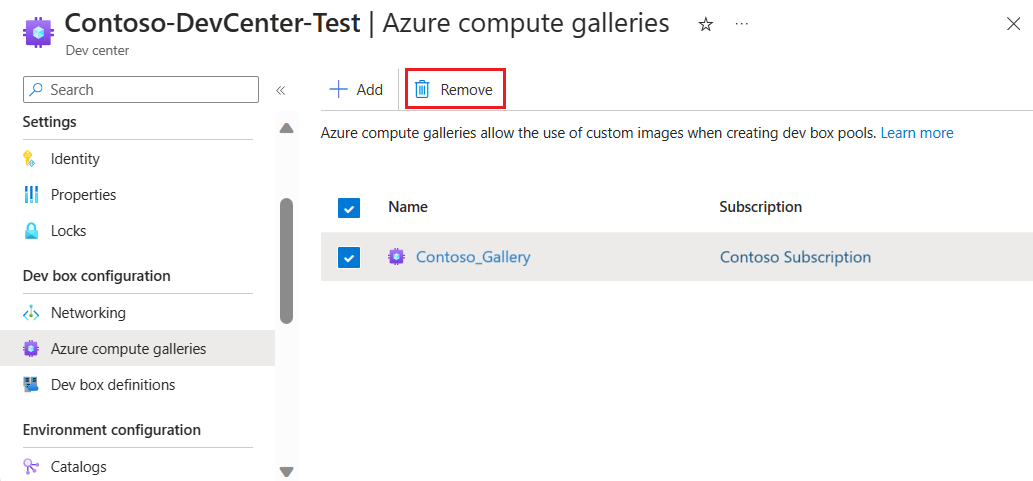
Select the gallery that you want to remove, and then select Remove.
In the confirmation dialog, select Continue.
The gallery is detached from the dev center. The gallery and its images aren't deleted, and you can reattach it if necessary.
Related content
- Learn more about key concepts in Microsoft Dev Box.

